
 Tweet
Tweet
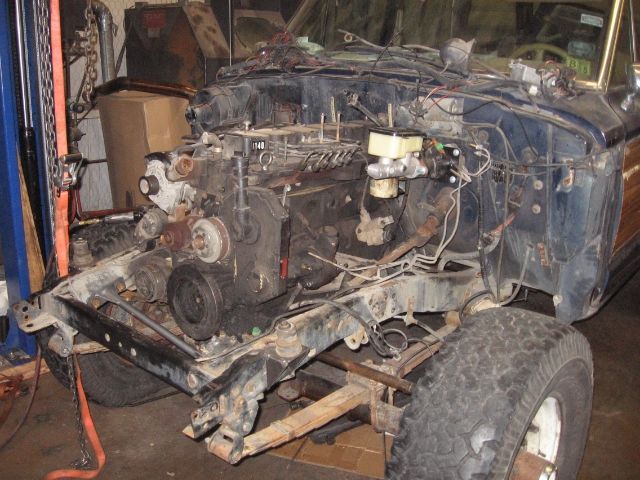
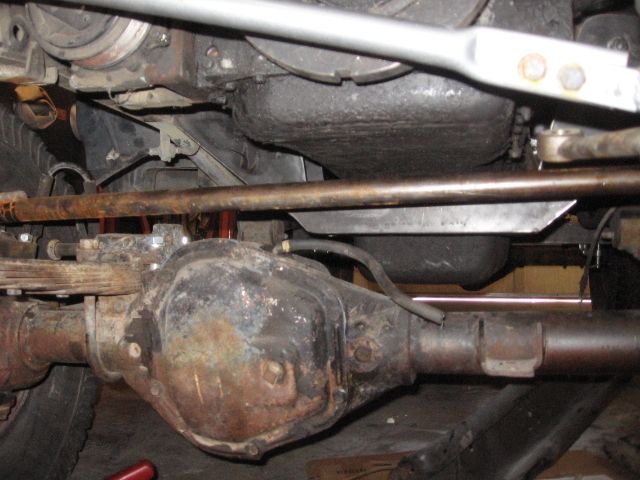
It may very be an illusion, but it looks to me as though the passenger side of the radiator is hitting the frame. If so, vibration will eat a whole in it very quickly. If not, please disregard this message! 
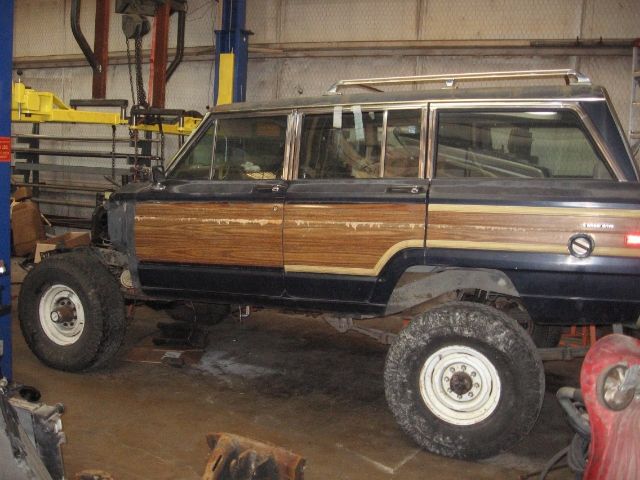
Cool swap!
Cool swap!

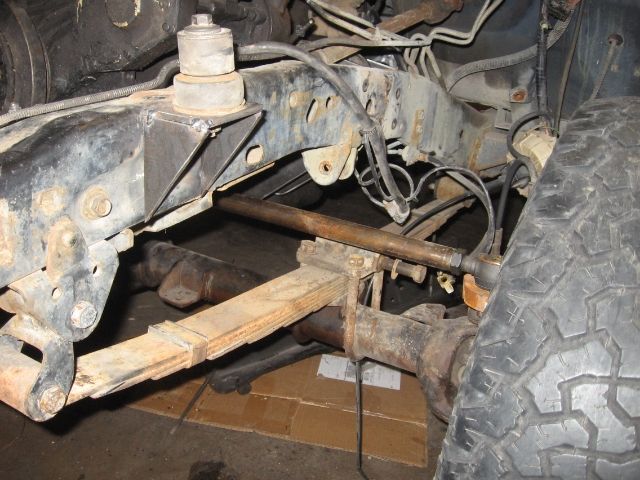
 Are those the stock wag springs up front tho?
 FOR SALE. PM me for details


Comment