
 Tweet
Tweet
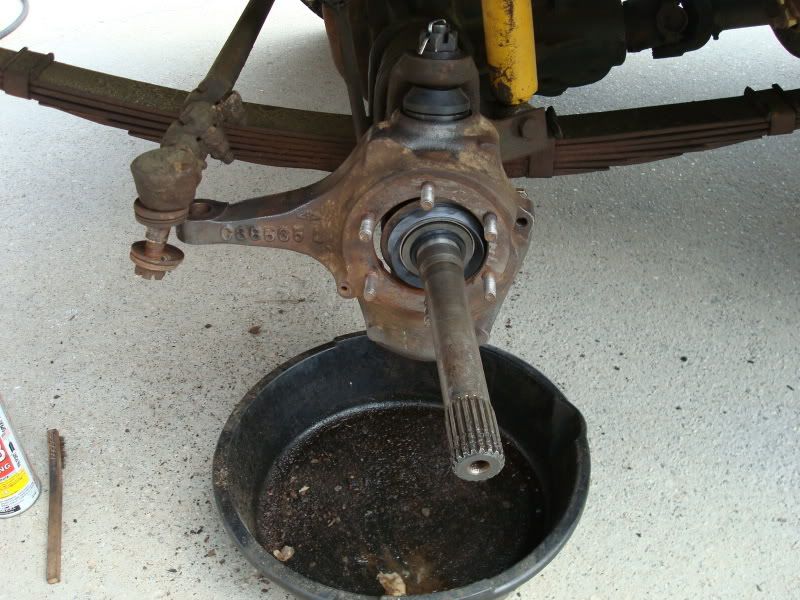
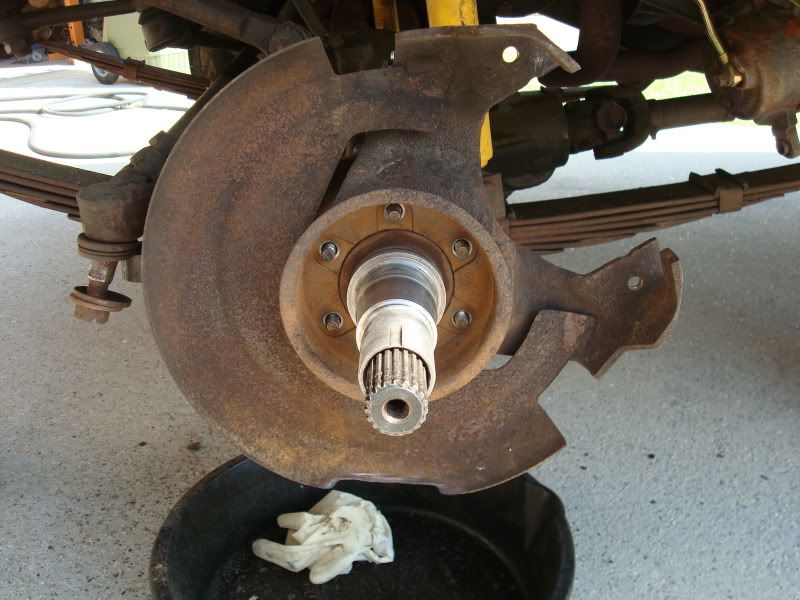
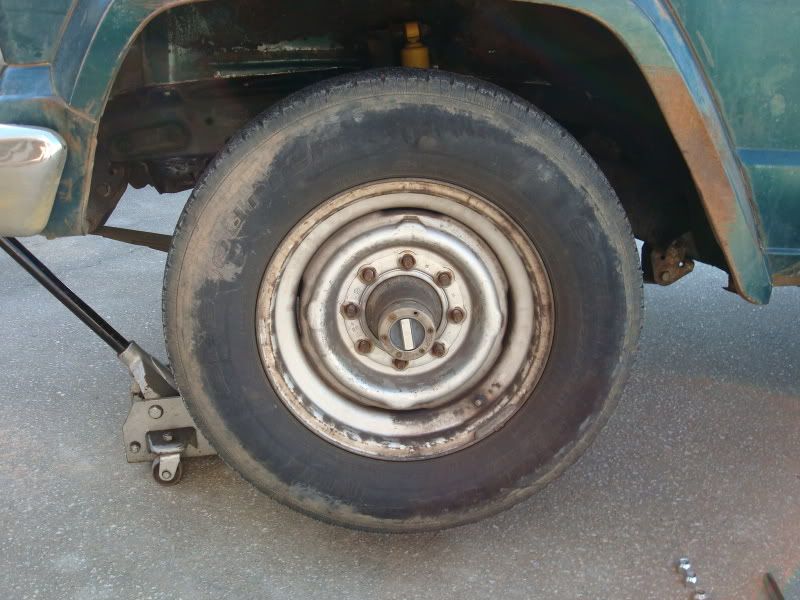
Start by jacking up the vehicle and putting a jack stand under the frame, then remove the wheel/tire.
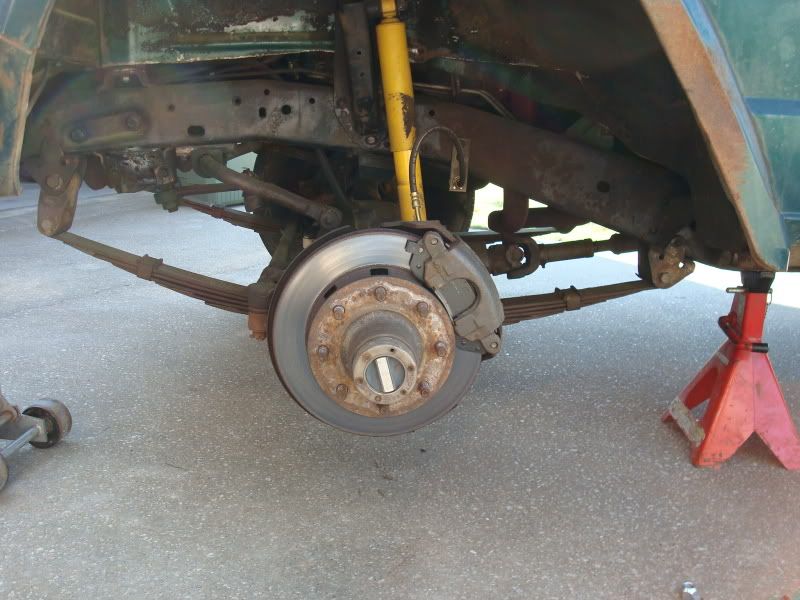
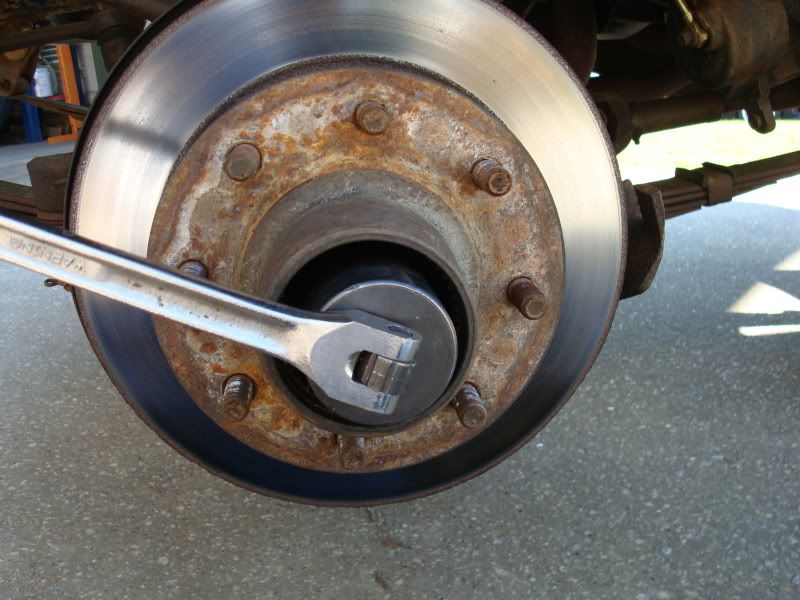
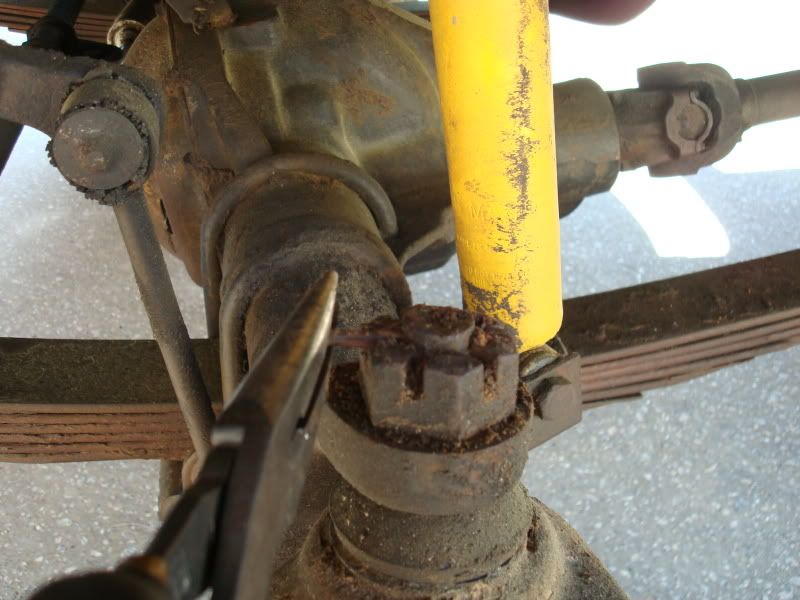
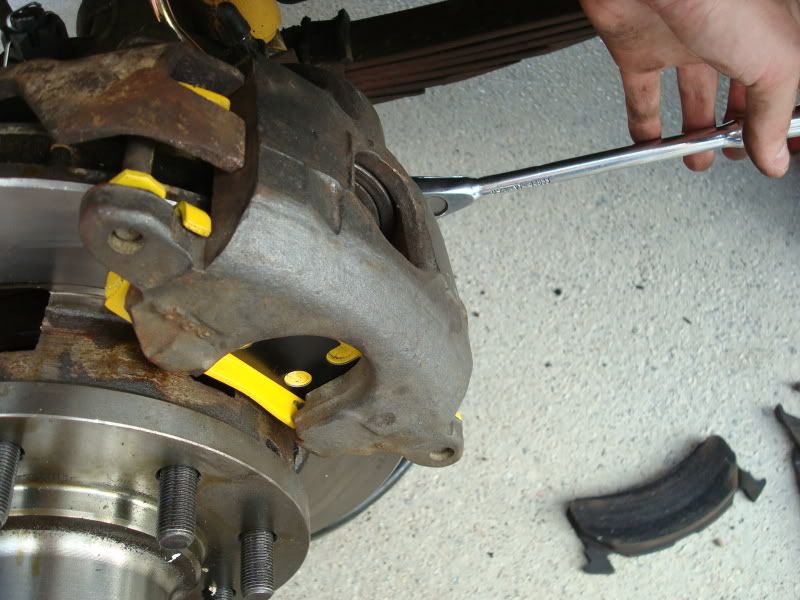
At this point I like to go ahead and remove the brake caliper. You will need a 3/8" allen wrench to remove the caliper bolts. Use an wire coat hanger to tie the caliper inside the wheel well, so its not hanging by the brake hose.
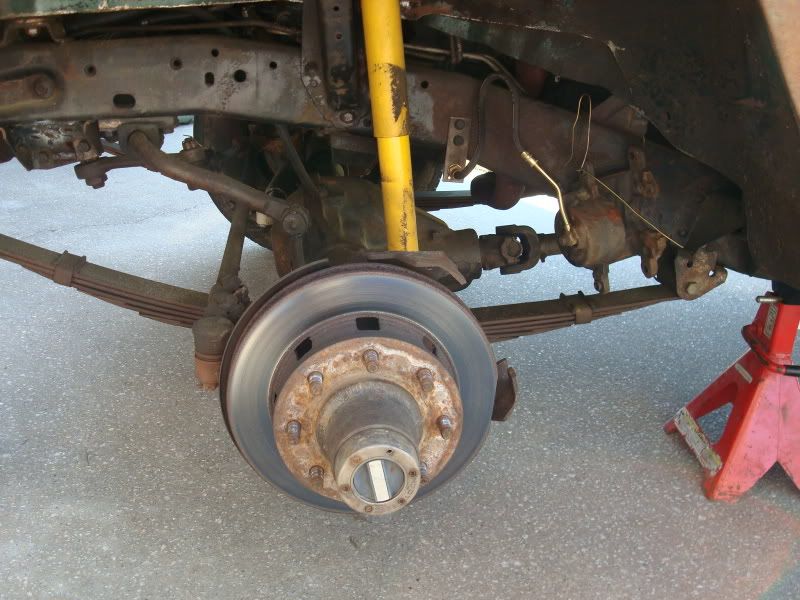
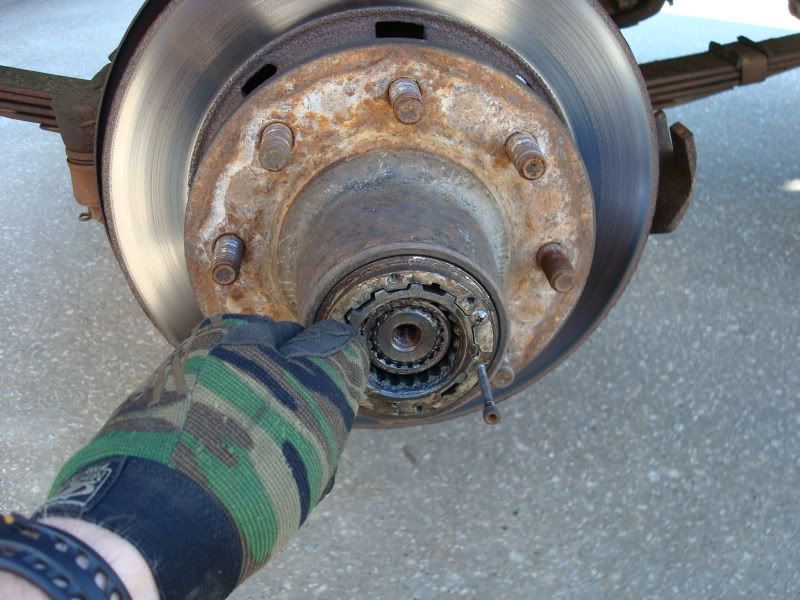
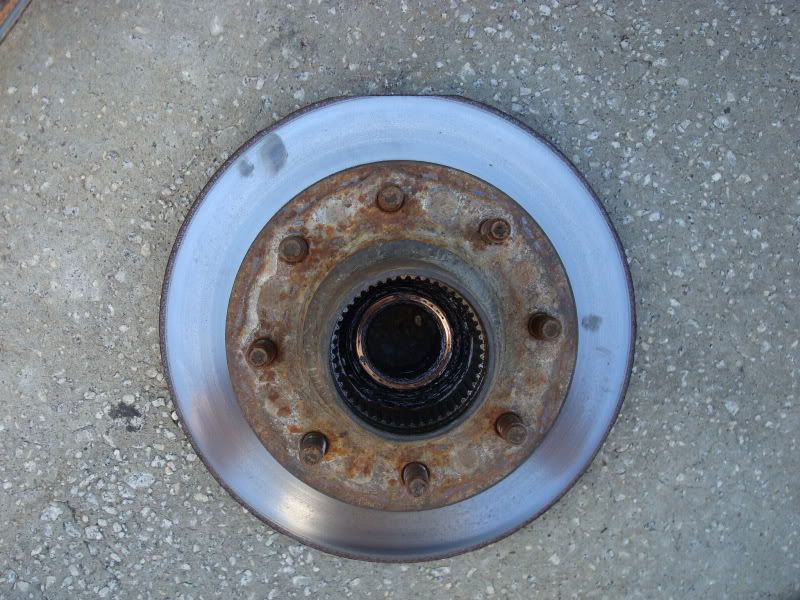
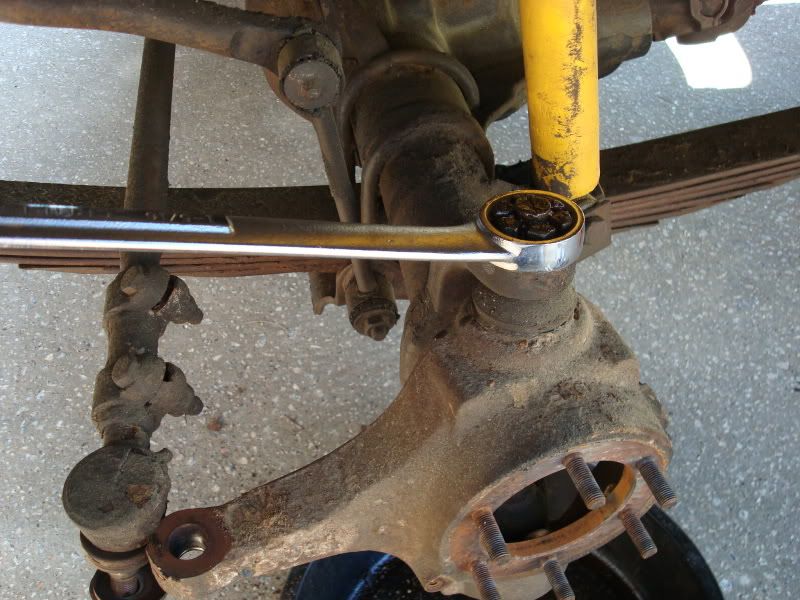
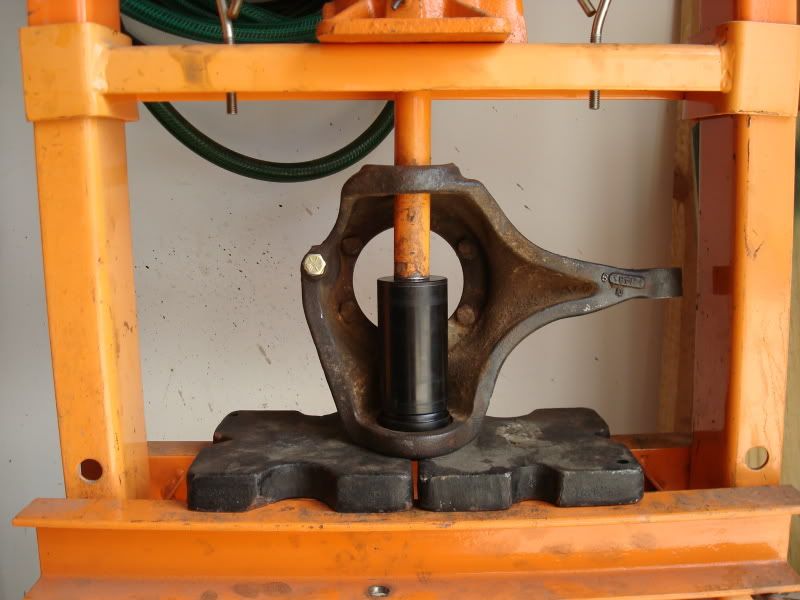
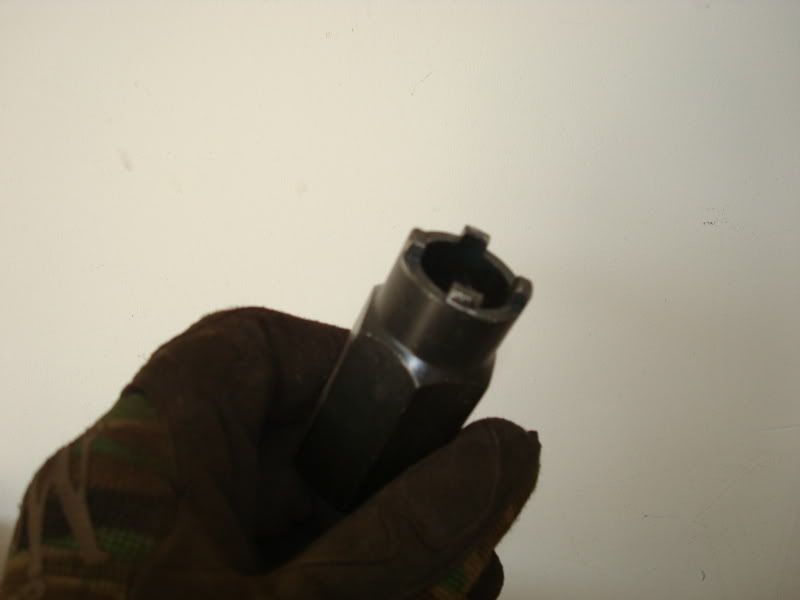
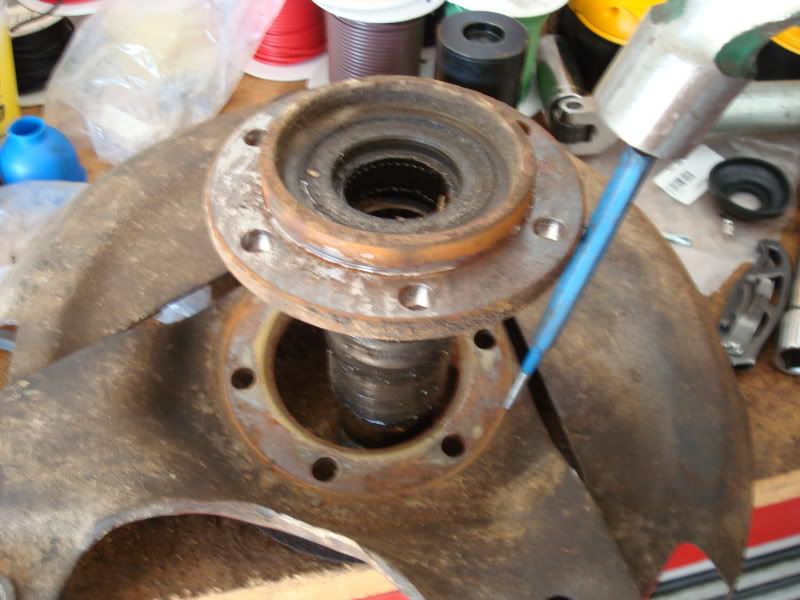
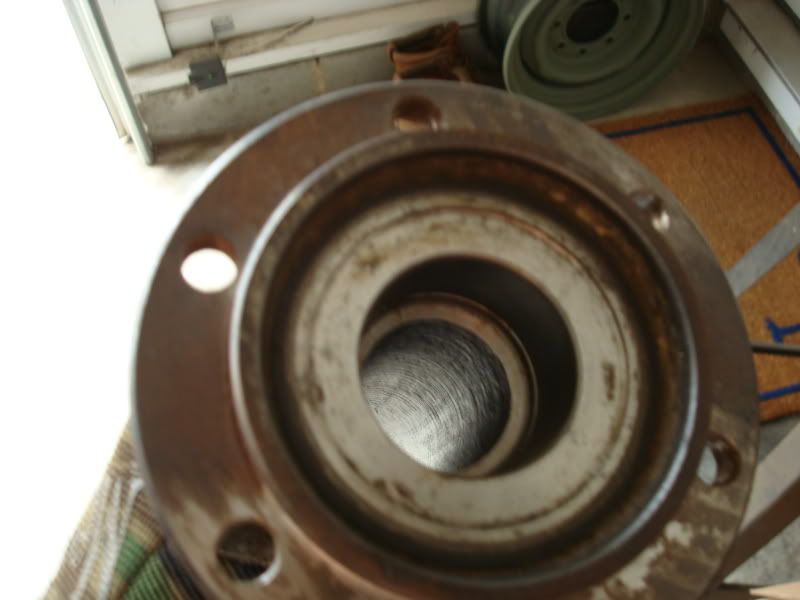
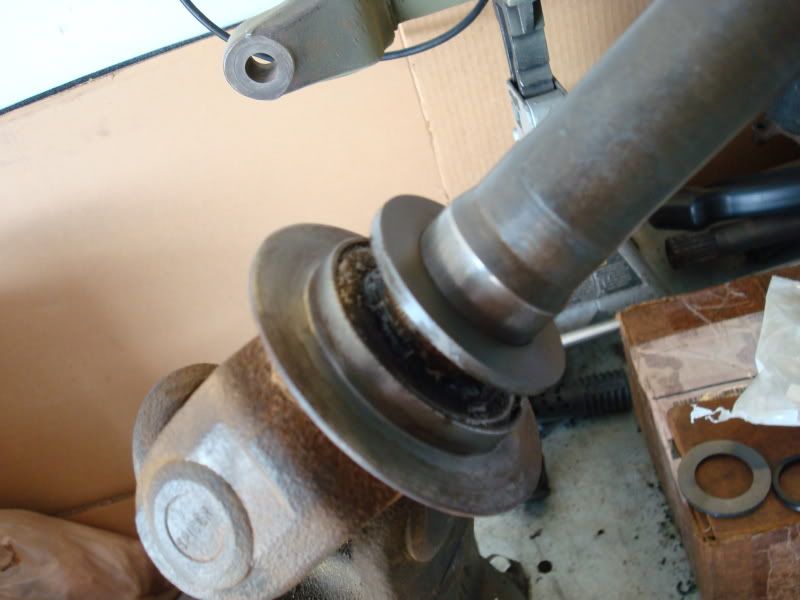
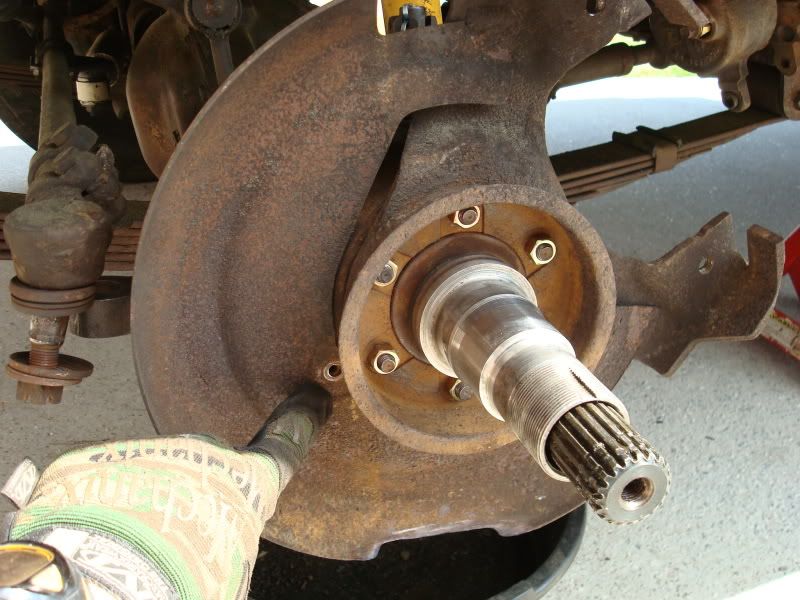
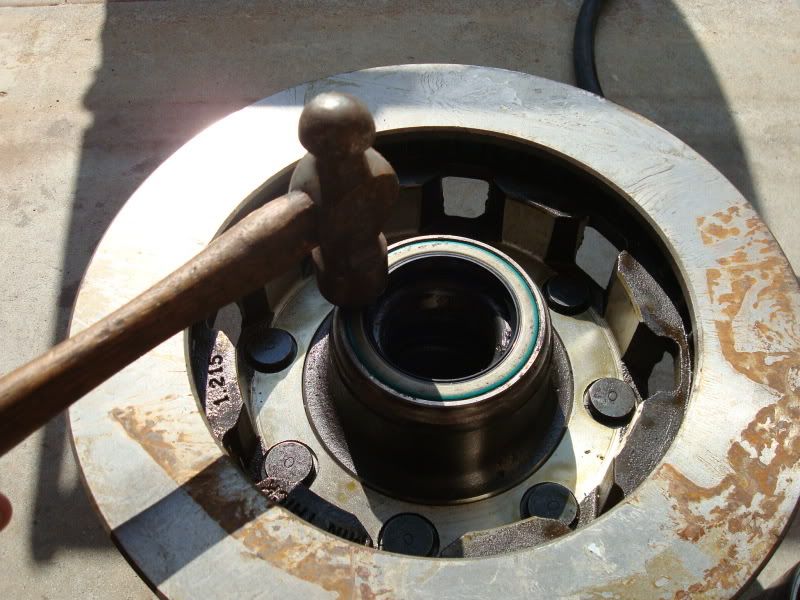
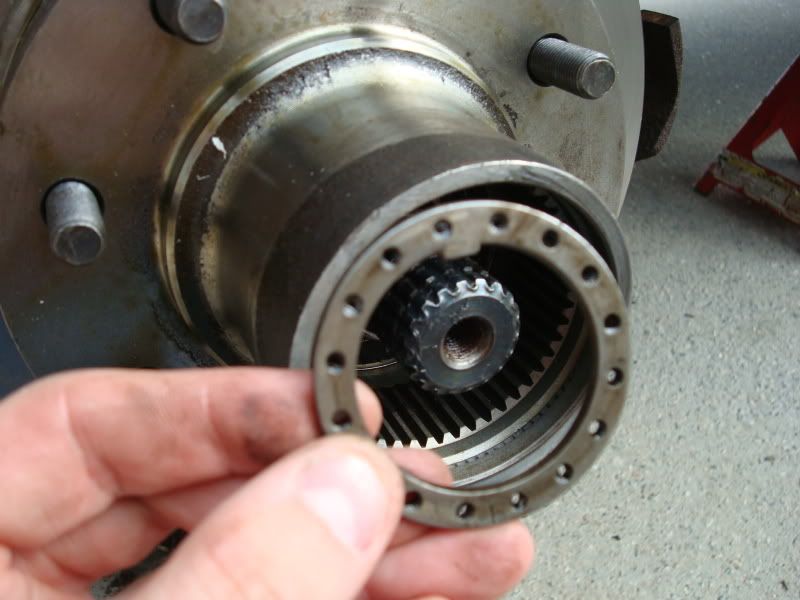
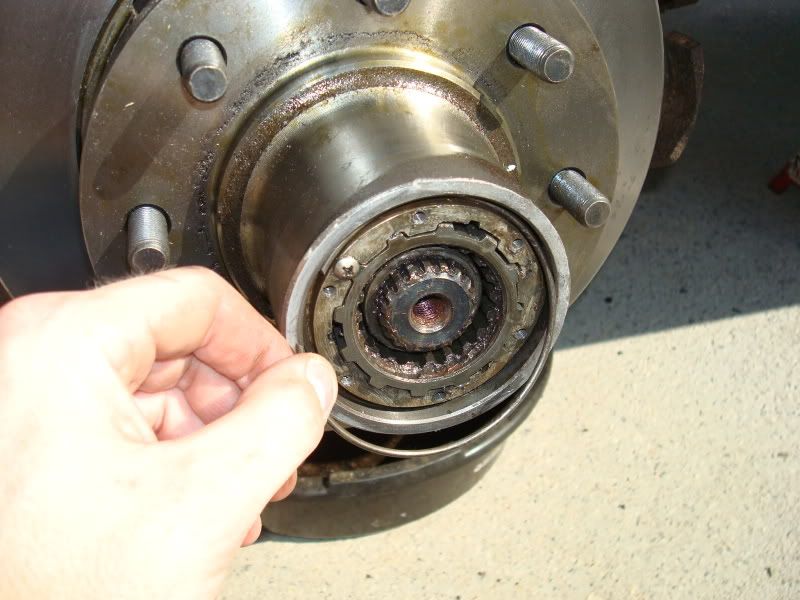
Using an allen wrench, remove the 6 small blots that hold the hub together. These are an odd size - 9/64" maybe? With the bolts off, the outter hub can be removed. You should be looking at this after removing the outter hub:
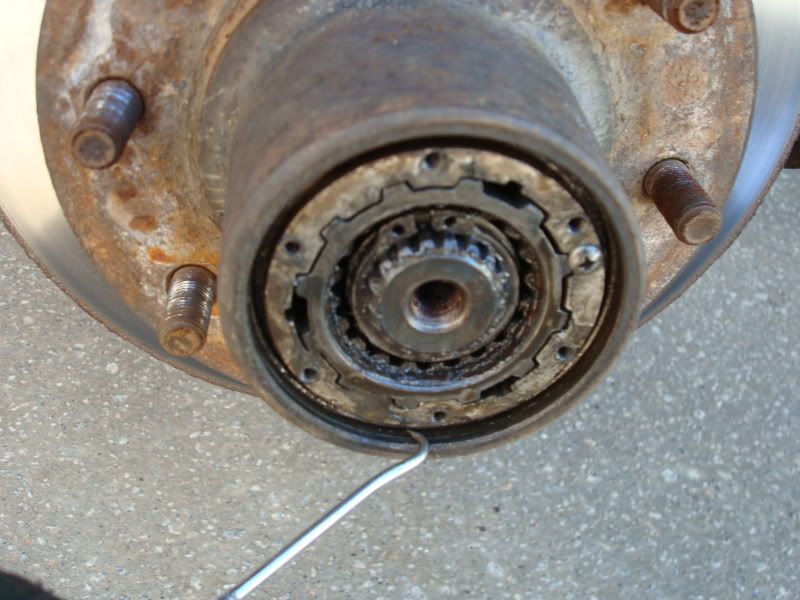
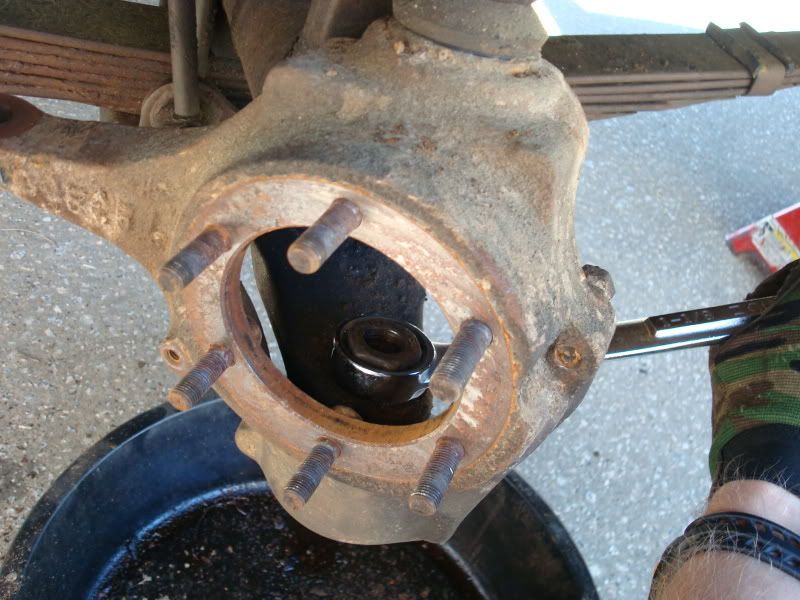
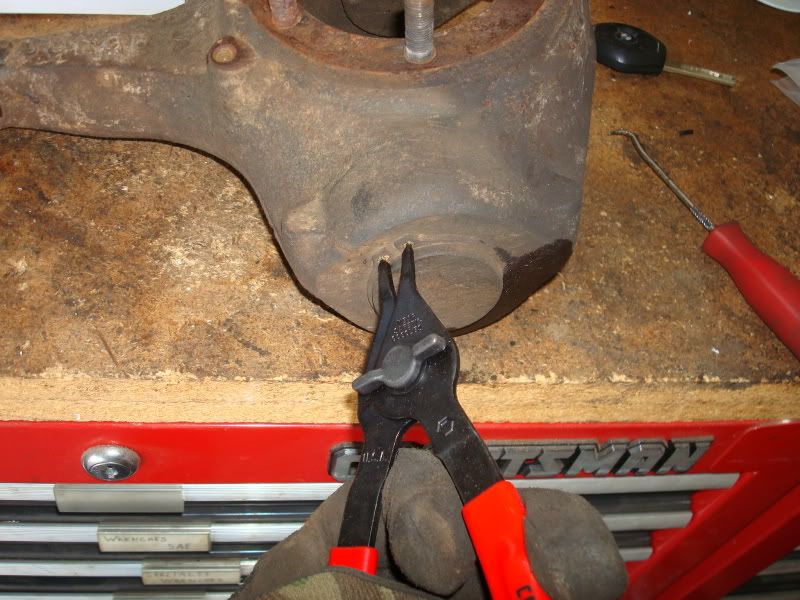
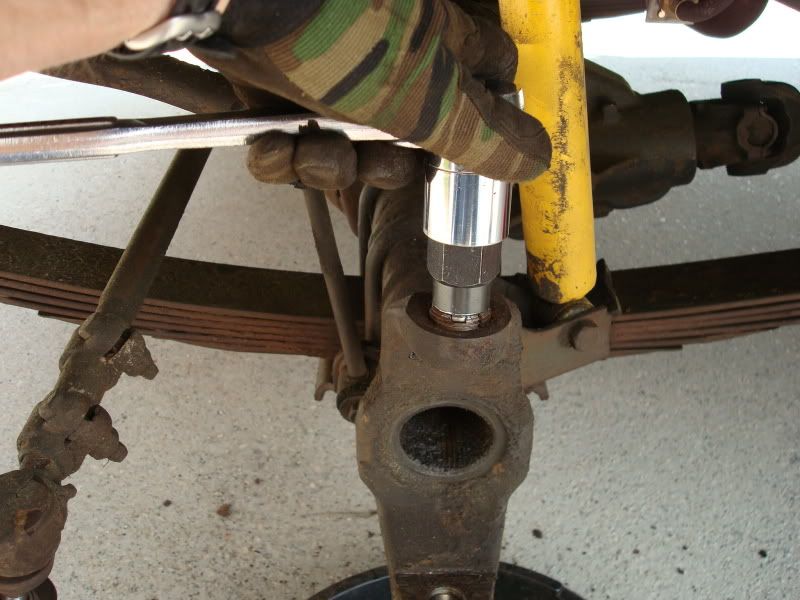
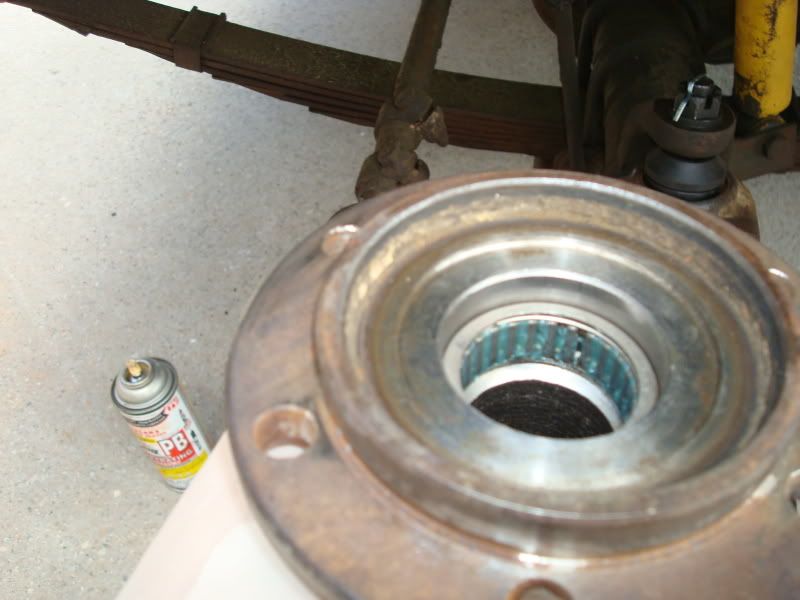
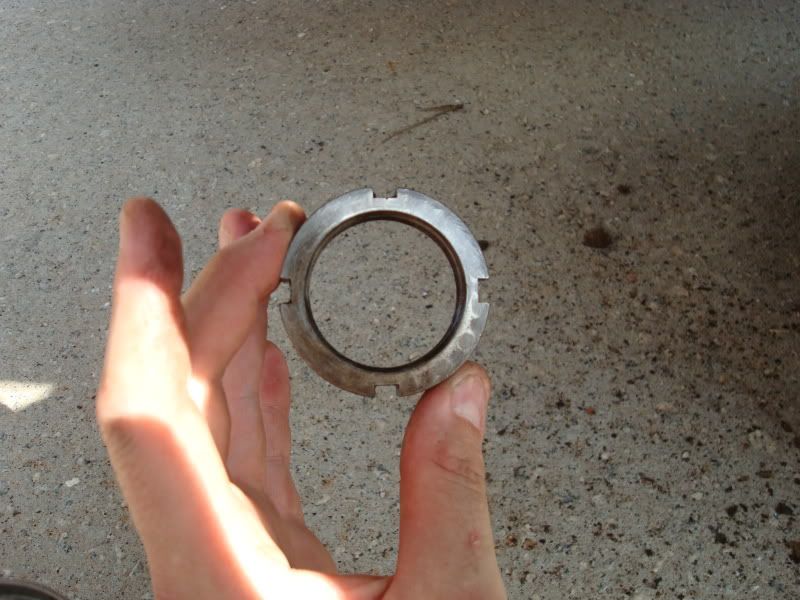
In the picture above, I am pointing to the internal lock ring that holds the hub in the rotor/hub. Use a small pic to remove it. Take your time, it can be a pain.
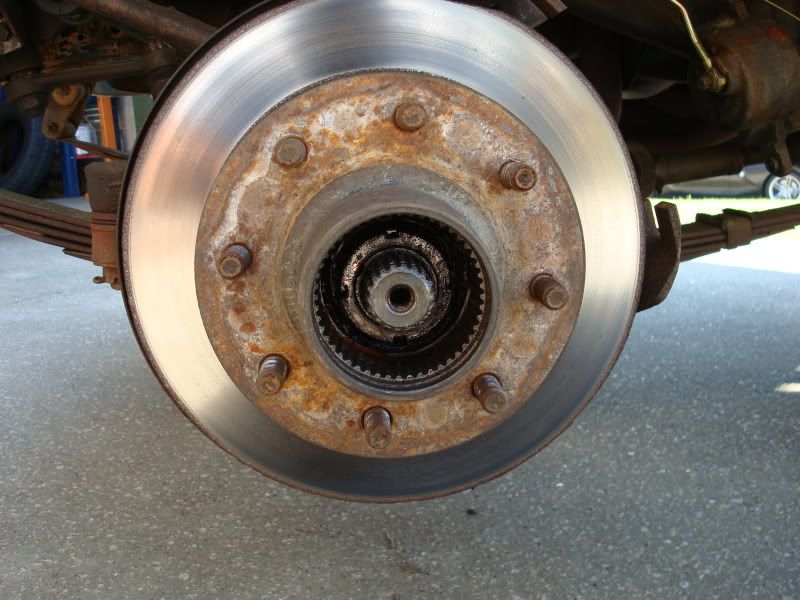
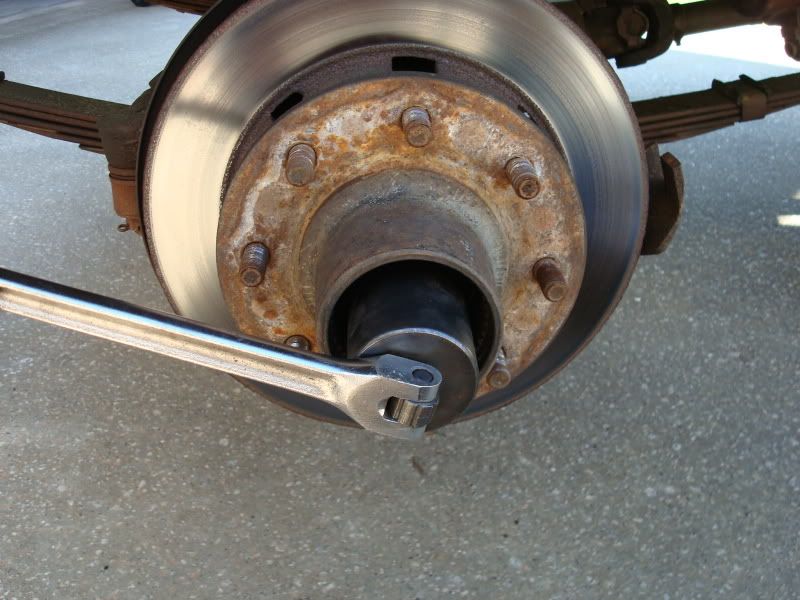
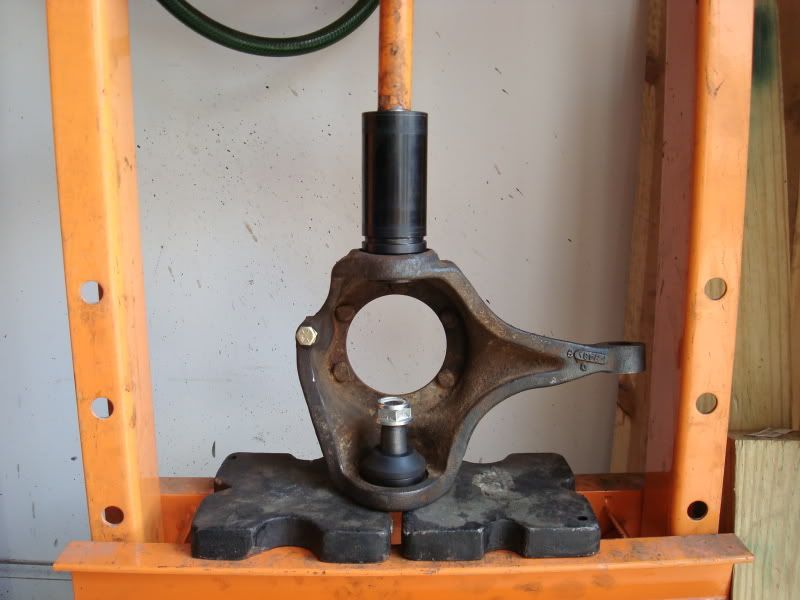
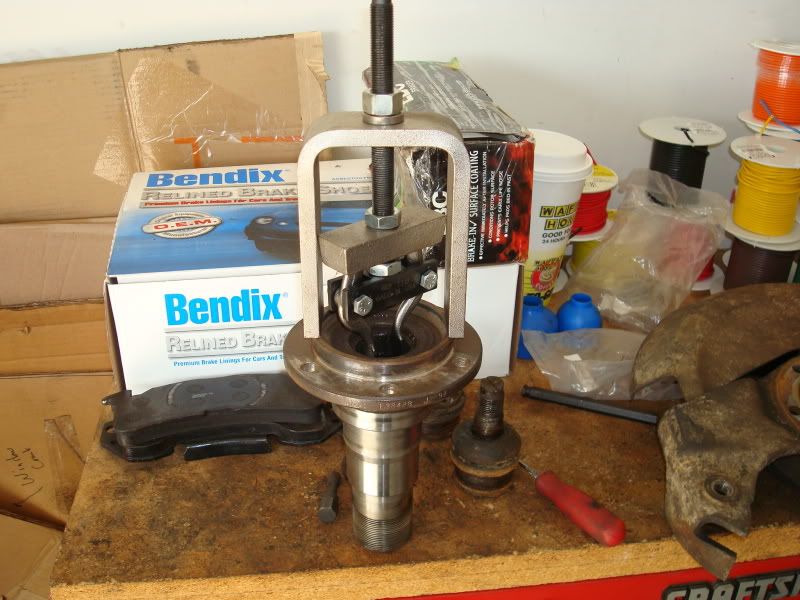
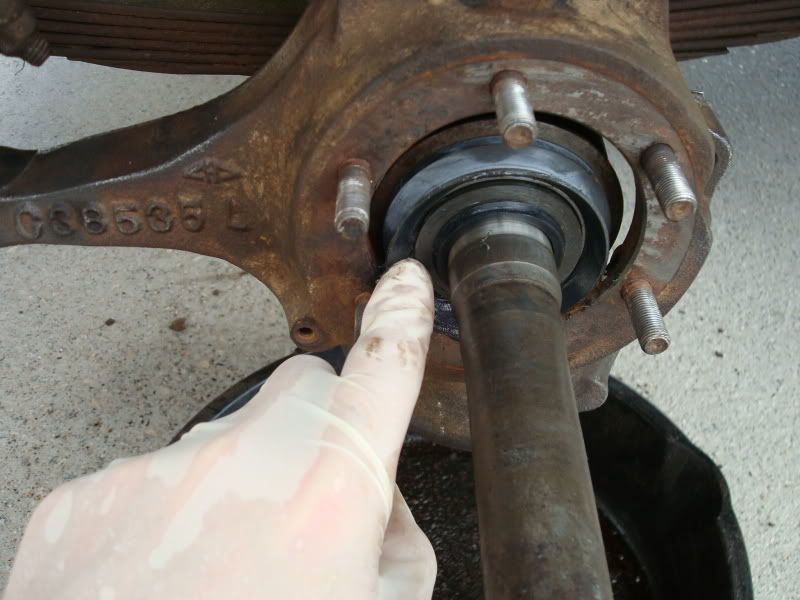
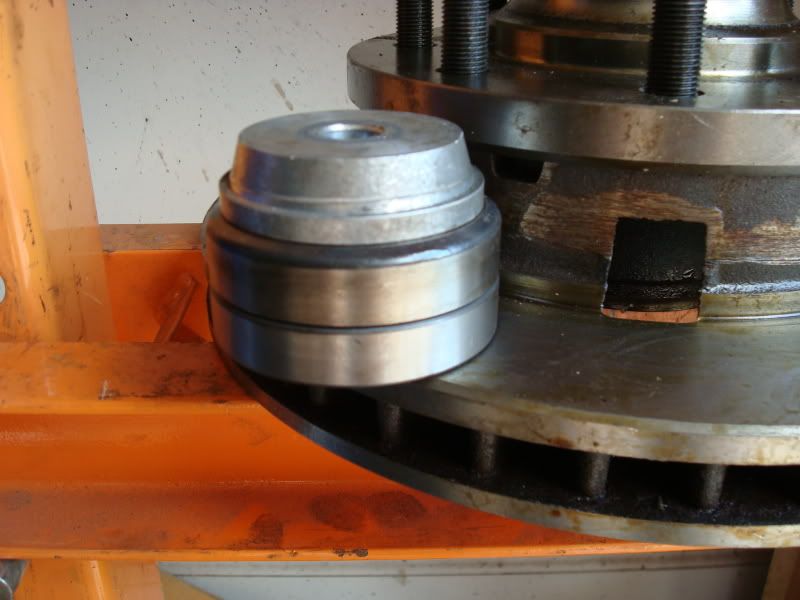
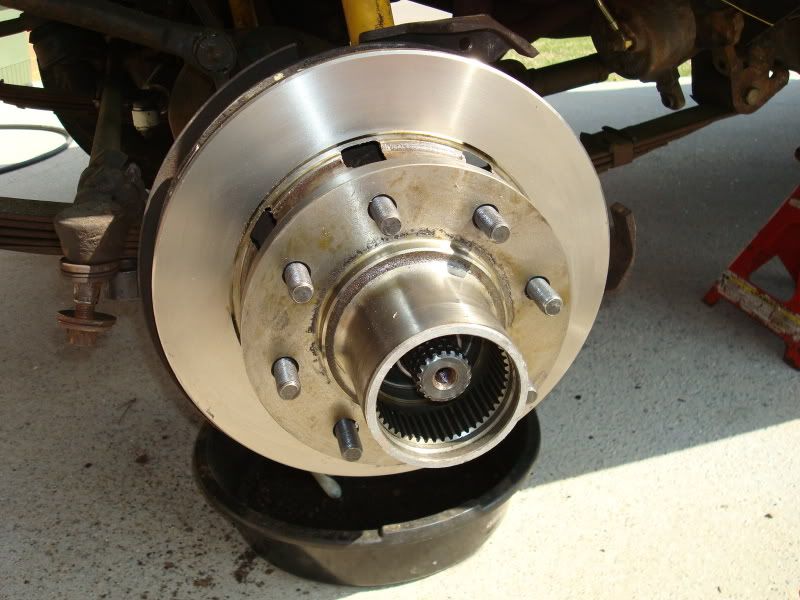
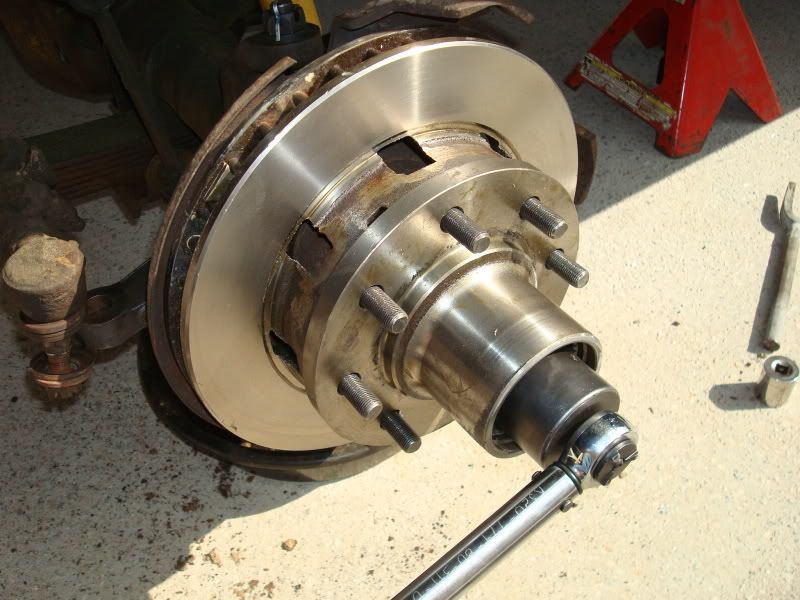
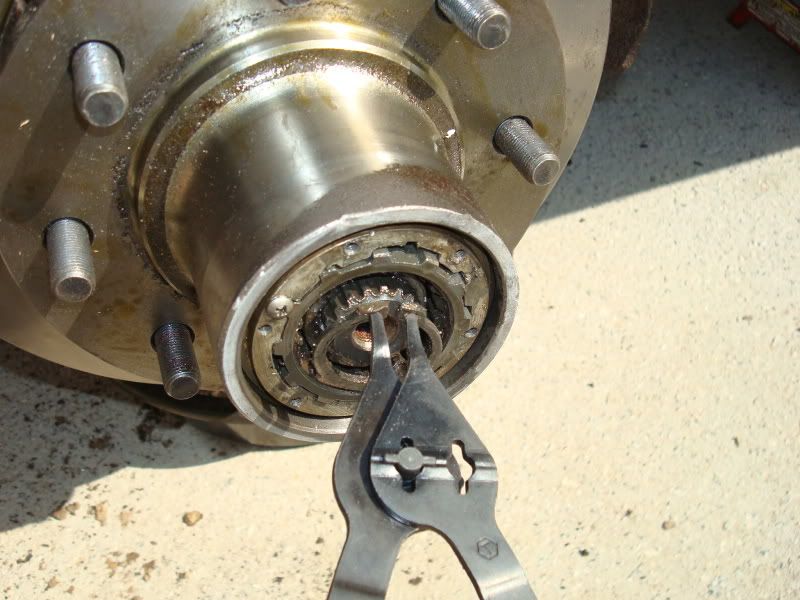
Next, use snap ring pliers to remove the snap ring on the end of the axle shaft.
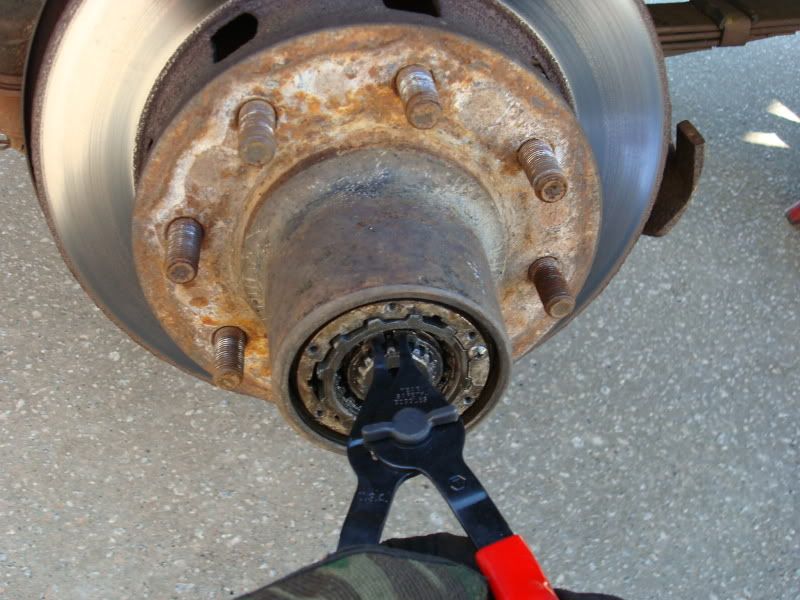
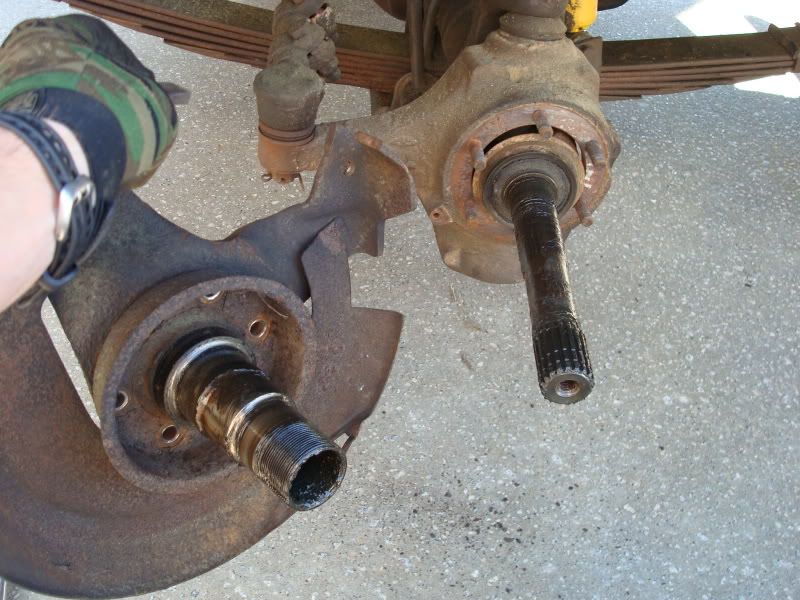
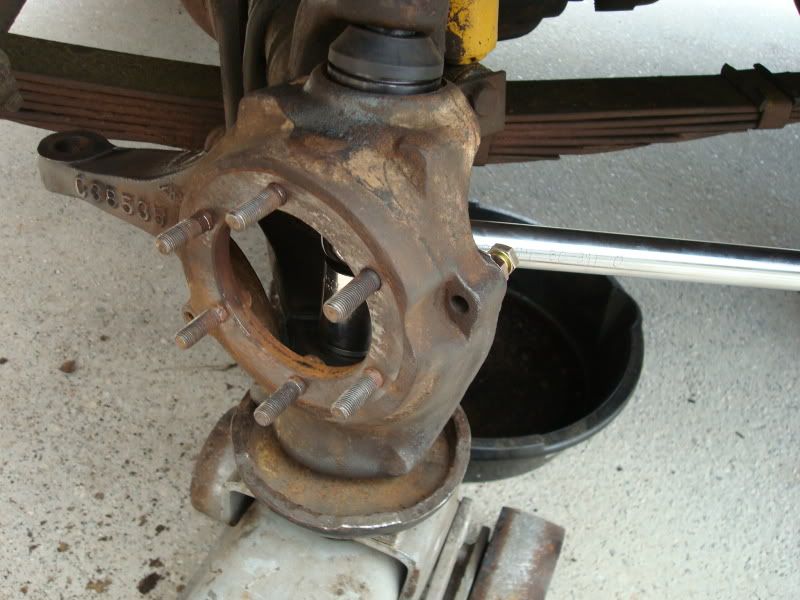
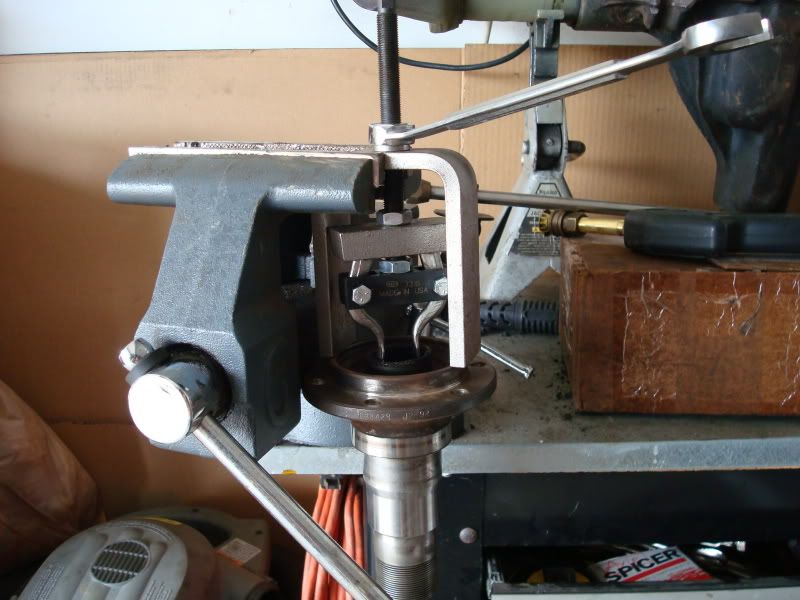
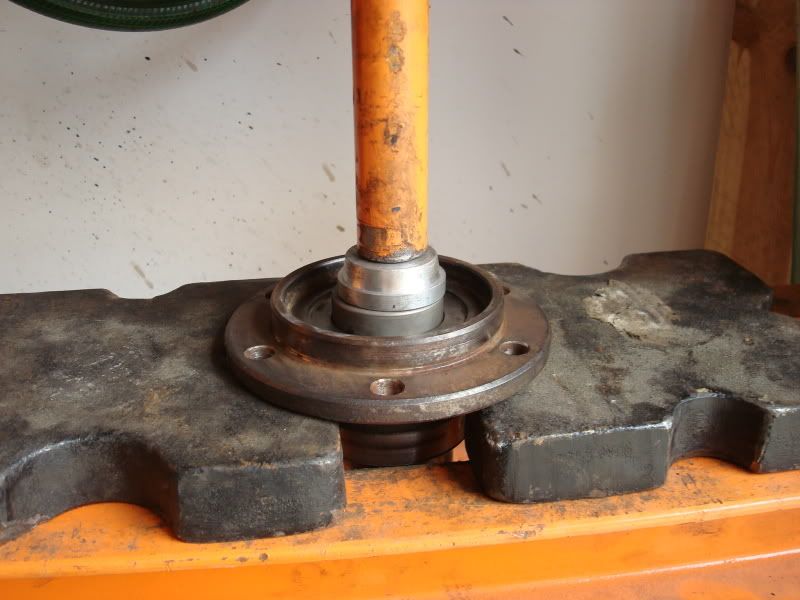
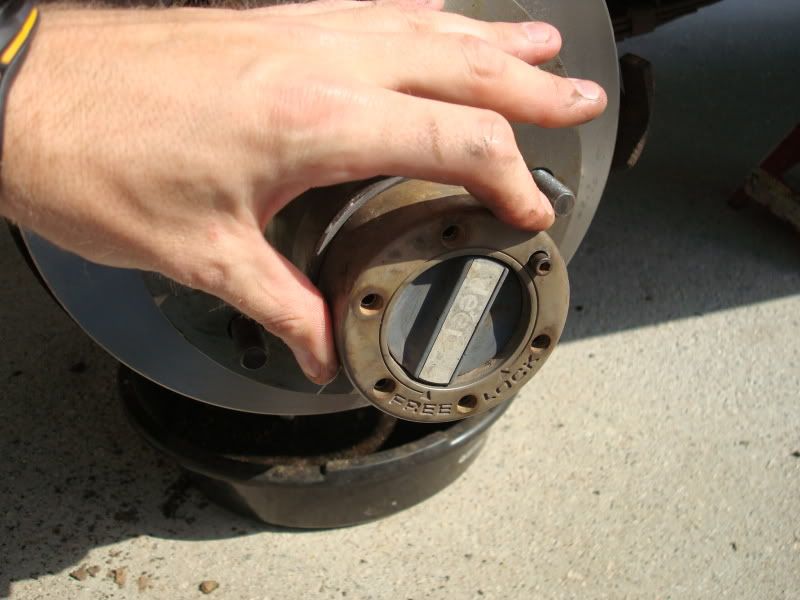
Now the hub is ready to be pulled out. I like to screw in two of the allen head bolts, and use them as a handle.
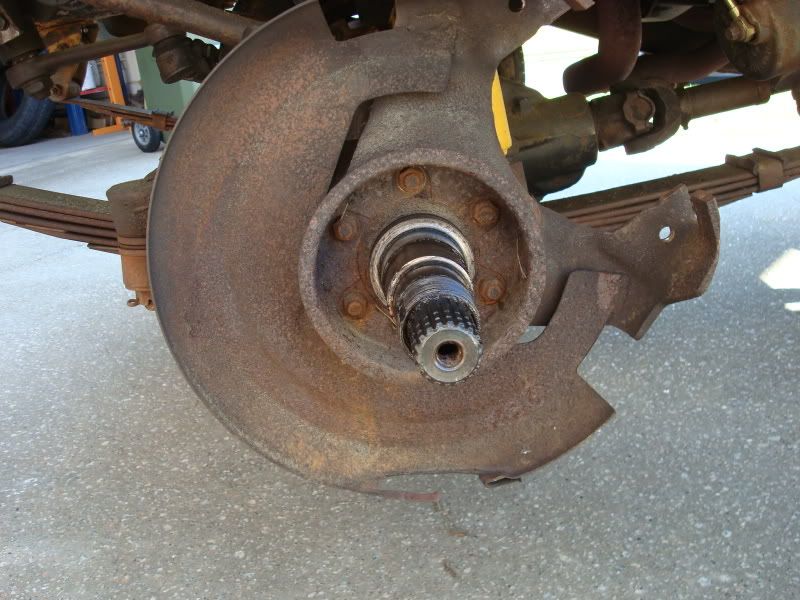
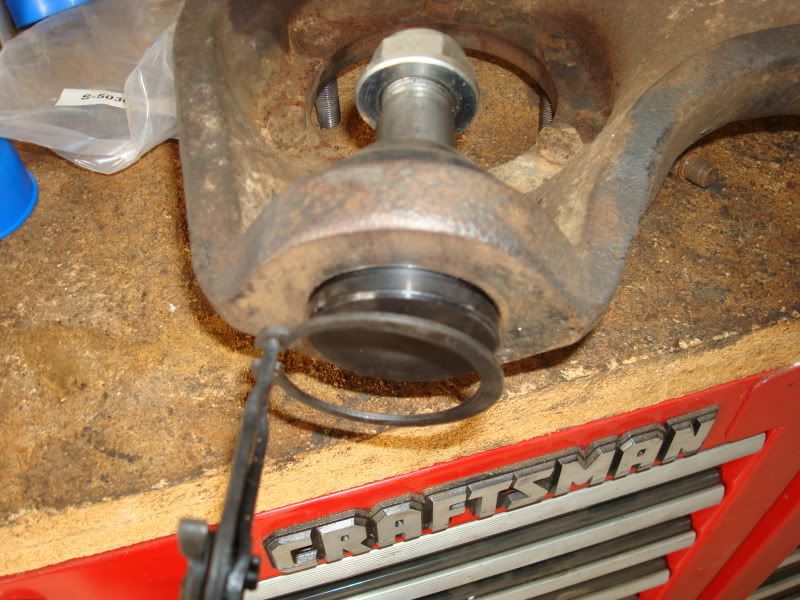
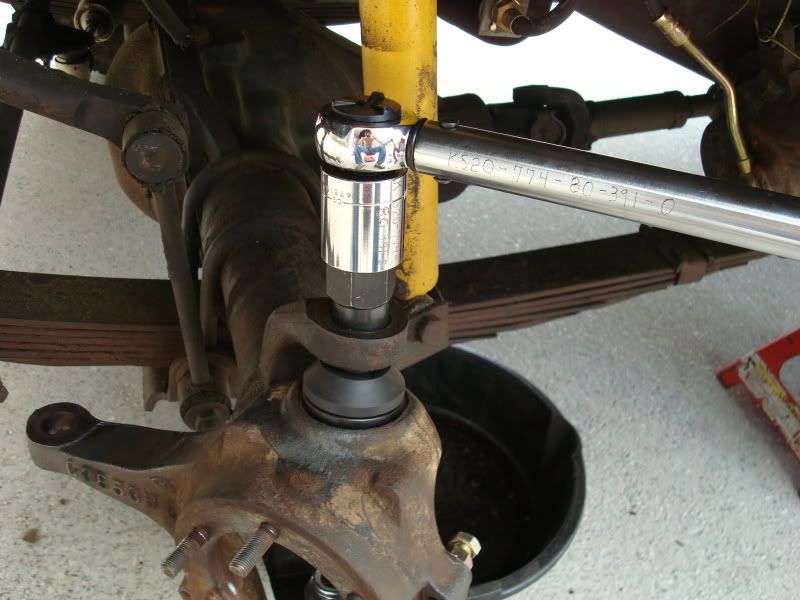
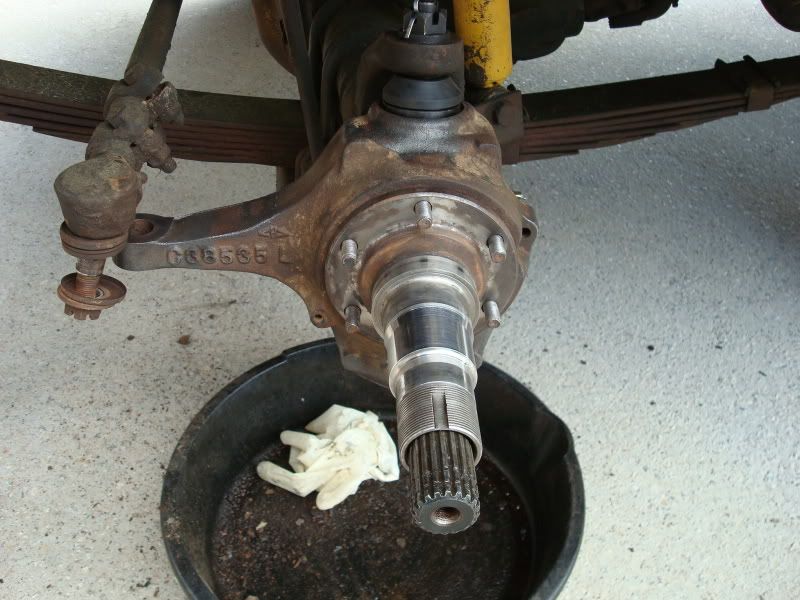
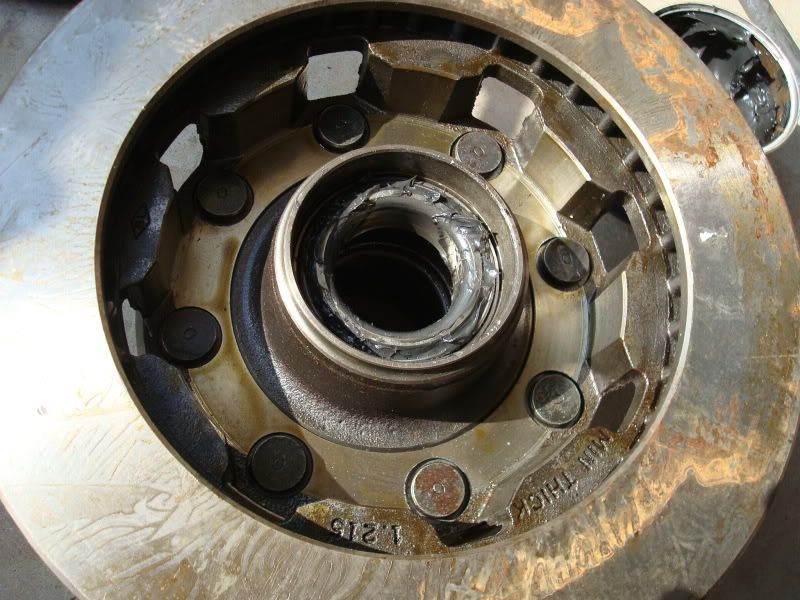
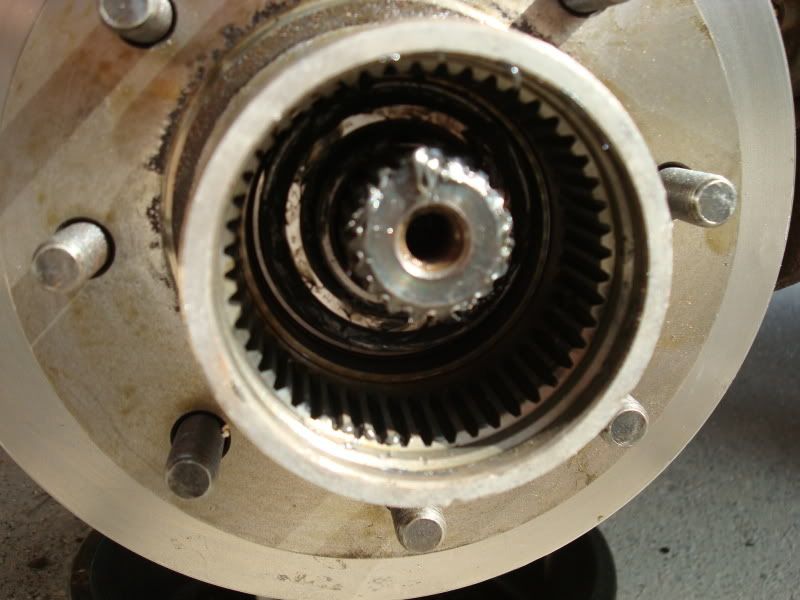
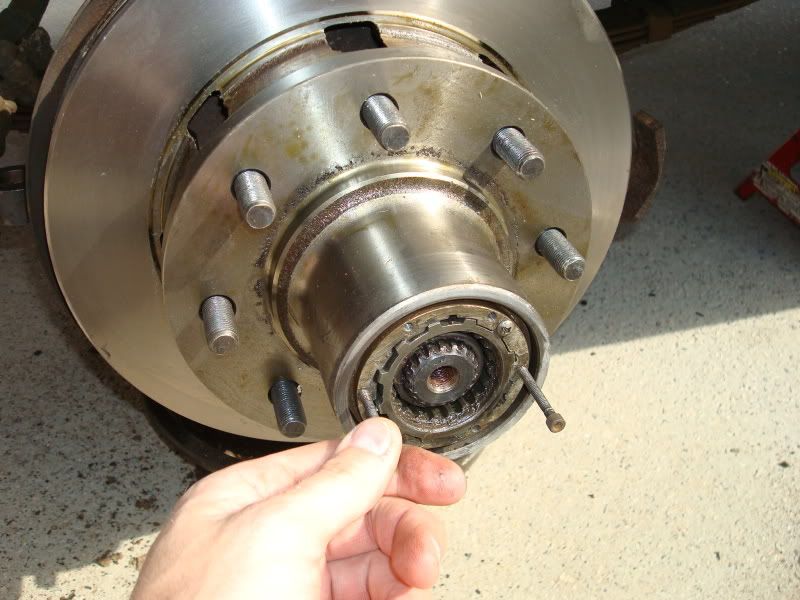
Now you should be looking at this:
At this point I like to go ahead and remove the brake caliper. You will need a 3/8" allen wrench to remove the caliper bolts. Use an wire coat hanger to tie the caliper inside the wheel well, so its not hanging by the brake hose.
Using an allen wrench, remove the 6 small blots that hold the hub together. These are an odd size - 9/64" maybe? With the bolts off, the outter hub can be removed. You should be looking at this after removing the outter hub:
In the picture above, I am pointing to the internal lock ring that holds the hub in the rotor/hub. Use a small pic to remove it. Take your time, it can be a pain.
Next, use snap ring pliers to remove the snap ring on the end of the axle shaft.
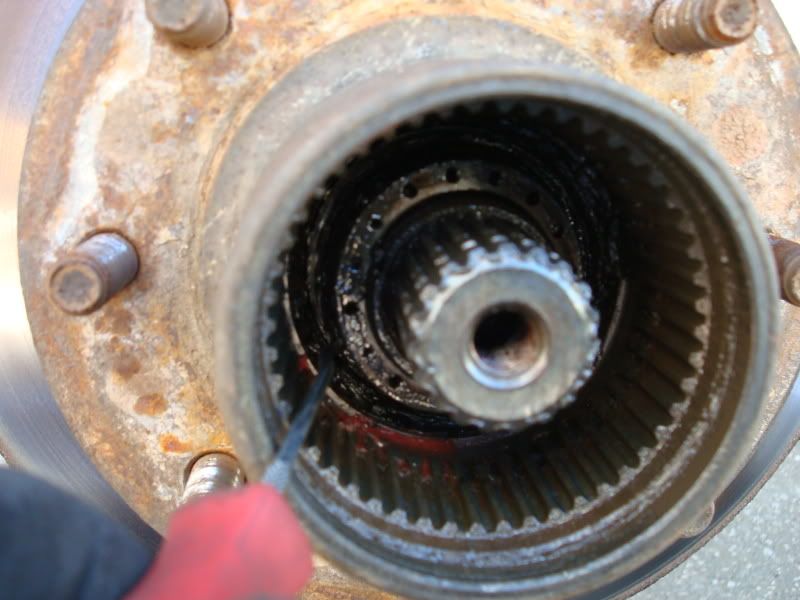
Now the hub is ready to be pulled out. I like to screw in two of the allen head bolts, and use them as a handle.
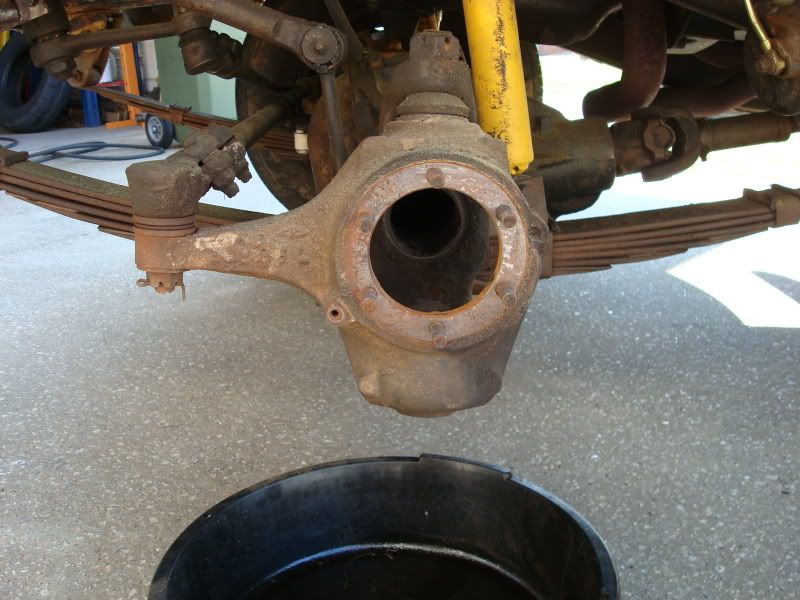
Now you should be looking at this:
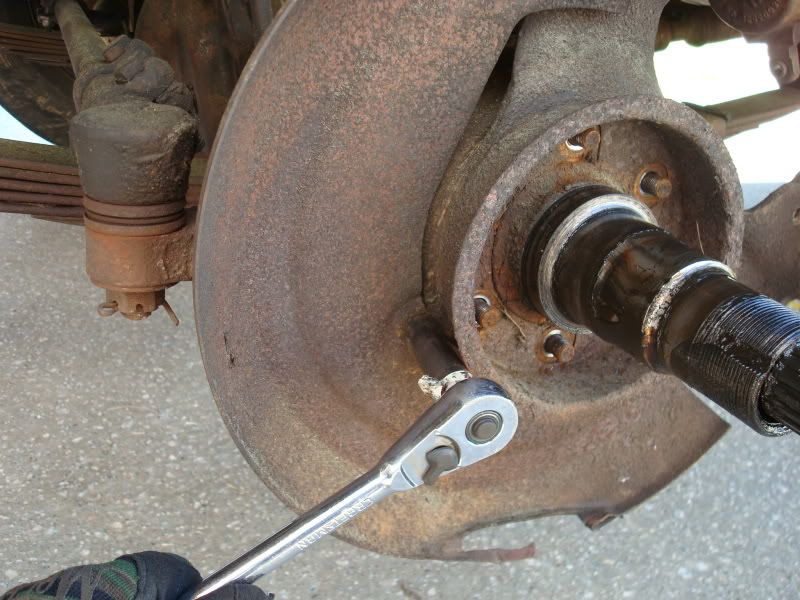

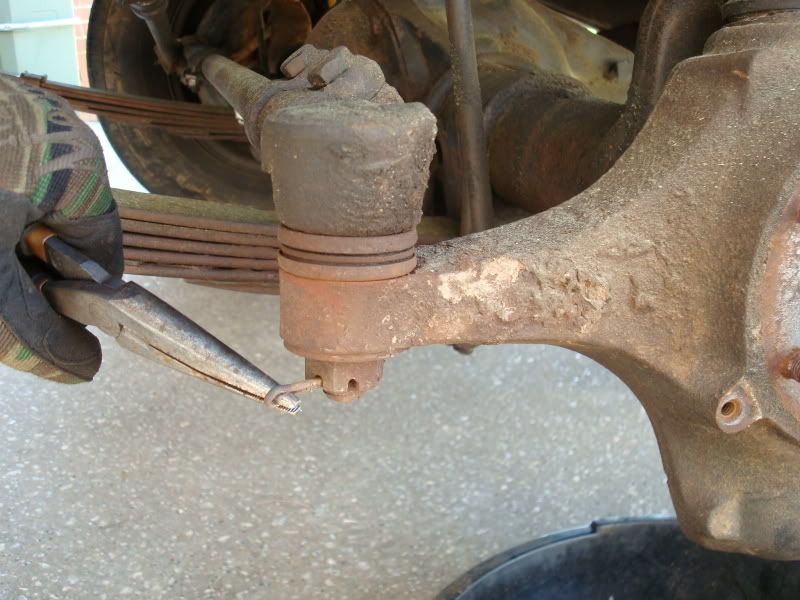
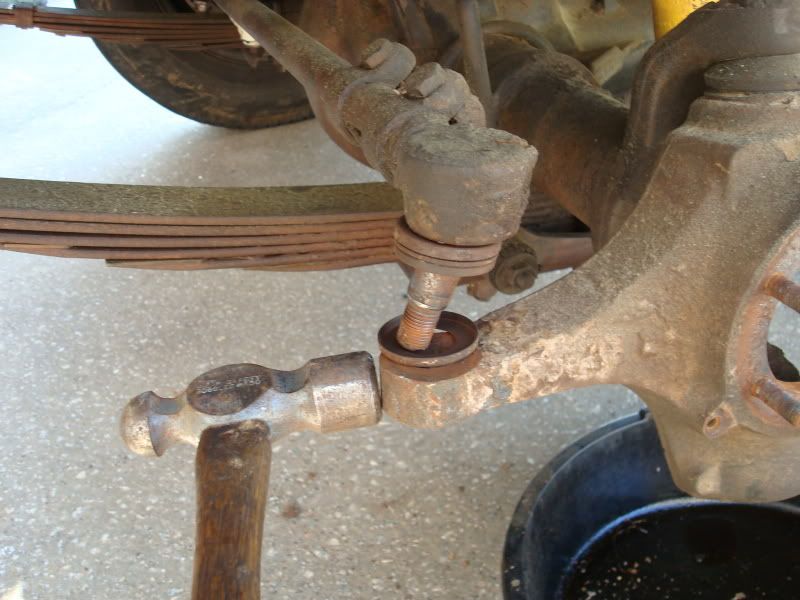
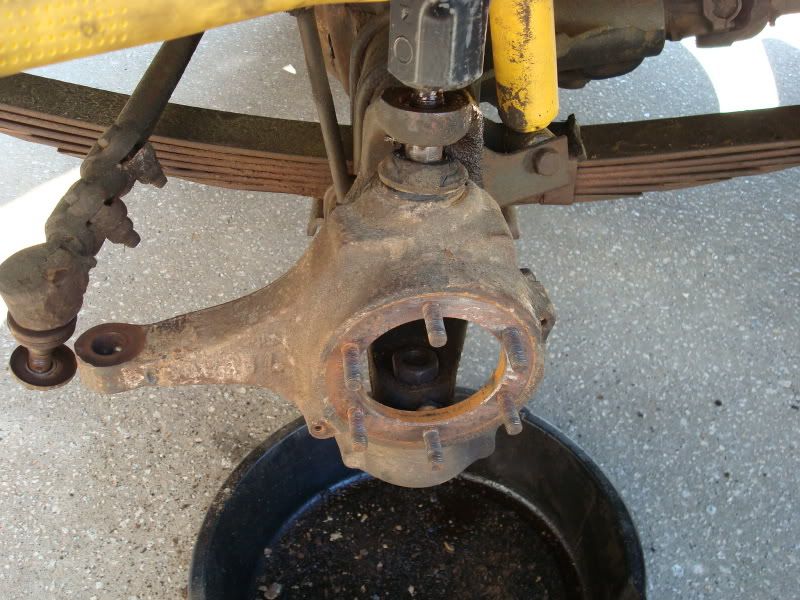
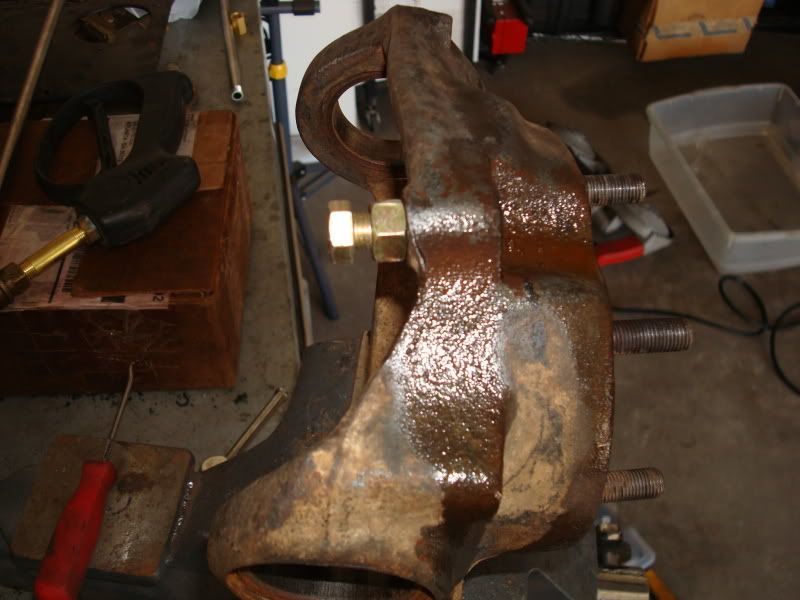
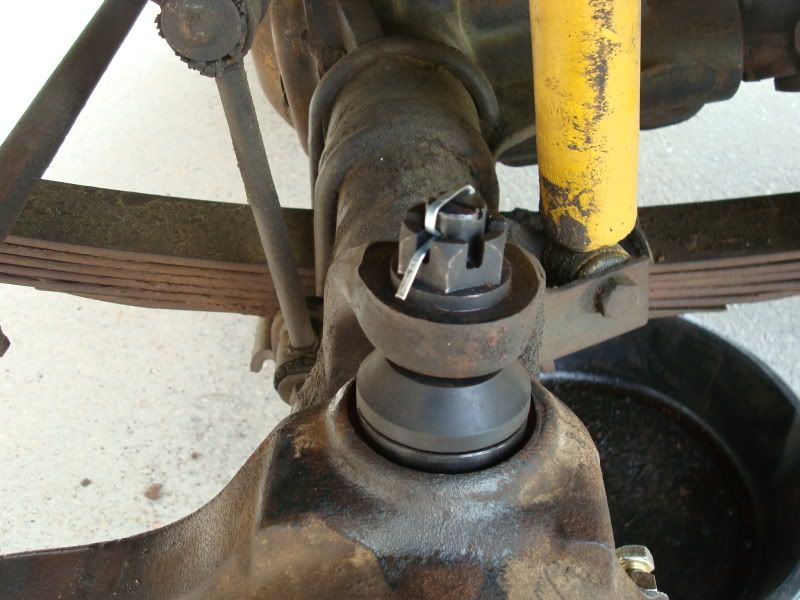
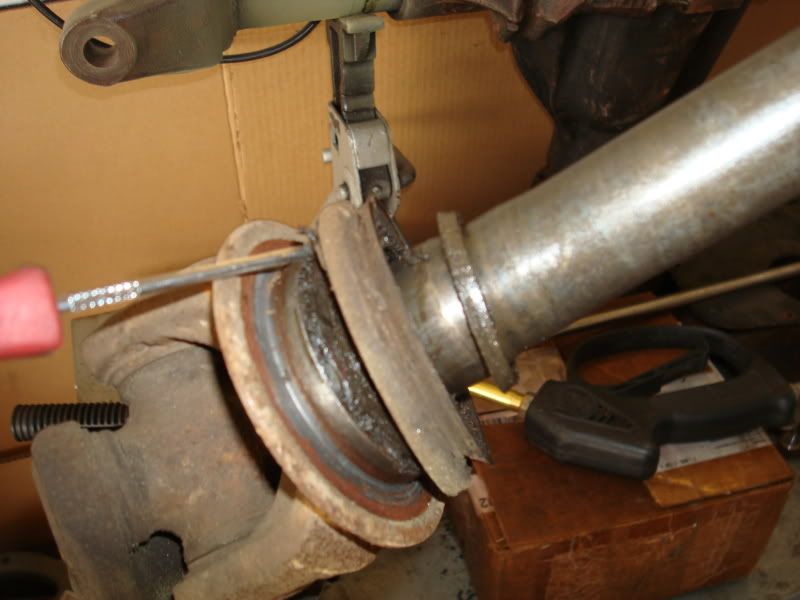
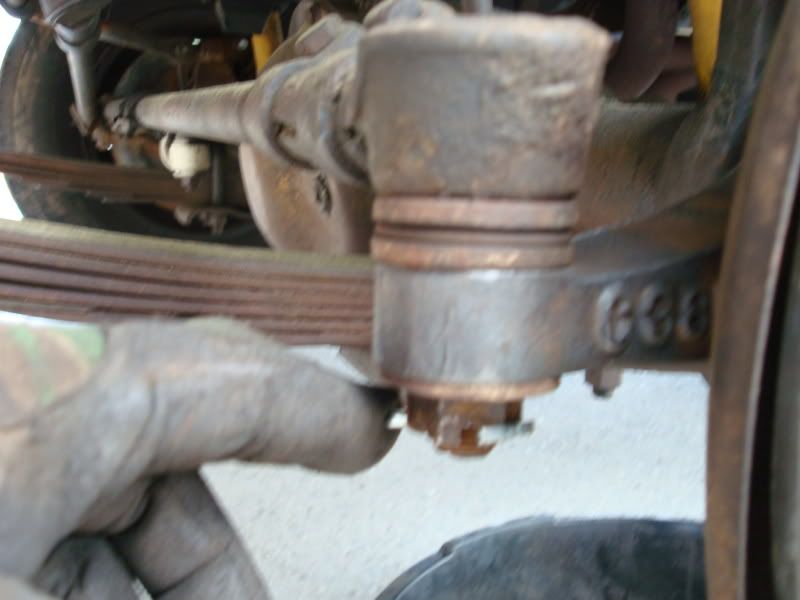
 . Luckily, I plan on replacing both ball joints, so I don't care if I tear them up. I used a pickle fork, and a small sledge to seperate the knuckle from the axle housing. The reason you leave the lower ball joint nut on is so when the knuckle breaks free, it doesn't fall on your toes.
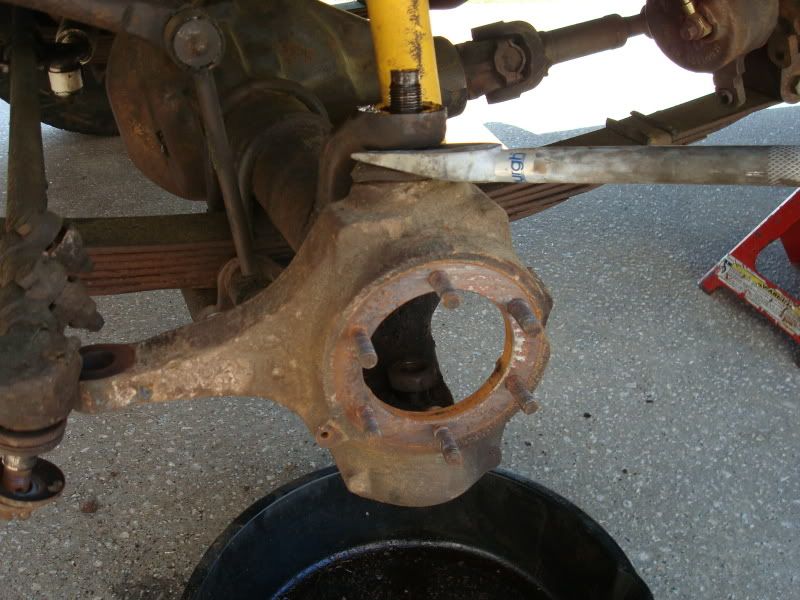


Comment