
 Tweet
Tweet
I following the same road, just with Desert tan. It will be very similar I think. Matching the rattle can color I like to the paint and tinting for the raptor bedliner that I plan to spray it with. I am thinking two tone and doing the rocker panels black bedliner.
-
-
I'm painting the whole truck with Raptor. I have two gallons of tintable Raptor and a half gallon of paint without binder in it to tint the Raptor with.
I got the idea from a guy who painted his whole ratrod with it (black). He reduced it 10% and shot it with a 1.4mm jet in the spray gun. It self-levelled really well and had the satin finish I want.Originally posted by ResbumComment
-
Yesterday Tnfalconer sent me a PM. I thought there was a lot of good info in his question and my reply so I asked him if I could post his PM here.
If any experienced body people read this and see an error PLEASE feel free to speak up. Now is the time to correct things
Resbum
Originally posted by Tnfalconer
Thanks for sharing the first-hand working experience with Raptor. It goes exactly with everything I've learned about the stuff. From what I've learned, if you apply the Raptor wet-on-wet to the primer, after it's flashed, it will chemically bind to the primer well. However, you can't apply the Tiger seal to the primer until it's completely off-gassed. And, I don't completely trust just chemically binding. So, I am going to have to rough up the primer before applying the Raptor. That's actually what I spent the major part of yesterday doing and was going to be a part of my next post to the build thread.
Here are the materials I'm using and the sequence I'm going to follow to apply everything.
Materials:
2 gallons U-Tech E380/381 (grey/black) epoxy primer
4 tubes U-POL Tiger Seal (seam sealer)
2 quarts OMNI MBC paint WITH binder
2 quarts OMNI MBC paint WITHOUT binder to tint the Raptor
2 gallons U-POL Raptor Bedliner
Sequence:
1- E380 primer was designed to go over media blasted surfaces. Any surface that wasn't blasted I stripped to bare metal and left a 120 grit texture.
2- Let the primer cure, then thoroughly scuff with 180 grit. There will be no shiny areas left. I also give it a light skuff with 80 grit.
3- Apply Tiger seal to all seams.
Note- This next step was recommended to help, 1) Get the color coverage without using so much of the Raptor (save some $$$) 2) Help give the Raptor something to chemically bind to, as well as, mechanically bind to.
4- Using the OMNI MBC paint WITH binder, shoot a light coat of paint onto the roughed up primer. It will mechanically bind to the primer.
5- After the OMNI MBC WITH binder flashes, but while it’s still wet, shoot the tinted (OMNI WITHOUT binder) Raptor top coat. The initial light coat of paint will still leave some of the rough primer surface exposed for the Raptor to mechanically bind to. The Raptor will also chemically bind to the still wet initial light coat of paint.
I’m new enough to bodywork/paint to not know if this theory is true, but in thinking it out, it does make sense that this will help everything mechanically and chemically bind together.
Again, if any experienced body people read this and see an error PLEASE feel free to speak up. Now is the time to correct things
ResbumLast edited by Resbum; 02-24-2013, 06:28 AM.Originally posted by ResbumComment
-
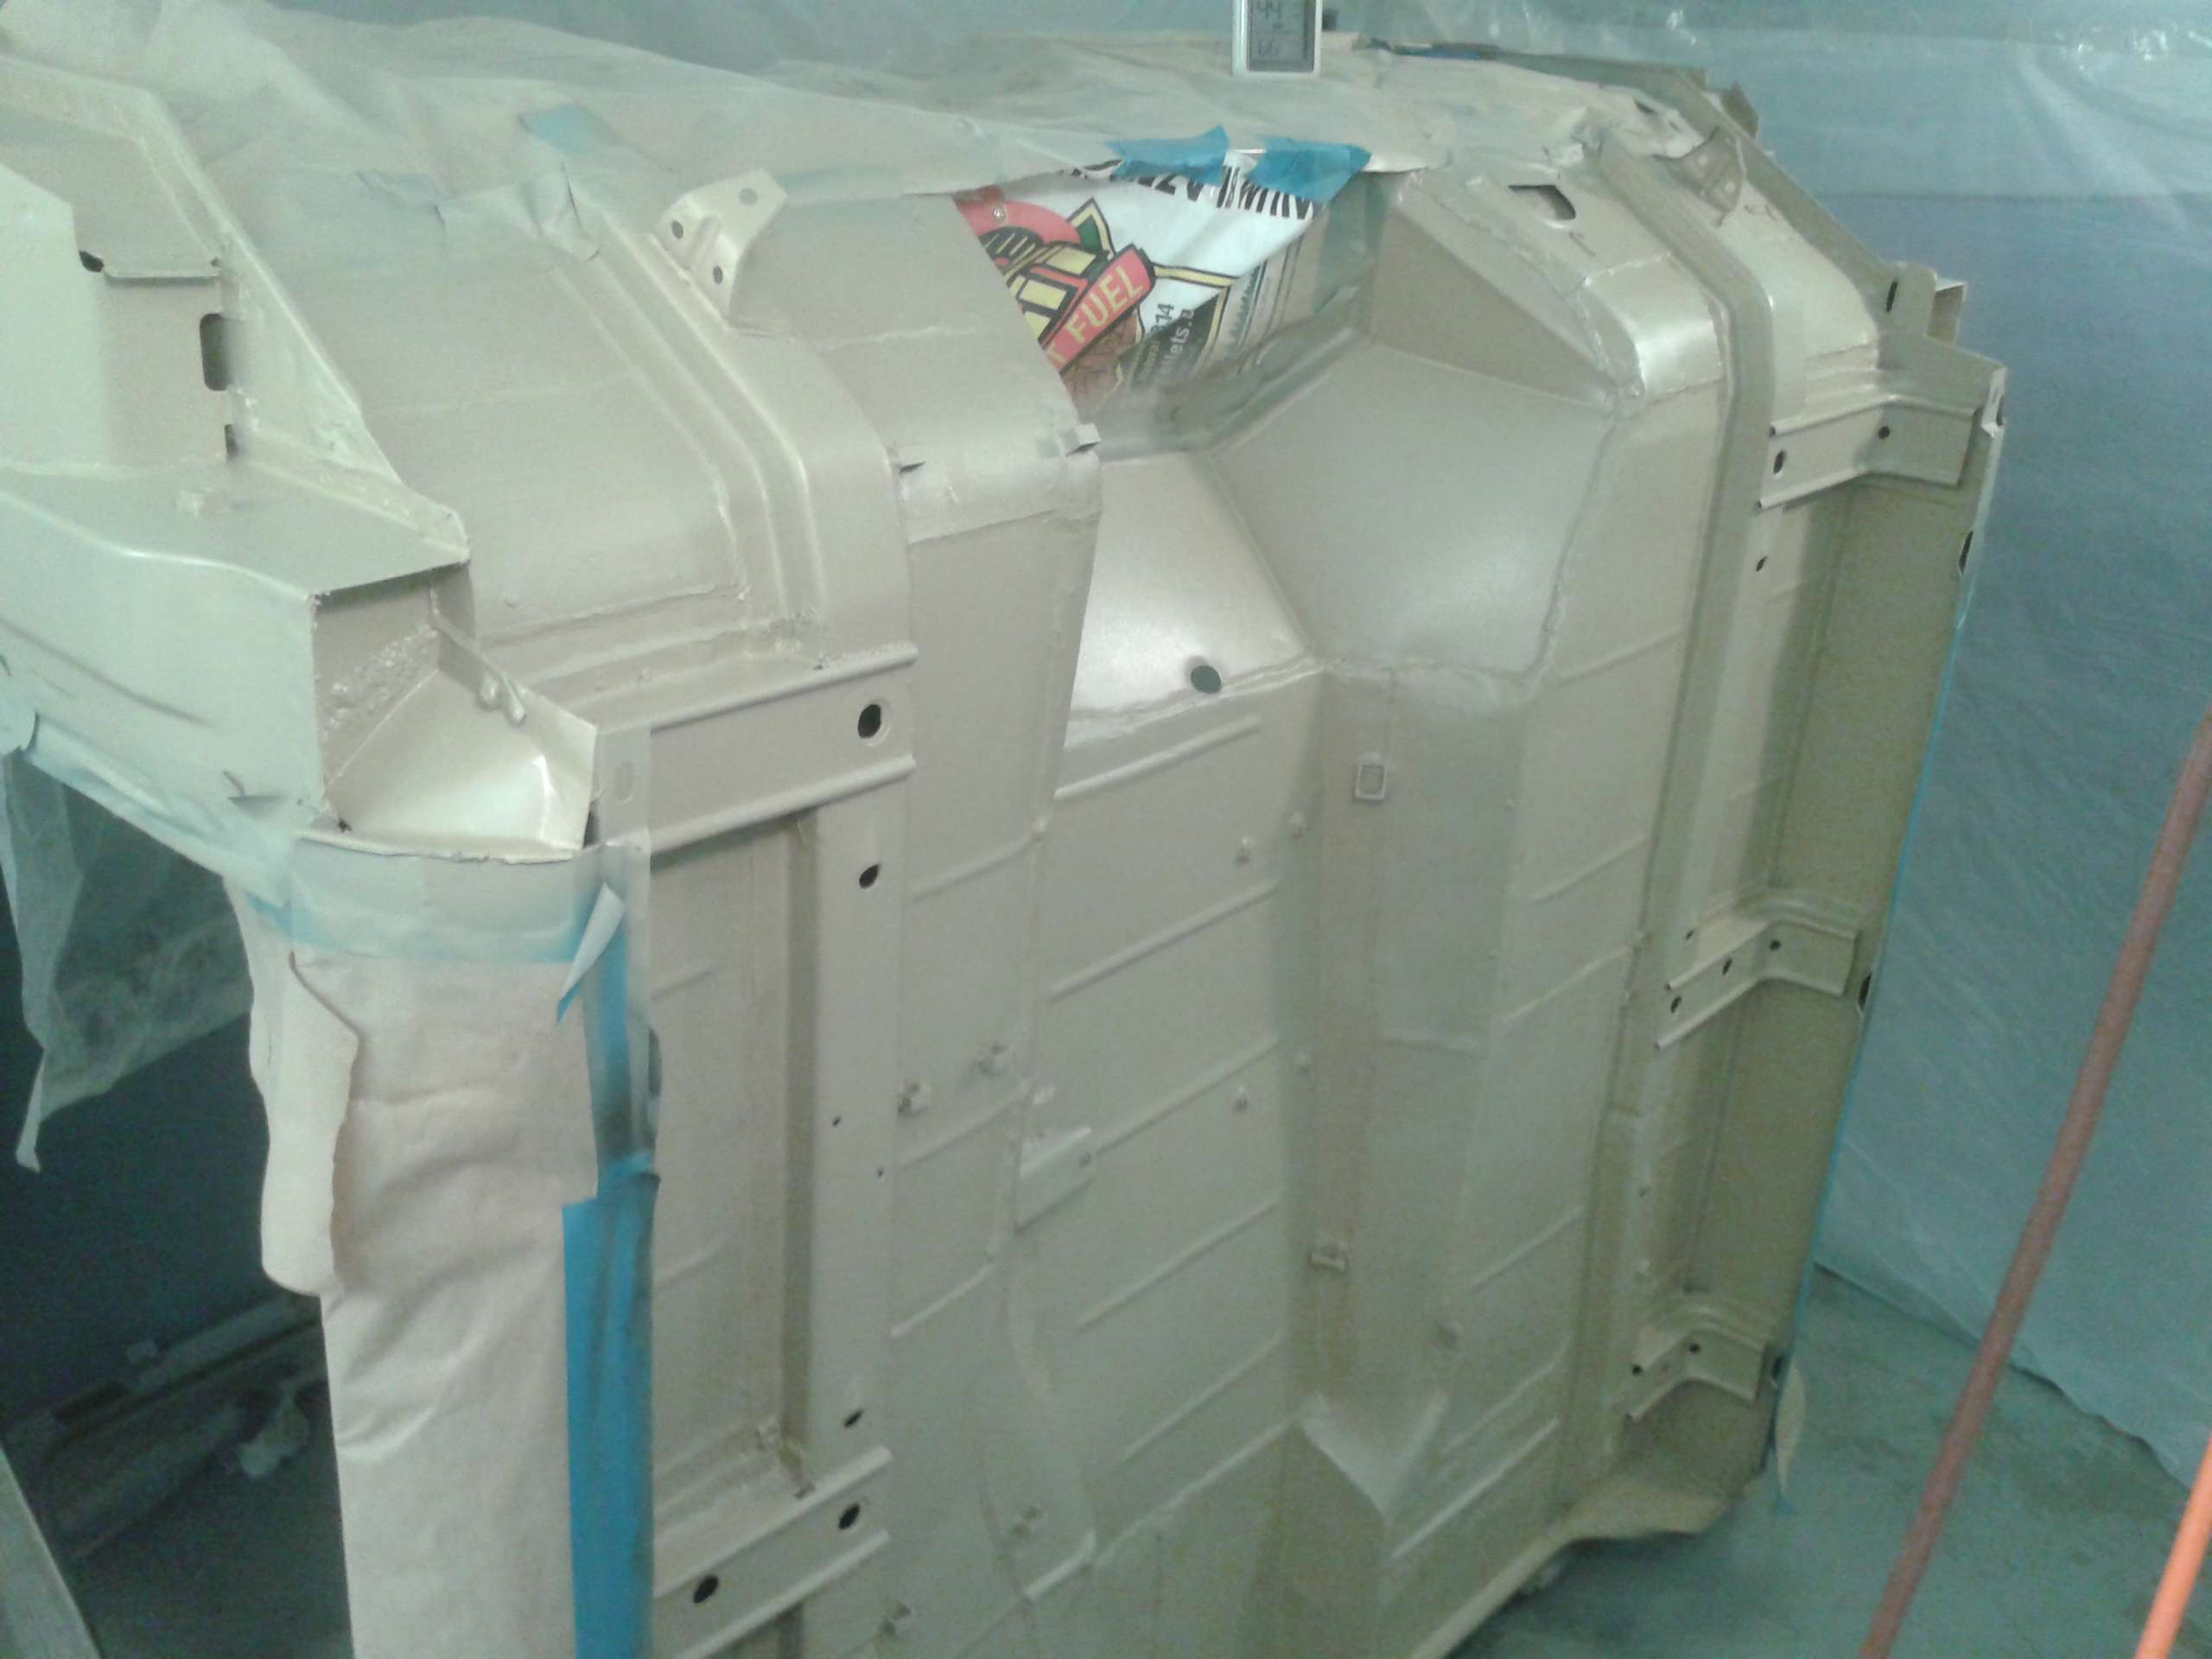
IT'S ALIVE!!! Franken-cab is now seam sealed on the bottom. My hands are very sore and tired from squeezing the chalking gun handle so many times. It's amazing how many seams there are when you've notched the firewall, replaced the floors, made a new trans tunnel, and replaced one rocker panel.
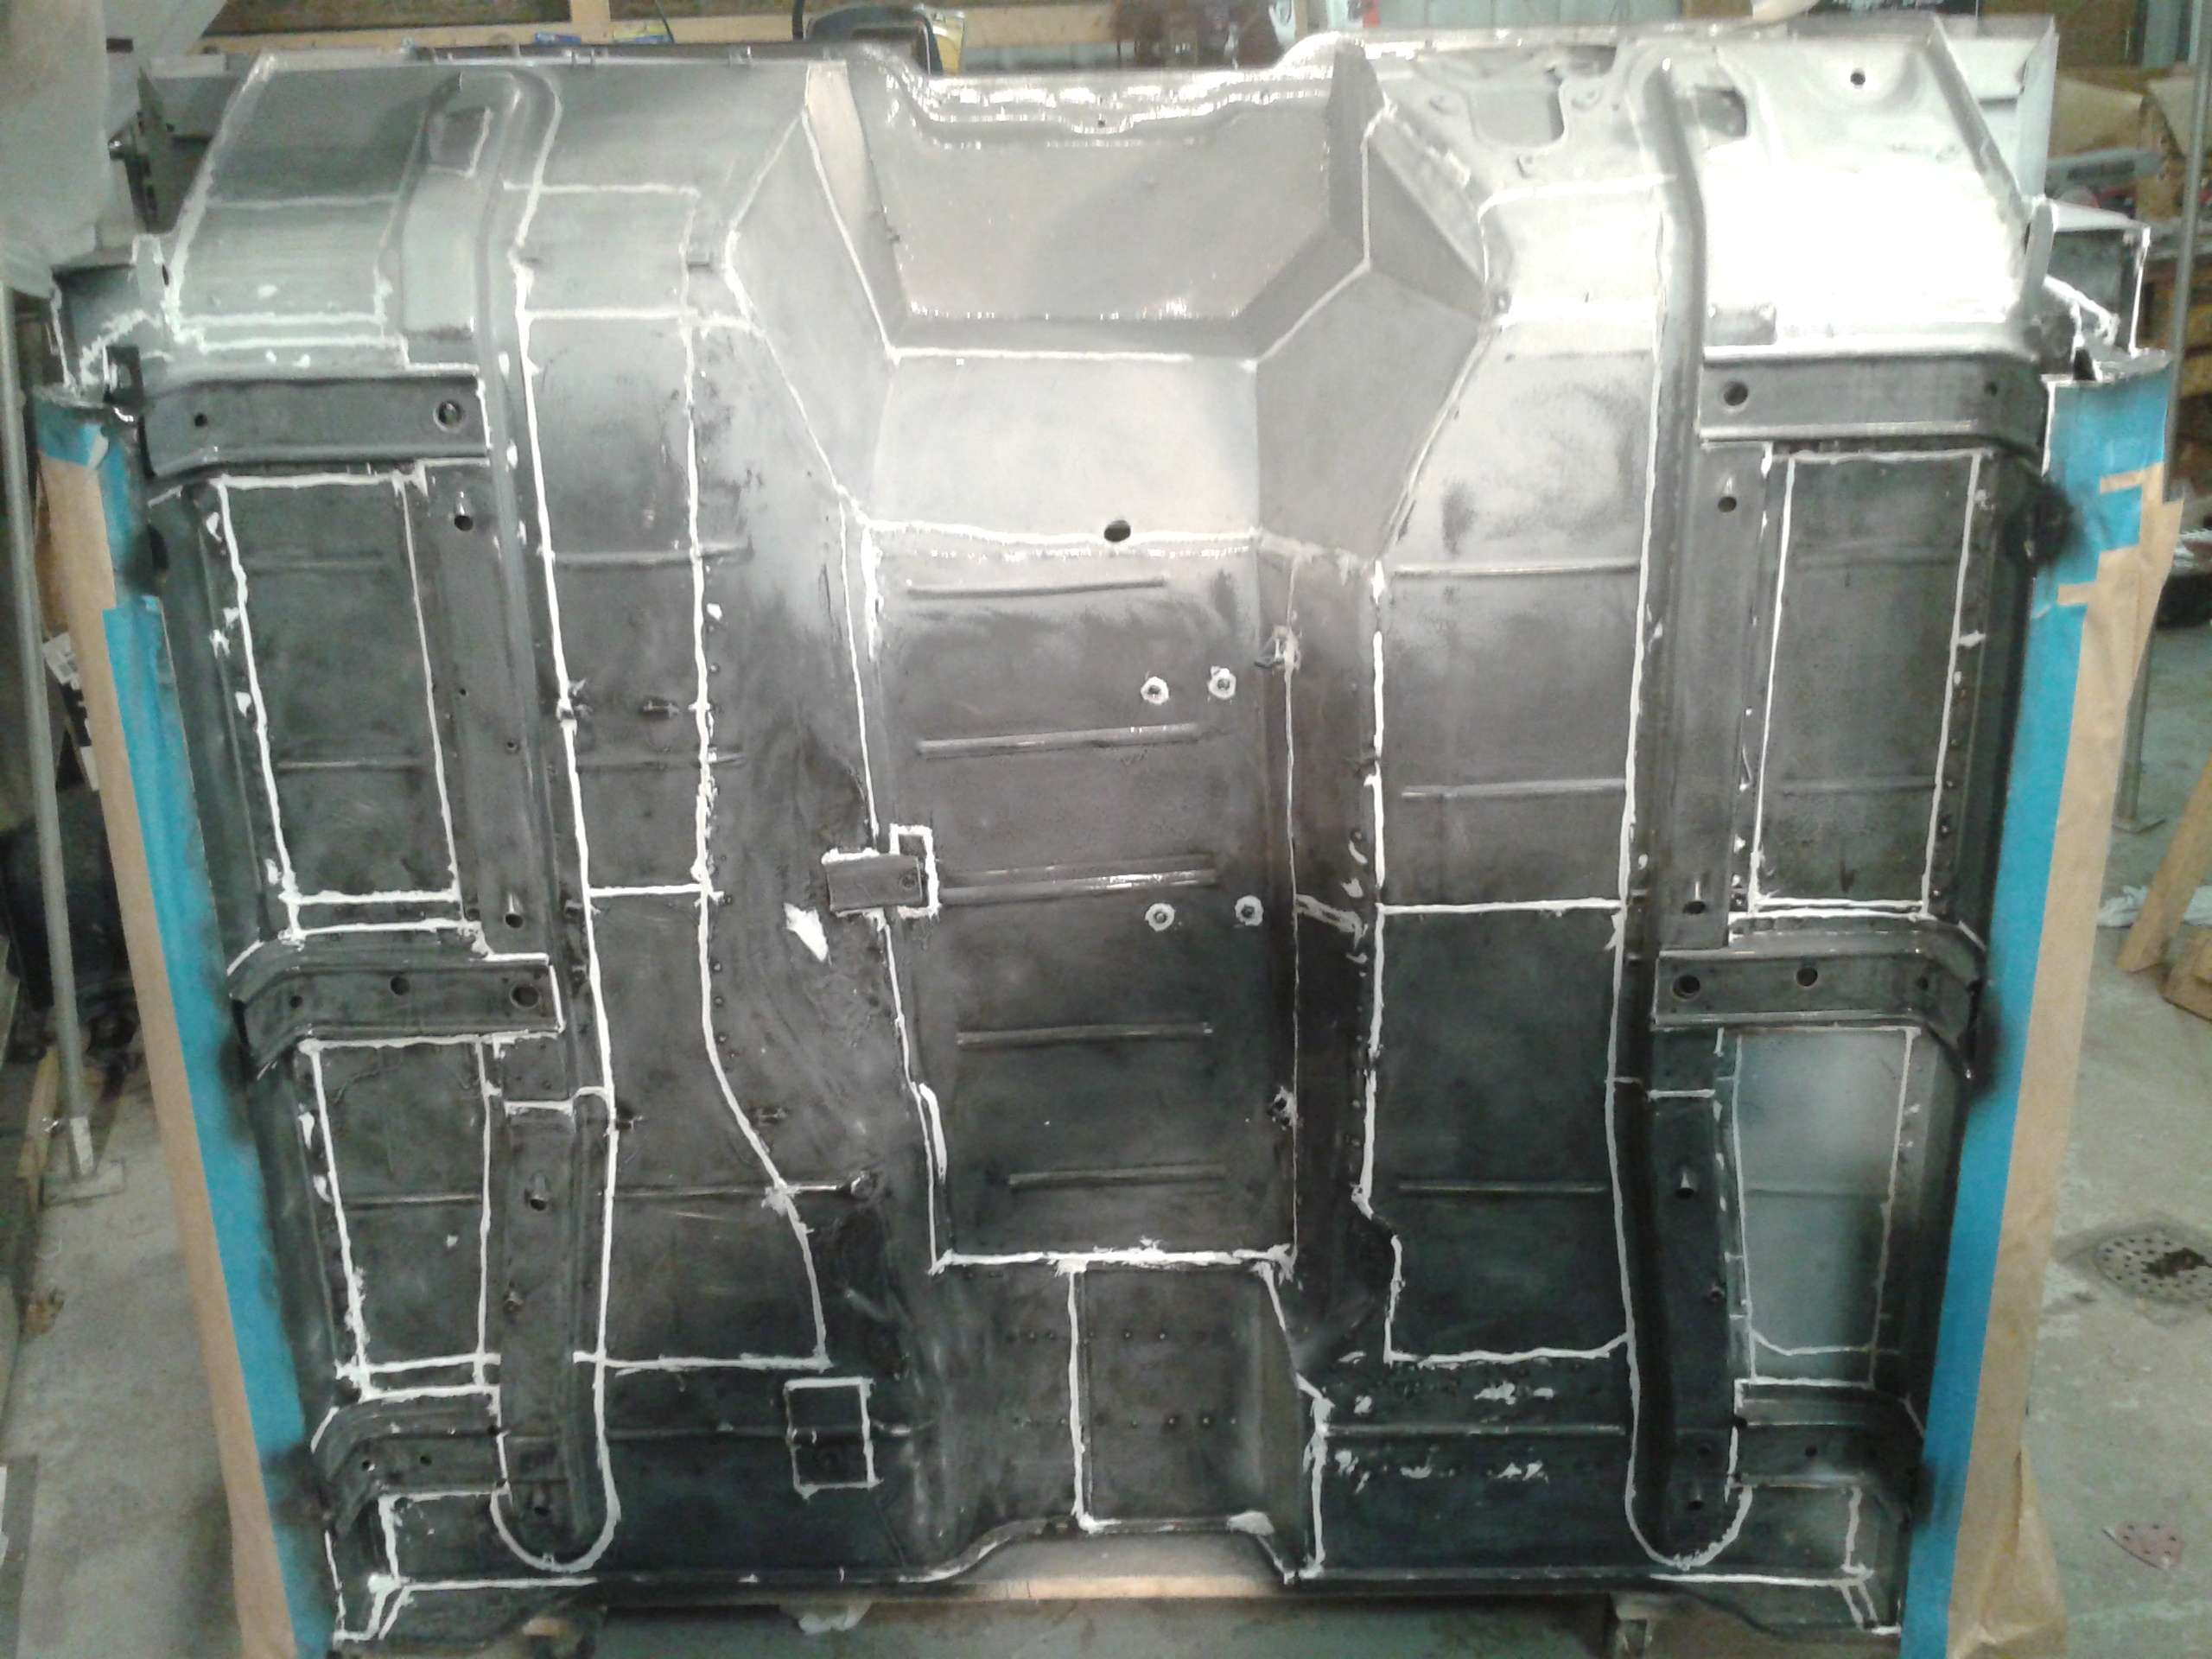

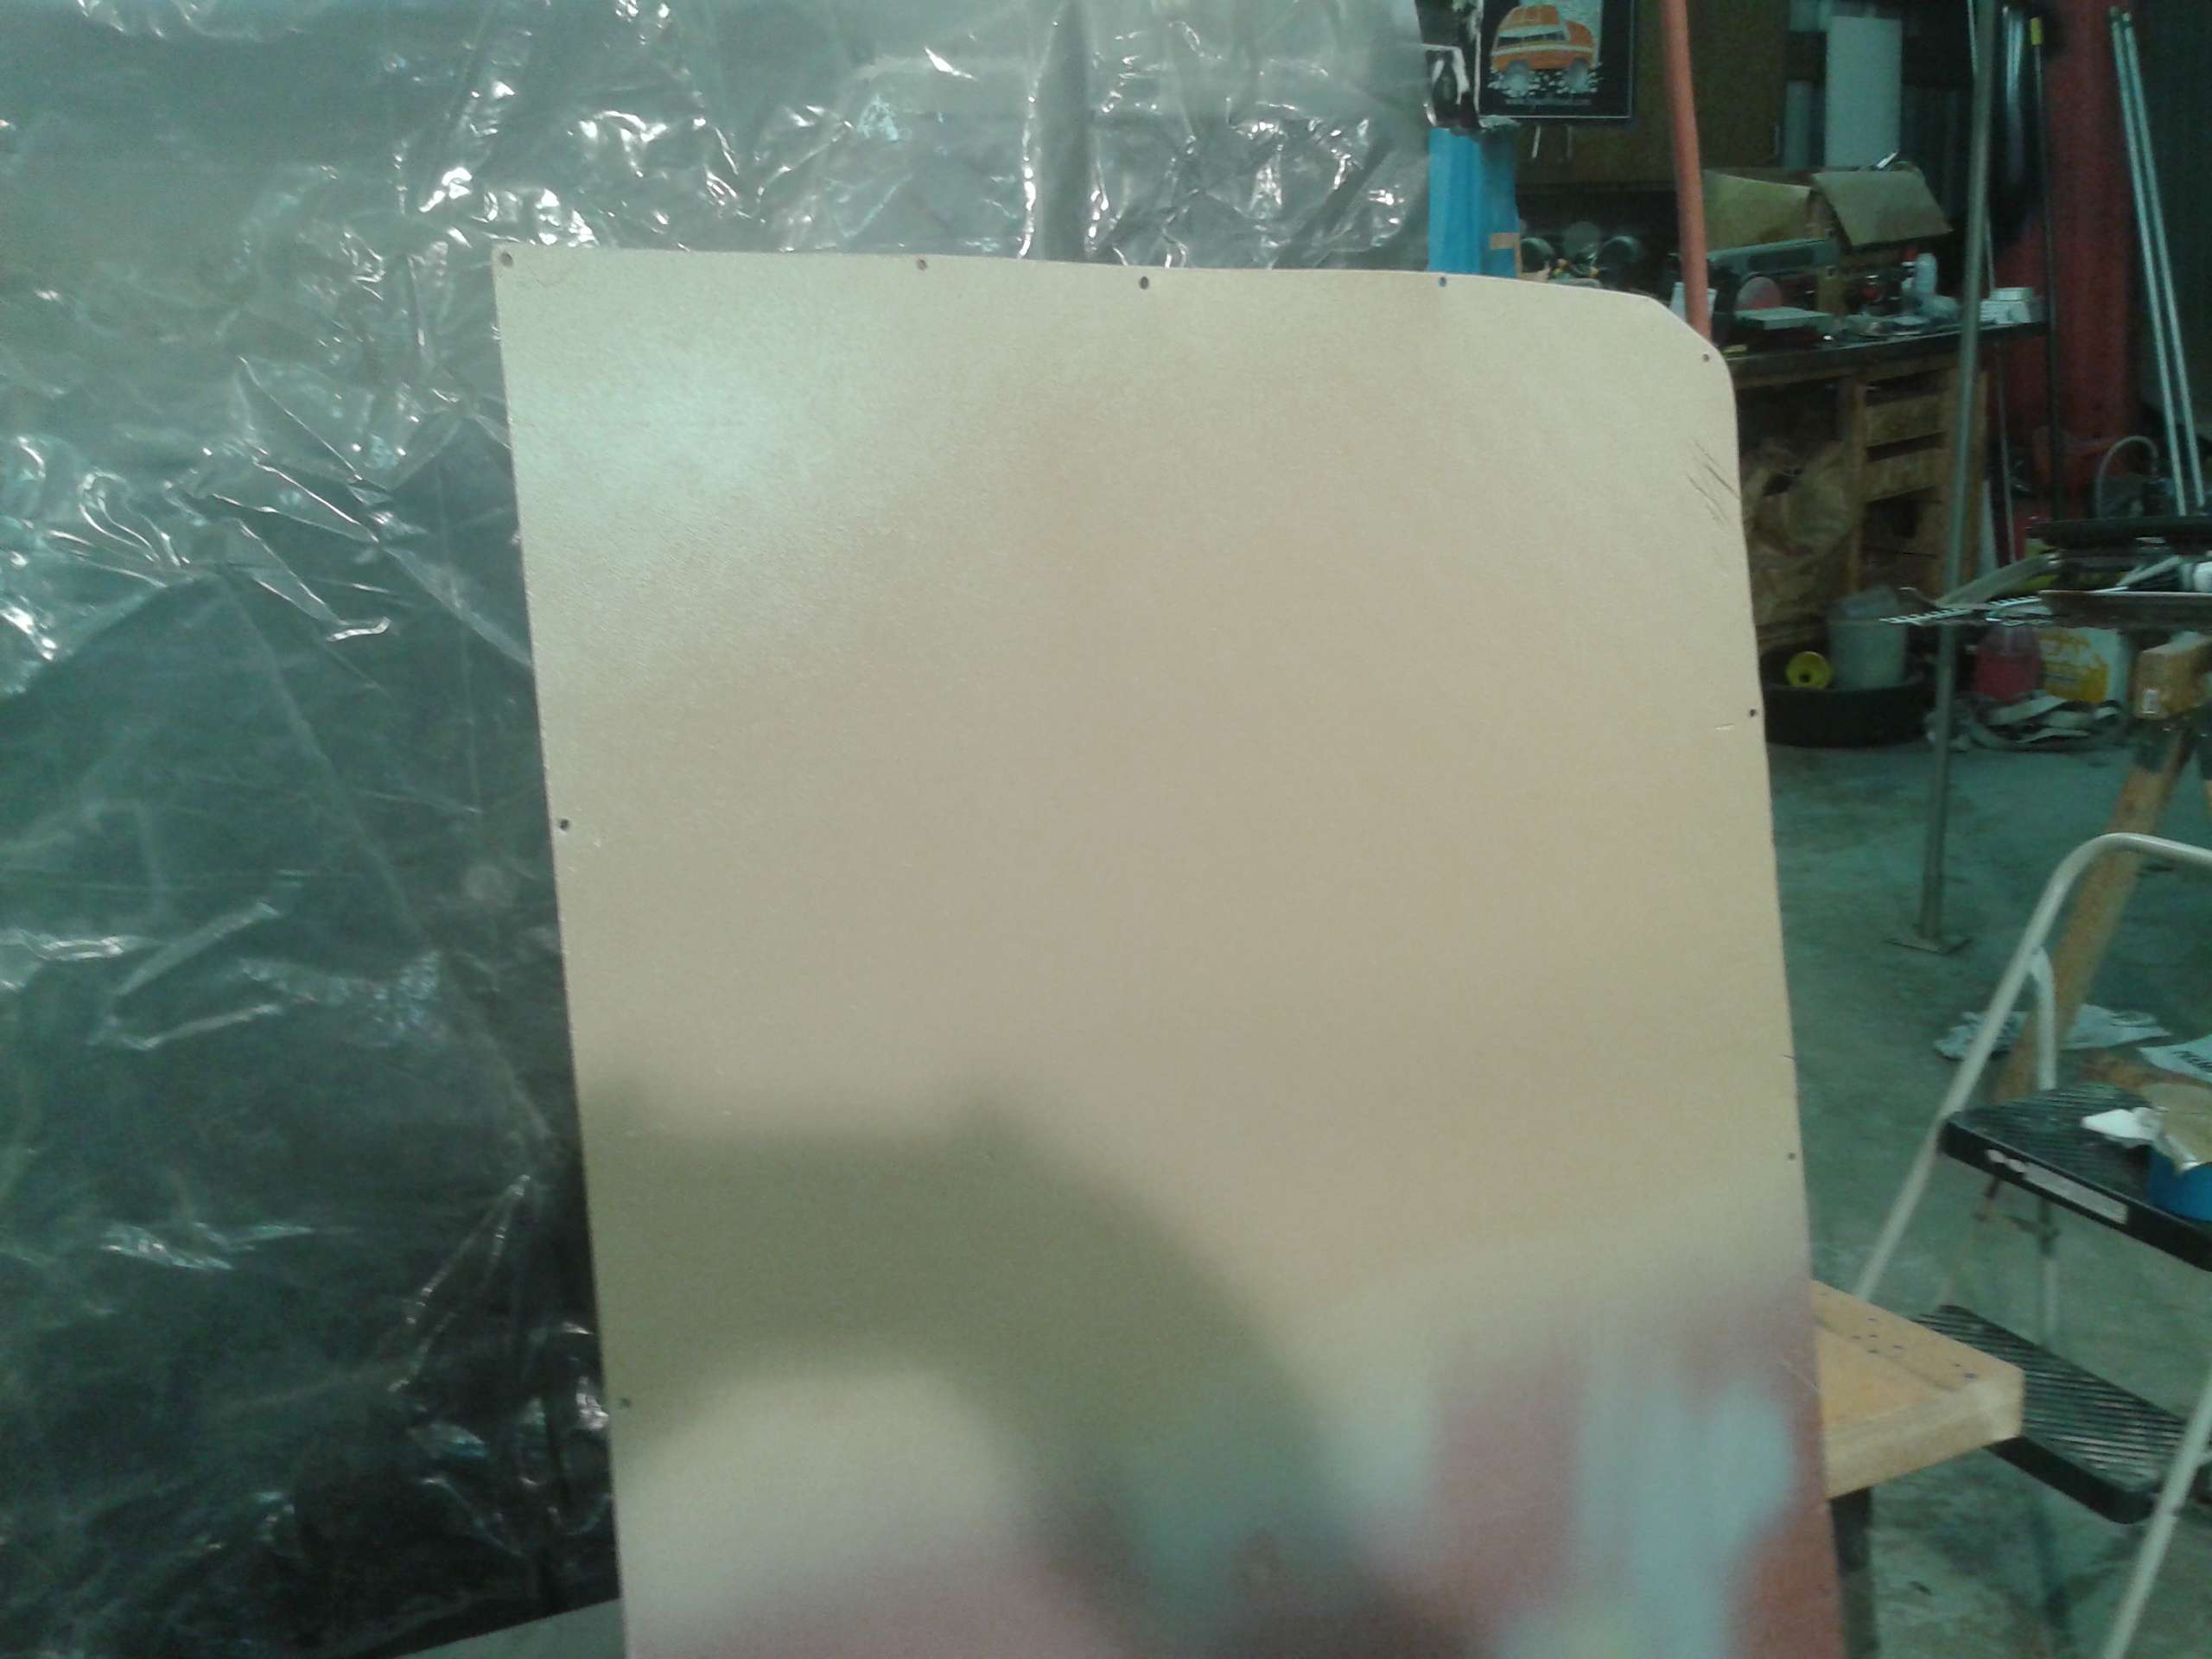
I ended the day reviewing all the tech data sheets for the OMNI paint and Raptor bedliner. I then setup up the piece of sheetmetal I've been using to practice primering on and shot an experimental layer of the Raptor, following the guidelines I explained in the last post. The texture is not quite what I want, so I still need to fine tune that, but everything went really smoothly. The picture doesn't really show it, but the color is the perfect Cummins Beige I was shooting for.
 Last edited by Resbum; 02-19-2013, 06:19 PM.Originally posted by Resbum
Comment
-
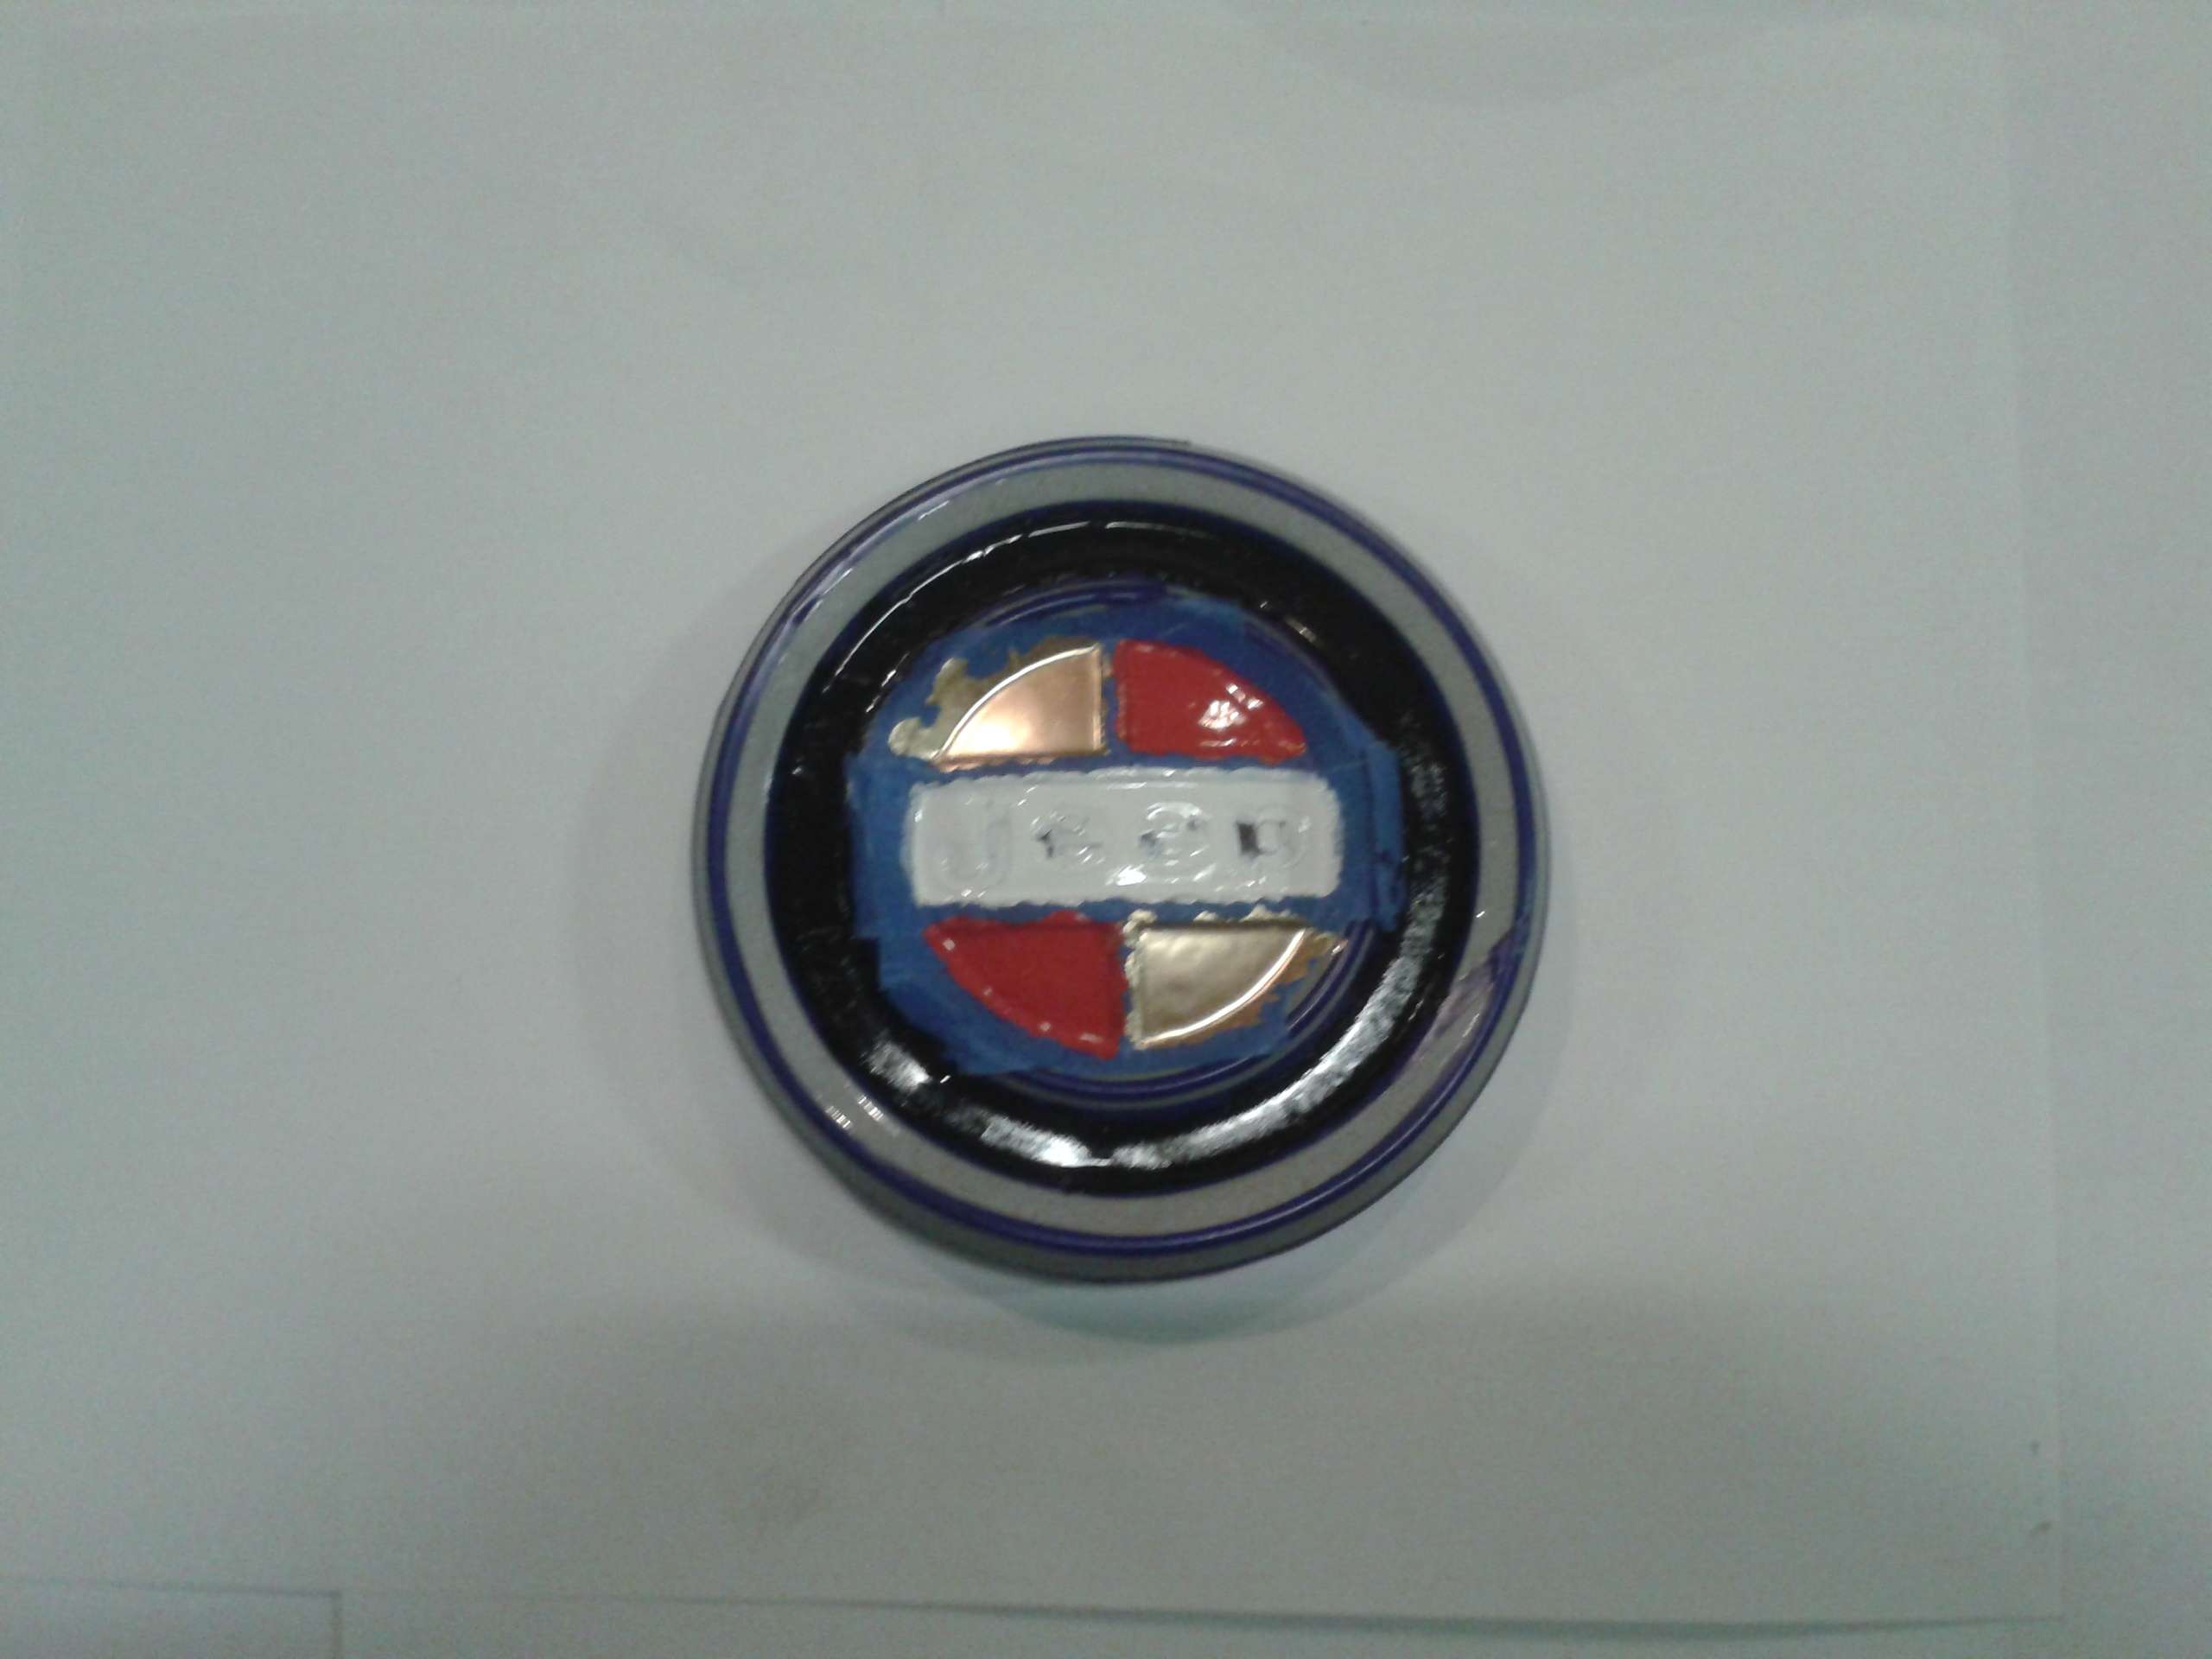
Here's something I've been working on in the evenings while watching the boob tube. I've experimented with three types of paint and right now good old Testors model paint is working the best. Unfortunately, the colors aren't as exact as some of the other paints I've tried, but they weren't working at all.
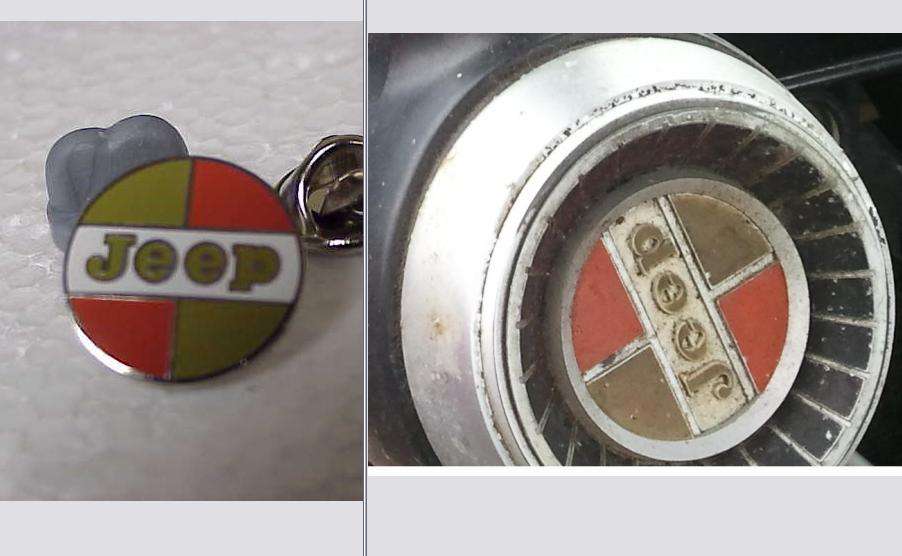
This is not the final product, so it doesn't look that good half finished with all the tape on it.
 Last edited by Resbum; 02-20-2013, 06:04 AM.Originally posted by Resbum
Comment
-
Looking good! I am interested to see the finished sprayed product. What consistancy are you looking for? Or rather what "grit" as a reference? I am doing some test patches on different colors. I think I may go with something a little darker that I origionally planned.Comment
-
The ratrod I saw that inspired me to try it was literally smooth. The Raptor self-levelled really well. It looked like paint. The only reason I knew it was Raptor was because the guy told me. His car was in a parking lot and I liked the satin/low gloss look so I walked over and asked what he did to get it.Originally posted by Tnfalconer
Ironically, I had already bought one gallon of Raptor for doing the bed and bottom of my truck, so I only had to buy another gallon. I had learned about Raptor from Clover Park Tech College when they were doing all the sheetmetal work on the cab. I later learned one of the project cars I had been looking at there had also been sprayed with Raptor and it was smooth, also.
The test area I sprayed yesterday had the "grit" of sand/salt, but not as pronounced. I used a "fast" reducer, so I think the next time I shoot I'll use the "medium" reducer and reduce it just a little more. That should help it self-level better.
I have all the areas of the truck nobody will ever see to experiment on. I won't shoot the visible areas until I'm getting the results I want.Last edited by Resbum; 02-20-2013, 01:06 PM.Originally posted by ResbumComment
-
I like it. I had a similar thought, that if I was going to shoot it everywhere I wanted it with a low "Grit" as it will be harder to clean. However the higher the grit the tougher and more rock resistant it will be. I am sure there is a point where thinning it too much will become nothing more than a urethane paint. Are you planning any contrast to the beige? Rocker panels, bedliner or anything? I have been doing some colr comparisons on my cab with rattle cans and I really like the coyote (khaki) against the desert tan. It will take more thought on my part but I am liking what I see..Comment
-
I'm not planning on doing any color contrasts. I am thinking of doing the bottom 6" and the fender flares in the traditional bedliner texture. I haven't decided yet.
This morning, when I got to the shop, I looked at the test panel and its texture started to grow on me. I loaded the panel in the car and drove around asking everybody what they thought. Everyone thought it looks good, so I think I'm going to paint the truck with a slight texture to the finish.
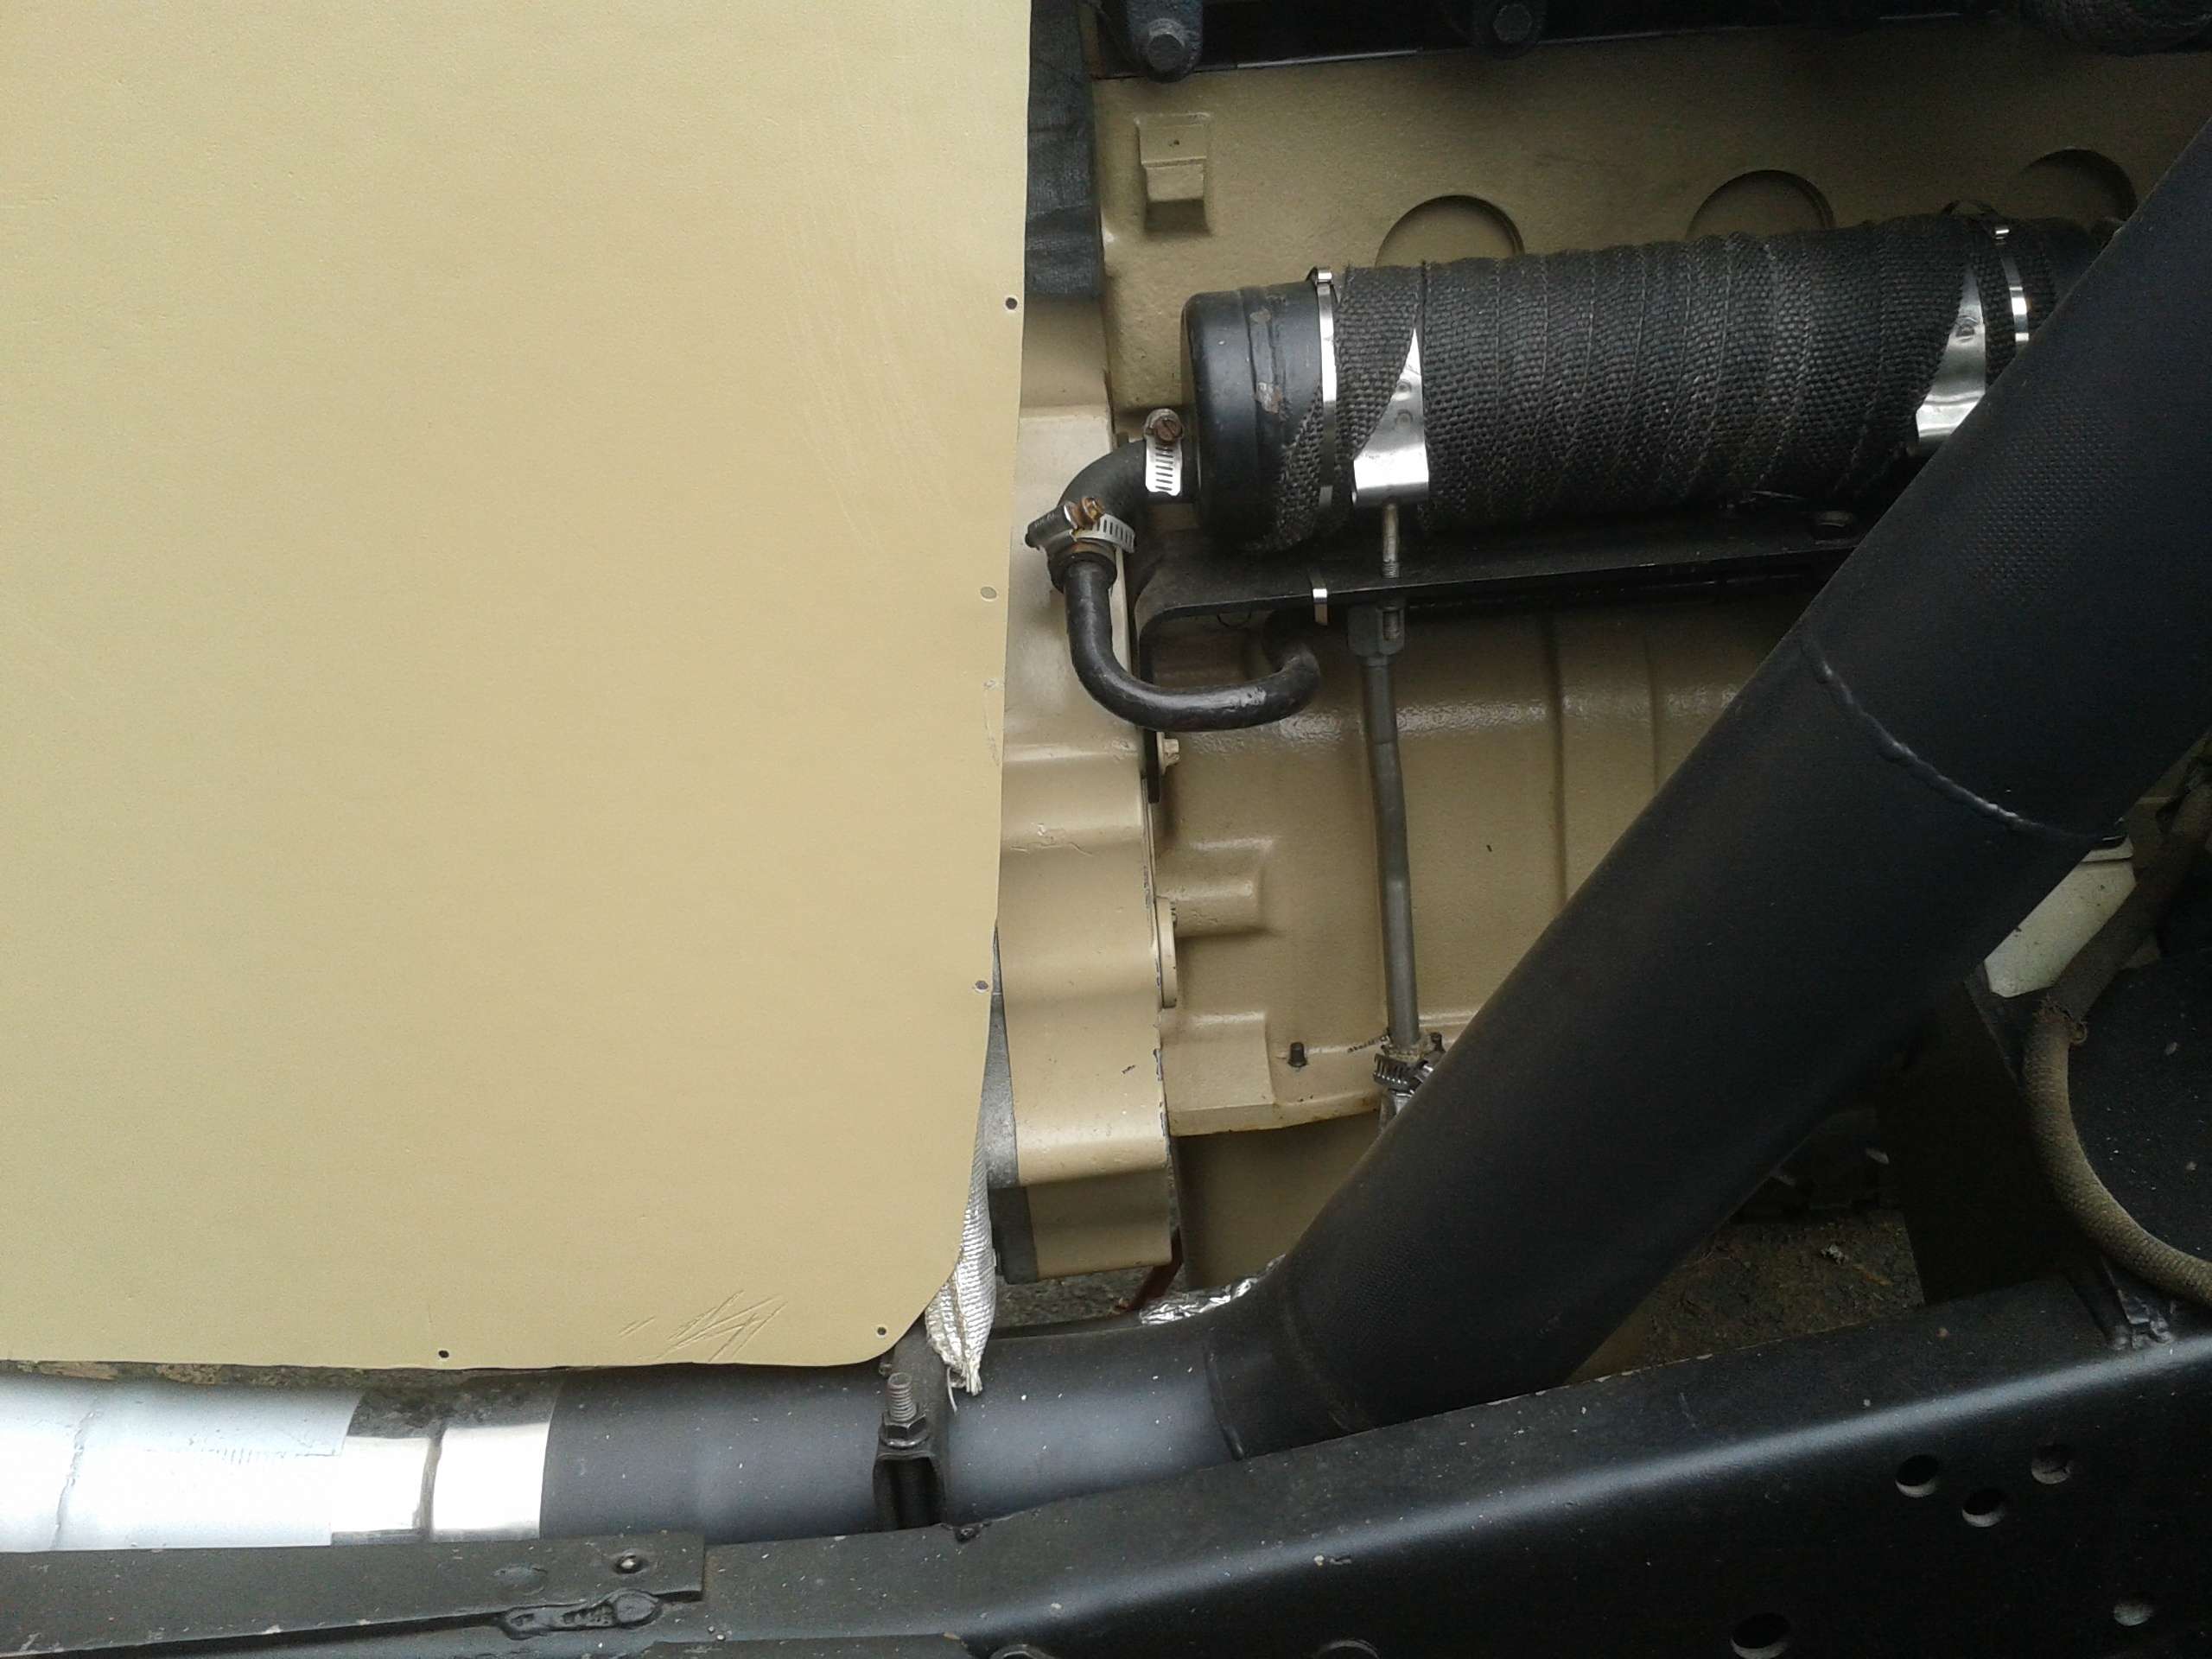
This is how wacked out my phone camera is. I took these two pictures one right after the other and this is how different they came out.
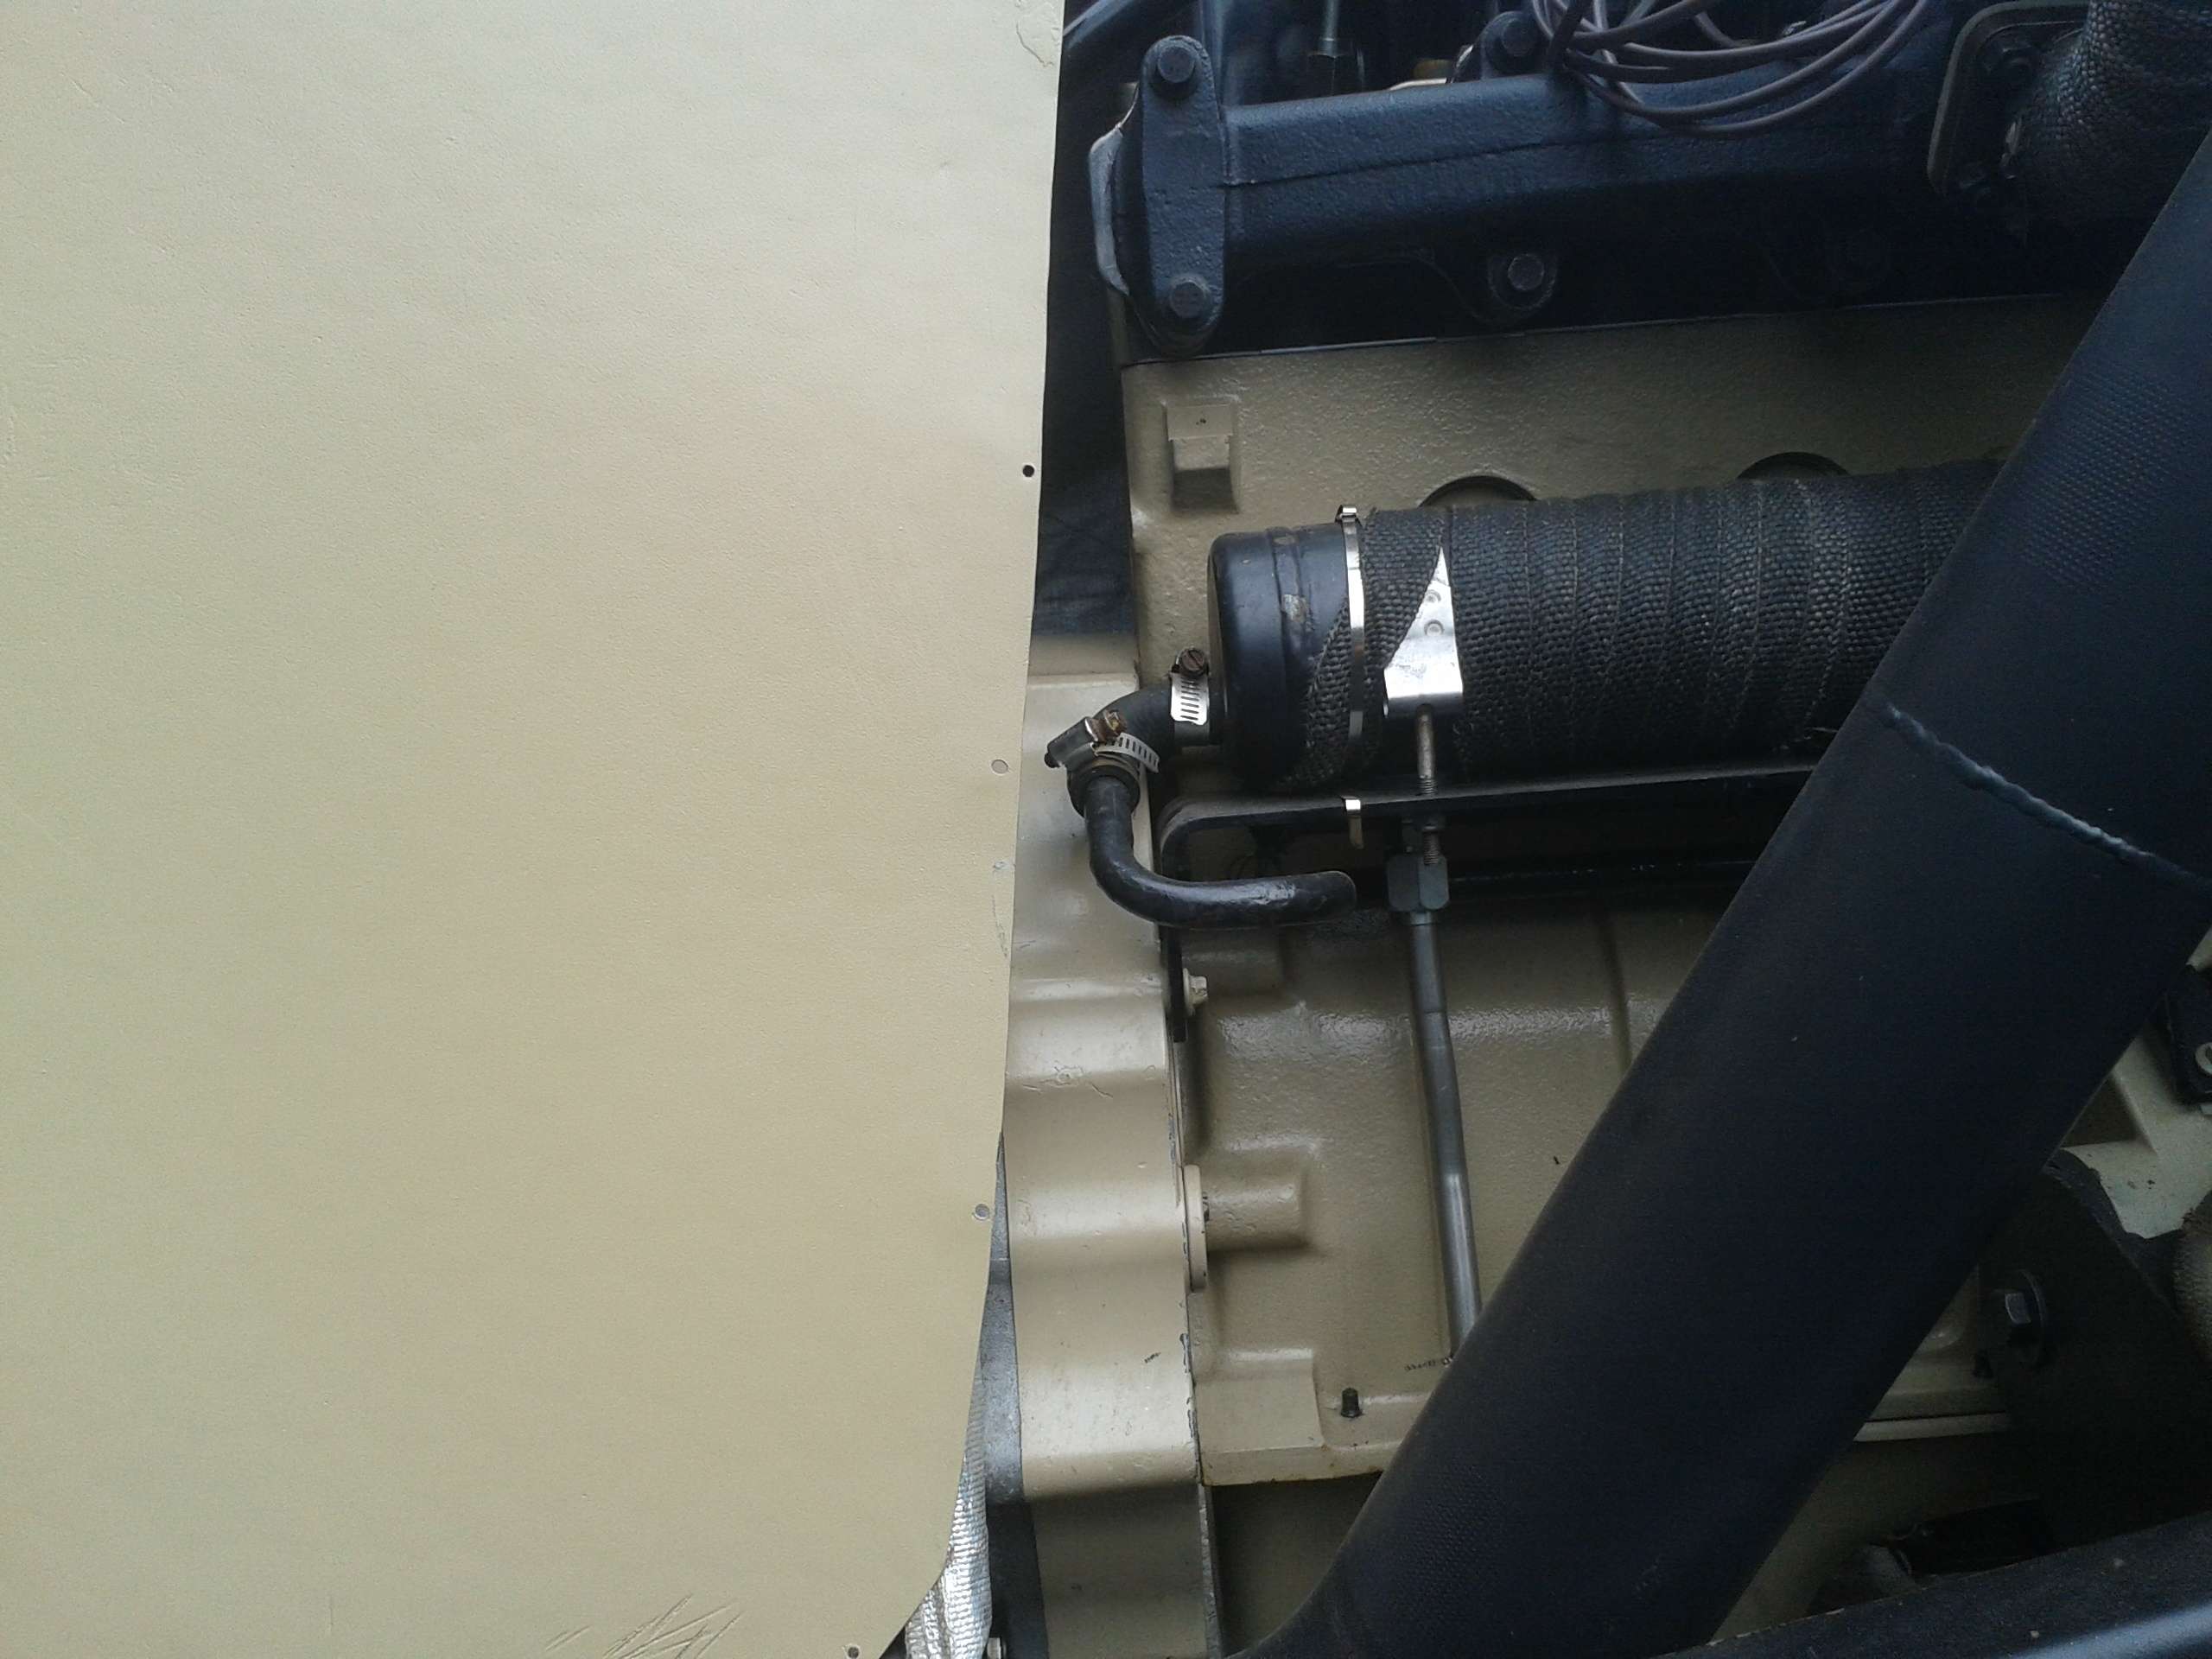
The test panel next to the engine. The block is slightly shaded by the exhaust manifold. As near as my eye can tell they're the same color.
 Originally posted by Resbum
Comment
-
your sandblaster
i would like to know what sandblaster you were using and what your thoughts on it are? what media did you use?76' J20: 401/th-400/quadComment
-
It's one of the Harbor Freight Cheapo's. It took a fair amount of modifying of the air lines and plumbing and a different nozzle to get it to work somewhat well. The biggest trouble it really had was being extremely touchy to humidity in the compressed air.Originally posted by 1975_jeep_j10
The media was the black media from harbor freight.
Any time I buy anything from Harbor Freight I don't hold high hopes in it performing well. Once in awhile you buy a jewel from there that works great. Harbor Freight is cheap. You get what you pay for.
For the types of projects I plan on ever using it for in the future it will do the job now that I debugged it. Would I do the semi-major kinds of projects like I did on the truck again? Probably not.
My final verdict. I got what I paid for. I'm satisfied, but not overwhelmed.Last edited by Resbum; 02-21-2013, 07:20 AM.Originally posted by ResbumComment
-
WOO_HOO!!!! The truck has the first of its color! Too bad my phone camera isn't taking very good pics.
 Originally posted by Resbum
Comment
-
Looks great! Nice and clean with the bedliner. It fills in all the little nooks and crannies. Smooths everything out. I like it.
Comment
-
thanks for your feedbackOriginally posted by Resbum76' J20: 401/th-400/quadComment
-
Wow, that looks really good!Life Priorities:
1. God
2. Wife
3. Children ( Lane )
4. Work
5. Wagoneer
Man it is hard to keep them in the right order!Comment


Comment