1985 J20 slow build/resto: The Enprissening

Collapse
X
 
  • Filter
  • Time
  • Show
Clear All
new posts
  • DarkMonohue
    Shakes hands with danger
    • Jul 01, 2012
    • 1145

    1985 J20 slow build/resto: The Enprissening

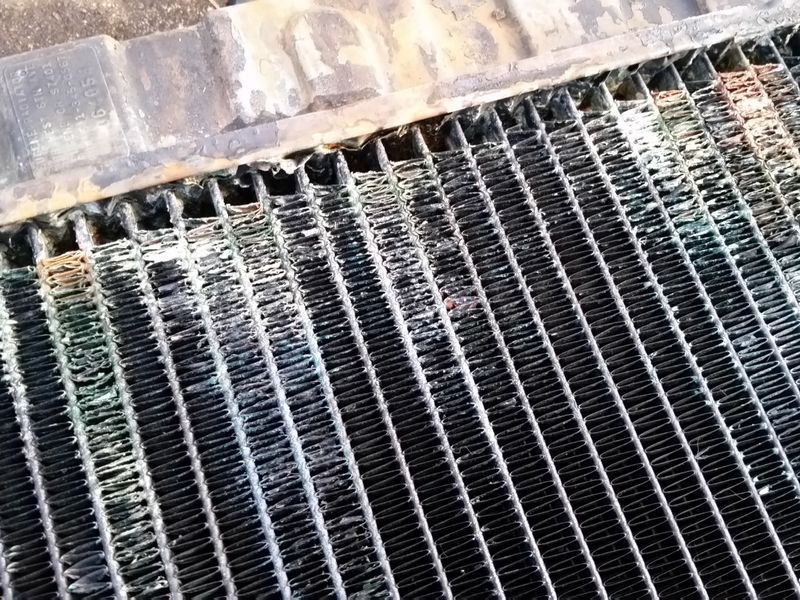
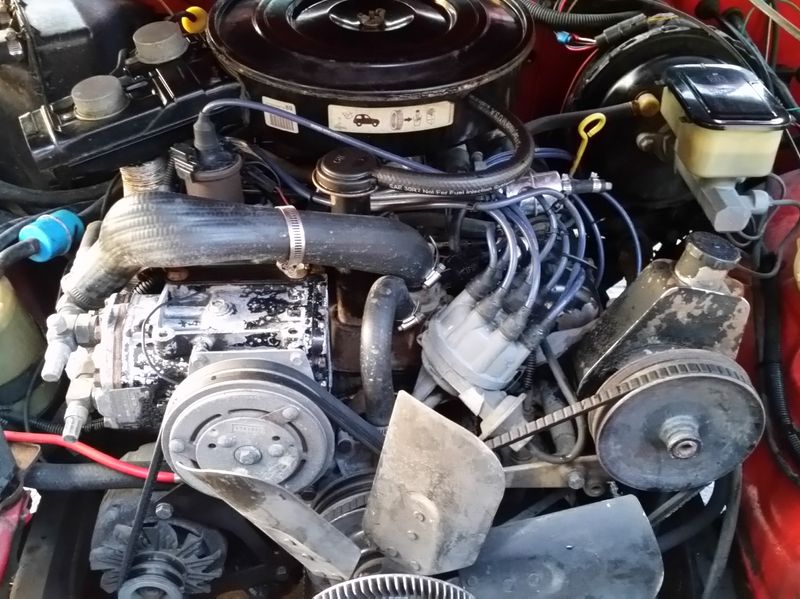
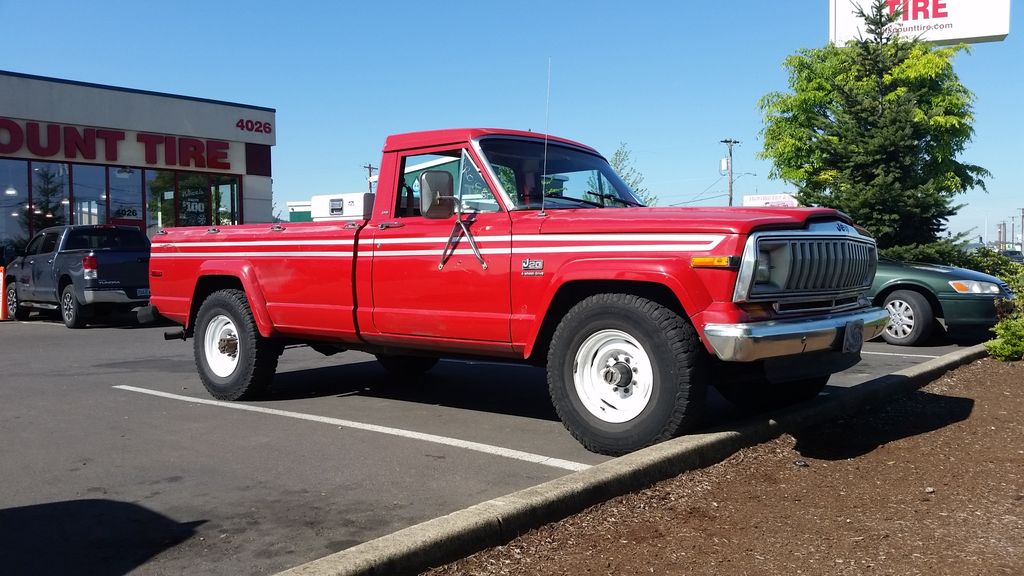
    This is a very slow-moving project on a very low budget. The goals are to make the truck more usable and reliable while keeping it fairly close to stock in spirit and appearance.

    When I first joined here, I started a thread (click here) to introduce myself and my J20. We are now well past the intro stage, so it seems like a good time to start a build and restoration thread and pick up where the intro thread left off.

    Over the last couple of years I've been collecting parts and making mental lists of things to work on. From here forward they'll be listed as they are addressed. Other issues that have been dealt with but not yet documented may sneak in here and there as well.


    Project #1: auxiliary fuel tanks

    These trucks only have about an 18 gallon gas tank, which typically gives you less than 200 miles of range between gas stations. One of the POs had some auxiliary tanks installed in the bed of this truck. Together they should hold about 28 gallons of fuel. That would more than double the range of the vehicle.

    Try to ignore the leaves and clutter. It has since been removed. Here are the tanks.


    However, there are some issues to sort out before the tanks can be used:

    1) The forward corners of the truck bed have some surface rust and paint damage. They need to be cleaned up and protected before the tanks go back in.
    2) The tanks are rusty on the inside and must be cleaned out.
    3) The tanks have to be notched to clear the tool box that is now in the truck.
    4) These tanks were filled separately, one at a time. I want to fill them both at the same time from one filler on the left side.

    The big obstacle is #4. I'm not sure whether to build a crossover pipe that runs underneath the bed floor or one that connects the tanks near the top. Right now I'm leaning toward connecting them at the top with a length of 1.5" or 2.0" tubing, using a vertical section of tube to pick fuel up near the floor of the driver's side tank and transfer it to the tank on the passenger side, as such:


    Hopefully, if the tanks are connected that way, there will be less tendency for fuel to slosh from one side to the other, and the crossover will be well protected in the bed of the truck, forward of the tool box.

    Thoughts?
    Last edited by DarkMonohue; 04-13-2020, 09:28 PM.
    '85 J20 Old Man Truck, bought @ 65K miles - not great, but better than walking.
    Member, FSJ Prissy Restoration Association
    High quality junk here: intro thread and slow build thread

    Did you know? Willys is just Willis spelled differently, but pronounced the same. Neither Willy nor his apostrophe are involved.
  • DarkMonohue
    Shakes hands with danger
    • Jul 01, 2012
    • 1145

    #2
    Thinking more about this, it seems that a high crossover would not begin filling the right side tank until the left tank was nearly full. A low crossover under the bed floor may be the better way to go.

    The auxiliary tanks will vent into the factory tank vent system. A check valve will be installed if necessary to prevent fuel spillage.
    '85 J20 Old Man Truck, bought @ 65K miles - not great, but better than walking.
    Member, FSJ Prissy Restoration Association
    High quality junk here: intro thread and slow build thread

    Did you know? Willys is just Willis spelled differently, but pronounced the same. Neither Willy nor his apostrophe are involved.

    Comment

    • DarkMonohue
      Shakes hands with danger
      • Jul 01, 2012
      • 1145

      #3
      Someone was cranky this morning. Or, more accurately, not cranky. The starter would engage and turn the engine for just a second, and then the drive would disengage, leaving the starter motor whirring away.

      A local parts house had a Delco Remy reman starter in it (part number 25203) so I chucked that in. Problem solved. No pics because, really, it's just an ugly old starter.
      '85 J20 Old Man Truck, bought @ 65K miles - not great, but better than walking.
      Member, FSJ Prissy Restoration Association
      High quality junk here: intro thread and slow build thread

      Did you know? Willys is just Willis spelled differently, but pronounced the same. Neither Willy nor his apostrophe are involved.

      Comment

      • DarkMonohue
        Shakes hands with danger
        • Jul 01, 2012
        • 1145

        #4
        Since this is an old truck, it sometimes gets used as such. Today it assumed the role of yard waste hauler. The back yard is steep here and there. 4WD is handy.


        Here's a better shot showing off the very nice muscle grille HOOT was kind enough to sell me a while back. I like this a lot better than the Final Edition GW setup I initially put in.


        Seems I have the Midas touch today. The ignition coil on my string trimmer pooped the bed shortly after these photos were taken - in other words, as soon as the work area was in the shade and I could get some work done. Ain't that the way.
        Last edited by DarkMonohue; 04-13-2020, 09:44 PM.
        '85 J20 Old Man Truck, bought @ 65K miles - not great, but better than walking.
        Member, FSJ Prissy Restoration Association
        High quality junk here: intro thread and slow build thread

        Did you know? Willys is just Willis spelled differently, but pronounced the same. Neither Willy nor his apostrophe are involved.

        Comment

        • DarkMonohue
          Shakes hands with danger
          • Jul 01, 2012
          • 1145

          #5
          Time to remove the rust from the auxiliary tanks. I have had success with electrolysis before and decided to give it a try again. The basic procedure is to run a 12V DC electric current through an electrolytic solution (washing soda in water), with the rusty part connected to ground and a sacrificial anode connected to positive. This effectively floats the rust off the part and basically transfers it to the anode.

          First attempt: Power was supplied by a car battery and battery charger working together. Used old rebar (wire brushed clean) for the anode and filled the tank with solution to let it work on the interior. Got a steady flow of bubbles (hydrogen), but had the reset the battery charger frequently to keep the solution working.


          Second attempt: filled a wading pool with solution and laid the tank in it. Used two rebar anodes. This exposed the exterior of the tank to the solution, theoretically removing rust from the outer surfaces as well as the interior. Got bubbles off the anodes, but they refused to get rusty. Still had to reset the charger often.

          Third attempt: converted an old computer power supply to a 5V/12V bench power supply. Hooked that up in place of the car battery and charger. Tons of bubbles off the anodes, but they still did not attract rust.

          Fourth attempt: replaced the rebar anodes with scrap pieces of plain sheet steel. These bubbled furiously and started collecting rust almost immediately.

          The setup:


          I will have to flip the tank after a while to clean the whole thing, but I think this will be the most successful method. This is a fairly slow process and it may take a week or so to get the tanks down to clean metal again.
          Last edited by DarkMonohue; 04-13-2020, 09:46 PM.
          '85 J20 Old Man Truck, bought @ 65K miles - not great, but better than walking.
          Member, FSJ Prissy Restoration Association
          High quality junk here: intro thread and slow build thread

          Did you know? Willys is just Willis spelled differently, but pronounced the same. Neither Willy nor his apostrophe are involved.

          Comment

          • Strode
            1st Chair, Cowbell
            • Nov 08, 2011
            • 2292

            #6
            Can you show the box the cleaning solution came in? The sodium carbonate? If a guy wanted to buy some, what would he ask for in a brand name?

            Also the pool…is that a Target Fun Pool? Are there accessories that come with the pool?
            Brad
            (*Allowed to post while failed 'I am not a Bot' test results are under appeal)

            My build thread: 1982 Cherokee Laredo

            Ristow's Bunker

            Member, FSJ Prissy Restoration Association

            Comment

            • DarkMonohue
              Shakes hands with danger
              • Jul 01, 2012
              • 1145

              #7
              Originally posted by Strode
              Can you show the box the cleaning solution came in? The sodium carbonate? If a guy wanted to buy some, what would he ask for in a brand name?


              Arm & Hammer Super Washing Soda. It's usually in with the laundry detergent, fabric softener, etc.


              Originally posted by Strode
              Also the pool…is that a Target Fun Pool? Are there accessories that come with the pool?
              It is neither Target nor particularly fun. This is an entry-level base model. No accessories included. Got it at the local farm coop slash suburban cowperson lifestyle accessory center.
              Last edited by DarkMonohue; 04-13-2020, 09:51 PM.
              '85 J20 Old Man Truck, bought @ 65K miles - not great, but better than walking.
              Member, FSJ Prissy Restoration Association
              High quality junk here: intro thread and slow build thread

              Did you know? Willys is just Willis spelled differently, but pronounced the same. Neither Willy nor his apostrophe are involved.

              Comment

              • rockosocko
                232 I6
                • Jun 20, 2014
                • 236

                #8
                GREAT!! I did this with some heads I had that were rusted.
                I used a 5gal bucket and had some stainless heater vent pipe as the anode (and it fit great around the ext of head and int of bucket, also gave TONS of surface area for the current to flow)
                But did your stuff come out black? My parts did and wasn't sure since none of the write-ups say anything about that..

                I'm trying to find a plastic 55gal drum or even one of those big block style that have a metal 'basket' around them, cut the top out to fit a couple engine blocks and let it sit for a week or so.

                For those who don't know, the solution gets in ALL the nooks and cranny's and can even assist in eating rust on broken fasteners to get them out..

                Thanks for reminding me.
                Errol

                Comment

                • DarkMonohue
                  Shakes hands with danger
                  • Jul 01, 2012
                  • 1145

                  #9
                  Glad to hear the process worked for you, but...

                  That stainless anode is a very big no-no!


                  Follow the directions in that link to safely dispose of any solution you have left, then try again with a plain mild steel anode, and I bet it will work even better!
                  '85 J20 Old Man Truck, bought @ 65K miles - not great, but better than walking.
                  Member, FSJ Prissy Restoration Association
                  High quality junk here: intro thread and slow build thread

                  Did you know? Willys is just Willis spelled differently, but pronounced the same. Neither Willy nor his apostrophe are involved.

                  Comment

                  • darylb
                    232 I6
                    • Jan 22, 2015
                    • 89

                    #10
                    I have an aux tank in my truck from a previous owner as well. He ran the line from the aux tank to the tank that came with the truck so it acts as one tank. I've been thinking of putting a second on the other side and routing them as one tank. I see your second aux tank has a filler top, don't remove it. If you do you'll need to put some kind of vent in to allow anything to get over to that tank without going "gurgle, gurgle, gurgle..." If you have your connection on the bottom you won't even get that, and I agree you should connect at the bottom.

                    My question is, is any of this aux tank stuff legal hooked up this way?

                    To clean your tanks there is a product that the radiator shops use that does a great job, they put the chemicals in the tank along with some chain or nails and screws and then shake the thing mercilessly. Drain, rinse and then put a sealant in and the tank is better than new and you don't risk pinholes from rust. Then do an epoxy paint to seal the outside and you have a tank that should last 20 years or more.
                    1973 J4800 - 401- TH400 Novac Stage 2 - D20

                    Comment

                    • DarkMonohue
                      Shakes hands with danger
                      • Jul 01, 2012
                      • 1145

                      #11
                      Originally posted by darylb
                      I see your second aux tank has a filler top, don't remove it. If you do you'll need to put some kind of vent in to allow anything to get over to that tank without going "gurgle, gurgle, gurgle..." If you have your connection on the bottom you won't even get that, and I agree you should connect at the bottom.
                      Left side tank was vented to stock vent system. Right side tank was not vented. But I have been thinking about a couple of other approaches. Over-thinking a very simple problem, probably, but that's how it goes around here.


                      Originally posted by darylb
                      My question is, is any of this aux tank stuff legal hooked up this way?
                      I have no reason to believe it wouldn't be.


                      Originally posted by darylb
                      ...chemicals in the tank ... put a sealant in ... don't risk pinholes from rust ... epoxy paint ...
                      Not a bad set of suggestions, but the electrolysis showed that these tanks have already rusted through. They're junk. Rather than try to patch, hack, mod and chop, I'm (eventually) going to build some new ones.

                      No sealants for me - never saw the need nor benefit.
                      '85 J20 Old Man Truck, bought @ 65K miles - not great, but better than walking.
                      Member, FSJ Prissy Restoration Association
                      High quality junk here: intro thread and slow build thread

                      Did you know? Willys is just Willis spelled differently, but pronounced the same. Neither Willy nor his apostrophe are involved.

                      Comment

                      • DarkMonohue
                        Shakes hands with danger
                        • Jul 01, 2012
                        • 1145

                        #12
                        Time for an update.

                        Project #2: heater core repair and water pump replacement

                        My water pump had been leaking badly, and rather than pour antifreeze through it, I'd been refilling it with water. Well, that bit me. Winters here are normally pretty mild, but last December was chilly, and one night the heater core split open in the below-freezing temps. It produced a spectacular gusher from the heater box when I tried to leave home in the morning.

                        Here's the offending hole. That dog, as they say, won't hunt.


                        Other than the hole, the heater core was in good shape, so I decided to try to fix it. First I brushed the metal clean, then hammered (gently) both sides of the split as close together as I could get them.


                        Then came a little acid core solder.


                        Once that was back together, I got rid of the gnarly old water pump. For some reason I apparently didn't have the presence of mind to take photos of the job after this glamor shot of the old pump. Or maybe this was just meant to act as a reference for reassembly. Anyway, this is the old pump. It's gone now, and a loomnum pump lives here now. Also, new belts, because the old ones had part numbers written in Roman numerals and had lost some (all) of their youthful glow.


                        Project #3: cleaned the cowl vent pockets

                        I found my round tuit and finally, after years of denial and procrastination, de-trashed the kick panel vent pockets. Like in every other FSJ, these were packed tight with pine needles, seed cones, leaves, and various other components, all rotting together and forming several pounds of really neat organic compost. The junk makes its way through the cowl louver into the plenum, which feeds fresh air to the vents in the kick panels, and then it all just collects at the lowest point. Here are the what the left and right vent pockets looked like with the grilles and dampers removed.


                        I also got started on a real end-all, be-all cowl vent screen to keep this from happening again, but got sidetracked. Probably better remember to finish that thing...


                        Project #4: fuel leak repair

                        This was an easy one. Started with a slight aroma of fuel now and then, and rapidly developed into liquid gasoline puddling on the intake manifold in front of the carburetor. Well, when you can see daylight through the accelerator pump diaphragm, that kind of thing will happen.


                        Chucked a new diaphragm on. No more leaks. I do love an eight dollar fix.


                        Project #5: new radiator

                        This was tonight's project. I knew the radiator on this truck was not in great shape, but didn't realize quite how nasty it was. Say "ahhhh"...


                        And that was one of its better angles. Here's an unflattering shot of its less-than-attractive backside:


                        So that obviously ain't gonna work. Step one: run some radiator flush through it, then drain, fill with water, run, repeat until clear water comes out. Follow with step two: remove everything that doesn't look like a new radiator.


                        Step three: installation is the reverse of removal. Brand new all-metal rad from BJ's Offroad:


                        So far, I like it. It fits perfectly and seems well-made. And at least I know it can be repaired if an issue should arise.

                        Step four: fill with the finest (and only) antifreeze available at this end of town on a Sunday evening. Unfortunately, I'm still seeing a whole lot of dirt and/or cooling system cleaner in the coolant. Well, at least the finest antifreeze is also very cheap. I'll throw a flush tee in it and blast the whole system clean later in the week, and then replace the coolant one last time. Hopefully, I will then be able to leave the cooling system alone for a couple of years.

                        I think I missed a couple other ... yeah, I know I missed a couple other little jobs. But we'll get it caught up sooner or later. This is enough for now.
                        Last edited by DarkMonohue; 04-13-2020, 10:11 PM.
                        '85 J20 Old Man Truck, bought @ 65K miles - not great, but better than walking.
                        Member, FSJ Prissy Restoration Association
                        High quality junk here: intro thread and slow build thread

                        Did you know? Willys is just Willis spelled differently, but pronounced the same. Neither Willy nor his apostrophe are involved.

                        Comment

                        • Achilles
                          350 Buick
                          • May 12, 2004
                          • 1177

                          #13
                          You are making some pretty good progress.
                          Life happens while you are making plans...............


                          1983 Wagoneer Limeted, 169k 360 AMC, NP 229, 727,
                          MODS: 2003 Durango bucket seats:
                          http://www.ifsja.org/forums/vb/showthread.php?t=159286
                          Build Thread: http://www.ifsja.org/forums/vb/showthread.php?t=174925

                          Comment

                          • DarkMonohue
                            Shakes hands with danger
                            • Jul 01, 2012
                            • 1145

                            #14
                            Thanks! I was wondering how your are getting along as well. It has been a while since your last update. Hope the rains back off and let you get some work done.

                            Yesterday I finally got/had to bite the bullet and get some new rubber under this old tractor.

                            Project #6: new tires

                            Well, not much of a project so much as handing someone some money and letting them do their job. But it needed to be done, so...here it is.

                            Gave the old pig a quick warsh and got over to the tire store in the morning. Basking in the sun, waiting for the doctor to see her:


                            After waiting way too long (they were deep in the weeds), they finally made some room in the shop.


                            And shortly thereafter, the deed was done.


                            Went with Cooper Discoverer S/T MAXX in the same LT255/85R16 size. I would have liked them to have a narrower tread, more like the old-style Discoverer ST, but I wanted the three-ply sidewalls. I almost chose the old STs anyway for their more retro-looking tread pattern, but these should be just fine. All I can say for now is that they are pretty quiet at speed, and a whole lot rounder than the old ones. Which is a good start, really.

                            Forgot to mention that somewhere between the tires and the last round of updates, I changed the mirrors for some cheap stainless jobbies from one of the Chevy resto suppliers. They're OK. They look pretty good, anyway.
                            Last edited by DarkMonohue; 04-13-2020, 10:47 PM.
                            '85 J20 Old Man Truck, bought @ 65K miles - not great, but better than walking.
                            Member, FSJ Prissy Restoration Association
                            High quality junk here: intro thread and slow build thread

                            Did you know? Willys is just Willis spelled differently, but pronounced the same. Neither Willy nor his apostrophe are involved.

                            Comment

                            • Heavy_Metal_Thunder_81
                              Cherokee Outlaw
                              • Jan 10, 2006
                              • 7292

                              #15
                              Great build and beautiful J-20!
                              -Jonny B.
                              1979 Cherokee Golden Eagle - UNDER CONSTRUCTION
                              7" Alcan springs, BJ's HD shackles - 35x12.5x15 BFG Mud Terrains
                              AMC 401 - Pro-Flo 4 EFI
                              NV4500/NWF BB/NP205 - Triple Stick'd
                              F D44 - 4.10, Eaton E-Locker
                              R M23 - 4.10, Detroit Locker

                              1979 Cherokee Chief - Parts
                              1979 Cherokee Chief - Parts
                              1979 Wagoneer - Sold
                              1981 Cherokee Chief - Cubed

                              Comment

                              Working...
                              X