4350 Rebuild - Ristow

Collapse
X
 
  • Filter
  • Time
  • Show
Clear All
new posts
  • Ristow
    • Jan 20, 2006
    • 17292

    #16
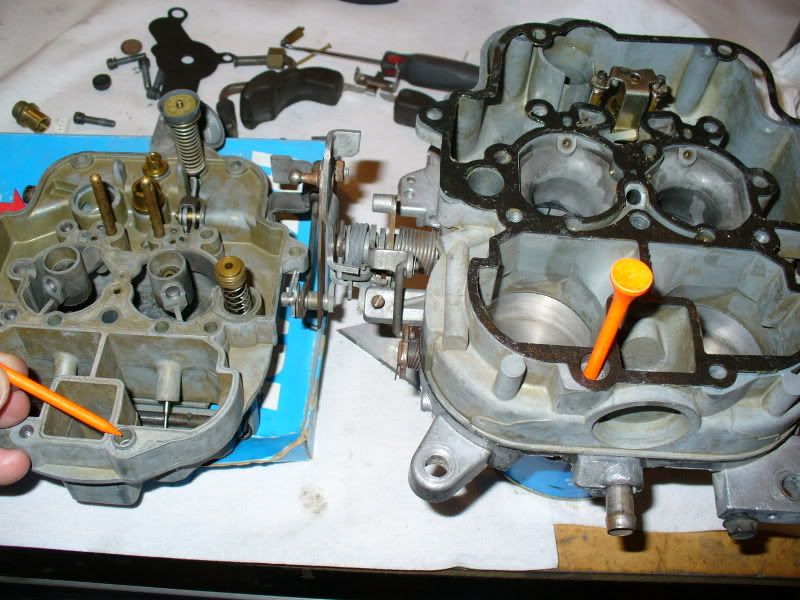
    final assembly of the main bodies.

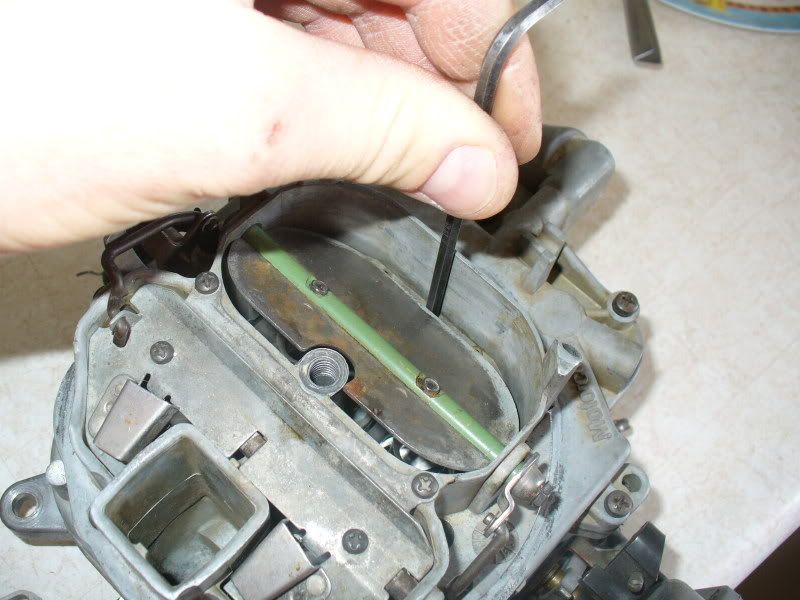
    flip the middle,main body upside down.there are raised ridges like shown on 2 of the bolt holes. this ensures alignment of the parts,also ensures the gasket is on correctly,as it fits only one way.i like to grease these gaskets.


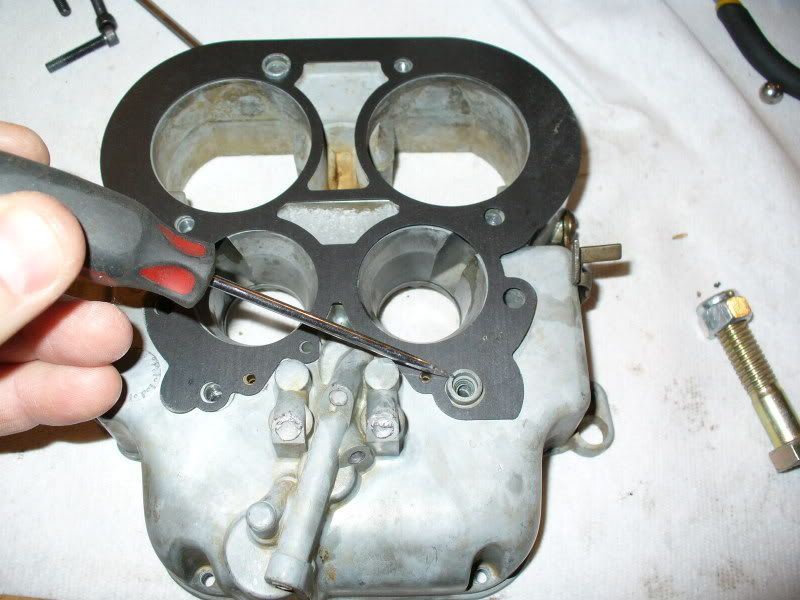
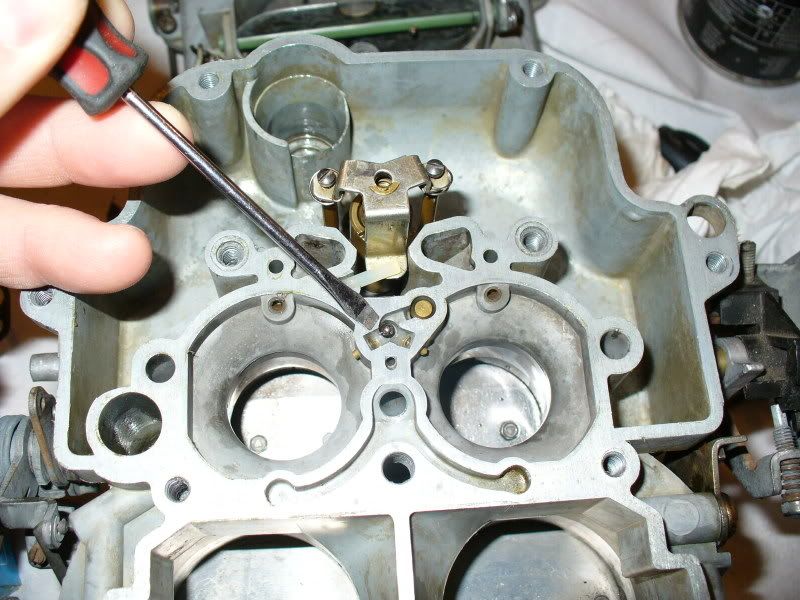
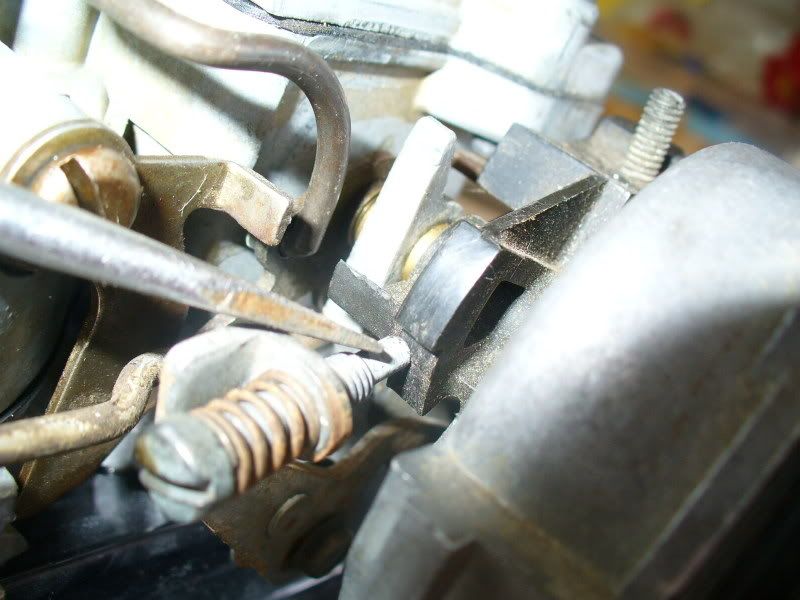
    before the bottom plate is installed,i want to point out the 2 vacuum ports.the small orifice the staples are pointing to. both left and right front ports are "ported" vacuum fitting,little to no vacuum at idle,with vacuum coming in after throttle is opened.it's accomplished simply by putting the ports above the throttle blades.as the blades swing up past those ports,the engines vacuum is exposed.remember,vacuum is under the throttle blades.

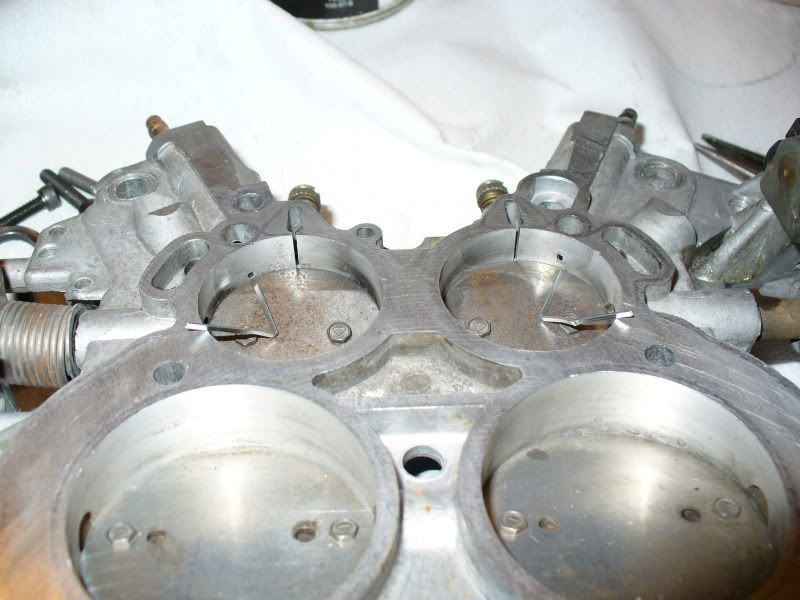
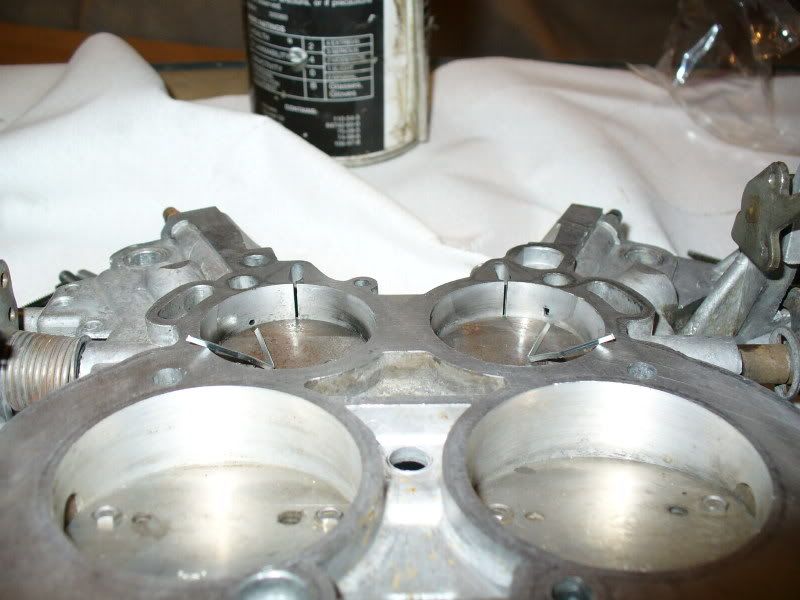
    notice the right,passenger side orifice is positioned a little higher from the throttle blade than the left,drivers side. that means the right side gets a vacuum signal a bit later than the drivers side.that would make the passenger side port the EGR port,and drivers side the ported DISTRIBUTOR port. the distributor gets vacuum before the egr valve.


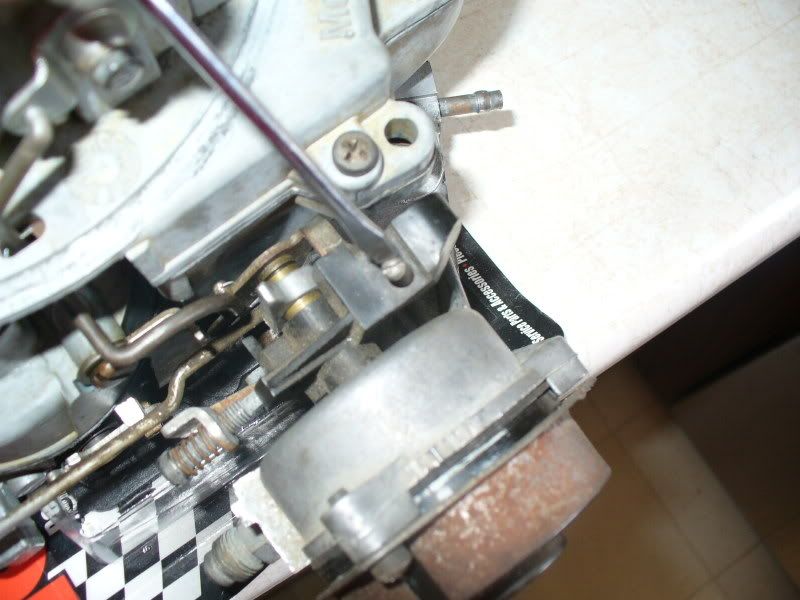
    position the bottom plate over the main body.drop the 6 screws into place,and snug them,progressively.the allen screws are not stock,i got them since this carb had mis-matched screws when i got it.


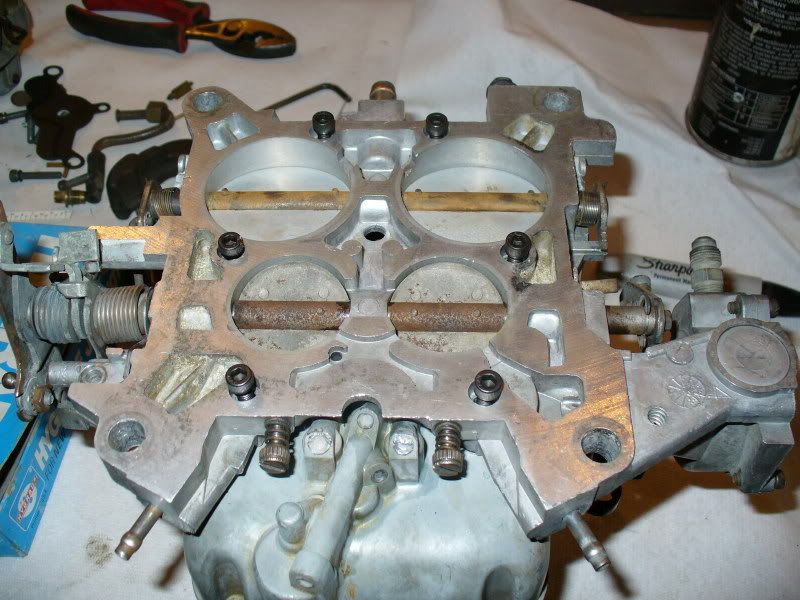
    flip the carb over. place the small steel ball into shown position. the brass check valve for the accelerator pump is also installed to the right.point down.


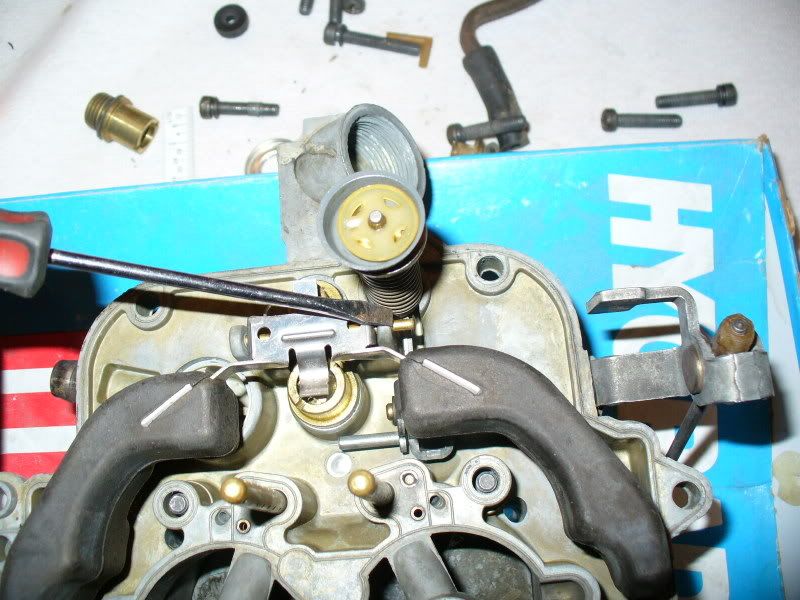
    the upper gasket also has the locating bosses,indicated by the orange dowels.put the gasket into position.


    install the float and needle.the nailhead of the floatpin must be on the shown side,or it will slide out in use.


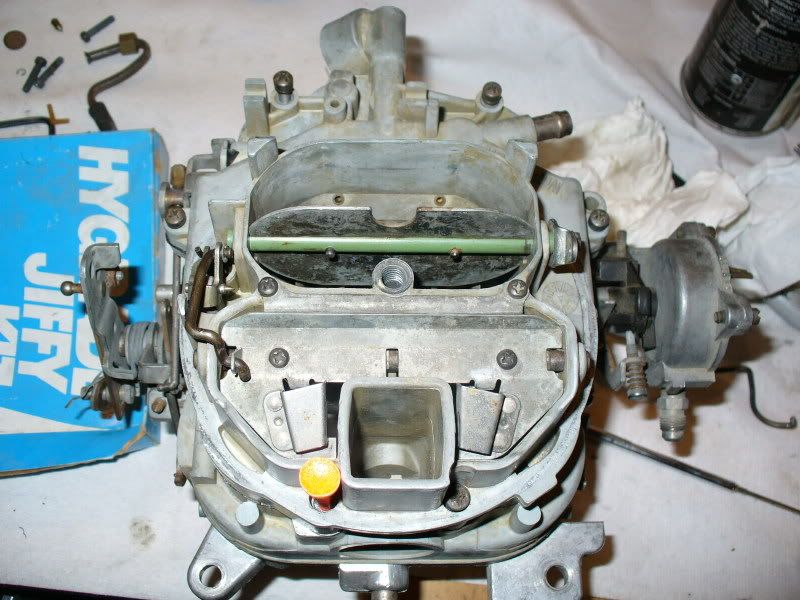
    lower the airhorn into place. you will have the accelerator pump plunger,secondary plunger,float,emulsion tubes....all must be in position,before the top will lower into place. DO NOT FORCE DOWN!

    one screw out of the 10 that hold the top on is longer than the rest,it's hole is the one shown by the orange dowel,lower left. all screws will be progressivly snugged down.


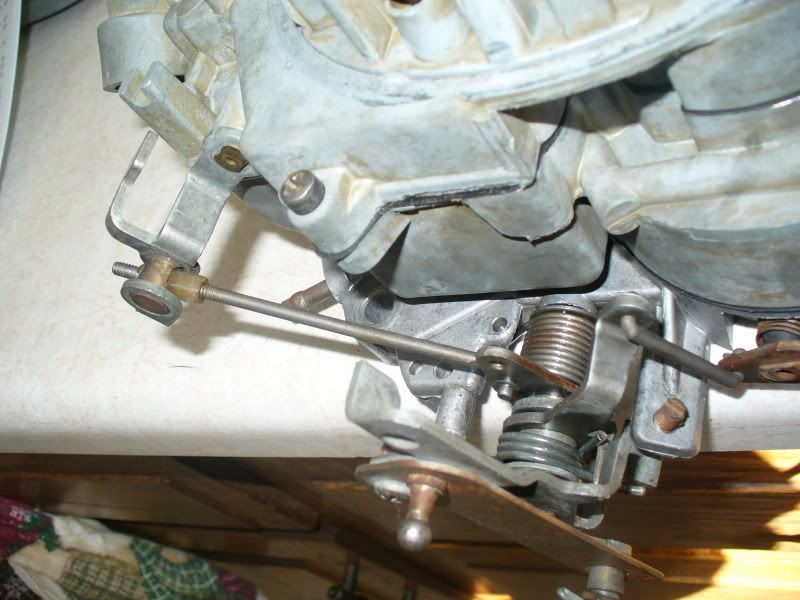
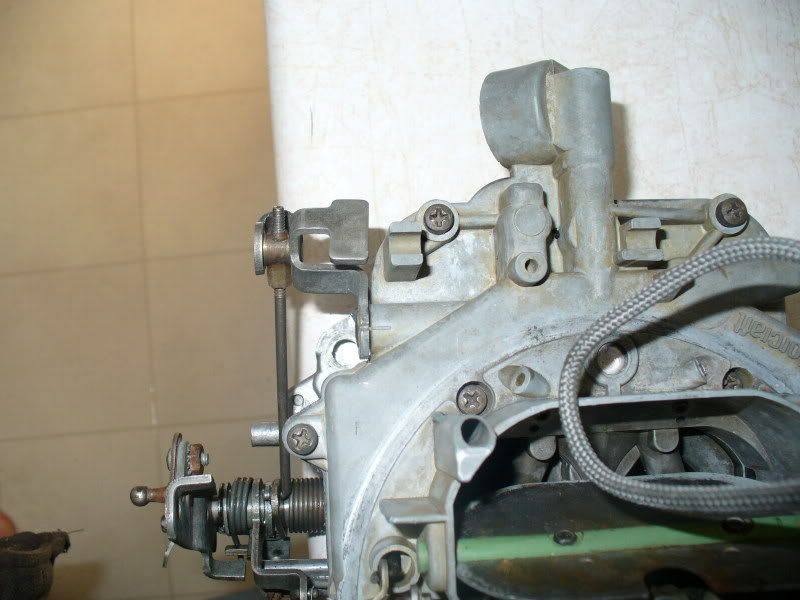
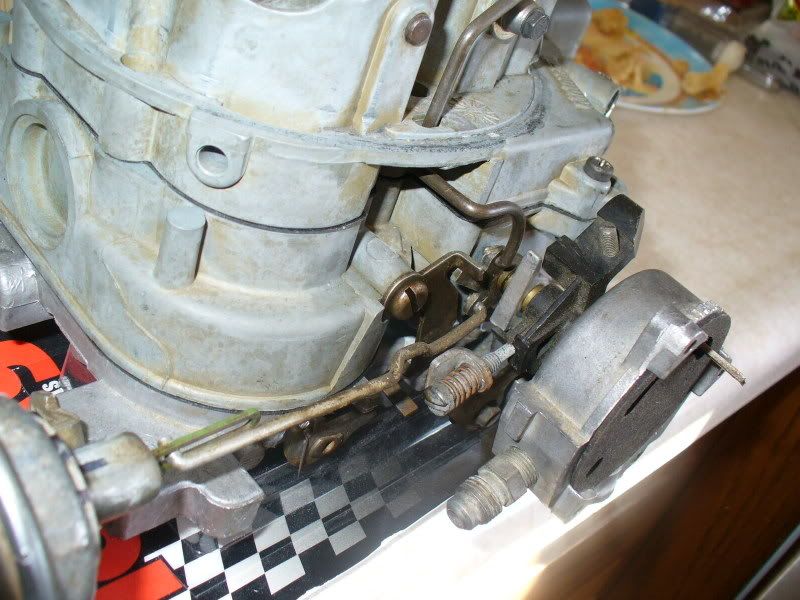
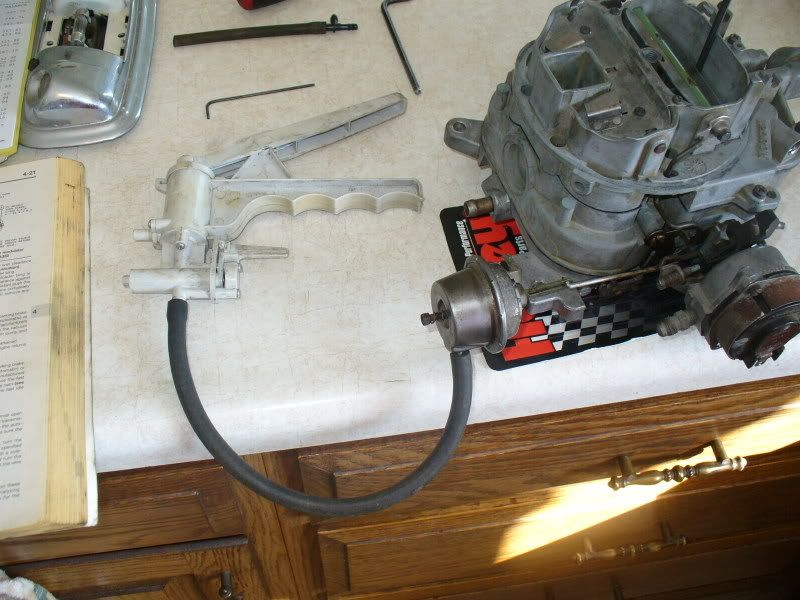
    after i get the choke pull-off pot for this carb,and do a few things like plug the vent fitting,we'll put all the linkages in place,and do the bench adjustments on the choke.and it'll be ready for service.
    Last edited by Ristow; 01-12-2008, 04:08 PM.
    Originally posted by Hankrod
    Ristows right.................again,


    Originally posted by Fasts79Chief
    ... like the little 'you know what's' that you are.


    Originally posted by Fasts79Chief
    I LOVE how Ristow has stolen my comment about him ... "Quoted" it ... and made himself famous for being an ***hole to people. Hahahahahahahahahha!

    It's like you're unraveling a big cable-knit sweater that someone keeps knitting...and knitting...and knitting...and knitting...

    Comment

    • J10Joe
      304 AMC
      • Oct 06, 2005
      • 1699

      #17
      nice write-up, Mike. This goes straight to my bookmarks.
      1985 J-10 LWB
      258/727/NP208
      4" lift, TFI, MC 2100

      1988 J20-one of the last ones
      8400 GVRW
      360/727/208
      TFI, Rustolium (brushed)
      Fisher/Meyers plow truck

      Comment


      • #18
        Originally posted by J10Joe
        nice write-up, Mike. This goes straight to my bookmarks.
        If he was not so LAZY!!! I would have had it here this morning. I do have your intake though. I picked it up last night. Joe................he is not really that bad of a guy..............For a Cheese head!! Though his Garage was a MESS! after he bragged in IRC how clean it was
        Daily Driver 2008 Wrangler Sahara
        Going, Gone, or Thinking Fishing

        Comment

        • Ristow
          • Jan 20, 2006
          • 17292

          #19
          Originally posted by Crazy_Jeepman
          Though his Garage was a MESS! after he bragged in IRC how clean it was

          well,there was a wide enough path through the junk for YOU to walk wasn't there?!
          Originally posted by Hankrod
          Ristows right.................again,


          Originally posted by Fasts79Chief
          ... like the little 'you know what's' that you are.


          Originally posted by Fasts79Chief
          I LOVE how Ristow has stolen my comment about him ... "Quoted" it ... and made himself famous for being an ***hole to people. Hahahahahahahahahha!

          It's like you're unraveling a big cable-knit sweater that someone keeps knitting...and knitting...and knitting...and knitting...

          Comment

          • Dmntxn77
            Hey watch this...
            • Nov 19, 2004
            • 8329

            #20
            GREAT write-up!!

            Comment

            • JeepBountyHunter
              GrimJeeperReaper
              • Jul 08, 2002
              • 10250

              #21
              Great...just now noticed your post...this is awesome!

              I'll probably print this up with some other stuff I printed over the years.
              1992 Cherokee XJ Laredo

              Comment

              • J10Joe
                304 AMC
                • Oct 06, 2005
                • 1699

                #22
                yeah, print away. this is gold
                1985 J-10 LWB
                258/727/NP208
                4" lift, TFI, MC 2100

                1988 J20-one of the last ones
                8400 GVRW
                360/727/208
                TFI, Rustolium (brushed)
                Fisher/Meyers plow truck

                Comment

                • joe
                  • Apr 28, 2000
                  • 22392

                  #23
                  Excellent write-up Mike. Very very cool you took the time to document the rebuild...very cool indeed. Thanks.
                  joe
                  "Don't mind me. I'm just here for the alibi"

                  Comment

                  • Ristow
                    • Jan 20, 2006
                    • 17292

                    #24
                    lets wrap it up.

                    first the accelerator pump. note the mounting hole on the throttle shaft,and the upper adjusting nut arrangment.


                    note the dash and mark that must align when installed.use the nut on the link to adjust.


                    now onto the choke adjustments.note how the choke pull-off linkage attaches to the carb and pull-off diaphragm. starting with INITIAL CHOKE PLATE CLEARANCE.

                    with the electric choke cap installed,rotated to the rich (closed) side,open and close the throttle to set the choke.the choke plate will snap shut,and the fast idle cam will be on the top step,meaning,the screw with the spring will be sitting on the biggest step on the black fast idle camas shown. that screw is also what sets the fast idle rpms,which you will do after the carb is on the engine.


                    hook a vacuum pump to the choke pull-off diaphragm.and apply full vacuum,the diaphagm will pull back,opening the choke a bit as it does..


                    using a drill bit or allen wrench,and the measurment given in the manual for your vehicle year,measure the choke plate lower edge clearance,between the plate and carb body. use the 1/4" screw on the back of the pull-off diaphragm to adjust this measurment. i used the '75 spec of .166",and used an allen wrench that was close in size.


                    next,release the vacuum.put the fast idle cam on the second step,up against the shoulder of the high step. measure the choke plate clearance again,as above,but with no vacuum apllied. this is the FAST IDLE CAM ADJUSTMENT. this will be a smaller measurment than the initial clearance.


                    this is the fast idle cam adjusting screw.this will adjust the choke plate clearance for this setting. again,i used the '75 spec,.147",and a allen wrench that was close in size.


                    next,open the throttle to set the choke. apply vacuum to simulate a running engine. bump the throttle open and closed.the fast idle cam should go from the top step to the second step.

                    carb is ready for install and tuning,starting with fast idle speed,regular idle speed,then idle mixture via vacuum guage.

                    now,if when you are done,the truck starts,then fizzles out and dies,the initial choke clearance is too great,meaning the pull-off diaphragm is pulling the choke plate open too far.use the adjusting screw to remedy it,a little at a time,untill the truck stays running after startup. likewise,if the truck blubbers and chokes on gas after start up,the choke needs to be further opened by the pull-off.
                    Last edited by Ristow; 03-15-2008, 10:16 AM.
                    Originally posted by Hankrod
                    Ristows right.................again,


                    Originally posted by Fasts79Chief
                    ... like the little 'you know what's' that you are.


                    Originally posted by Fasts79Chief
                    I LOVE how Ristow has stolen my comment about him ... "Quoted" it ... and made himself famous for being an ***hole to people. Hahahahahahahahahha!

                    It's like you're unraveling a big cable-knit sweater that someone keeps knitting...and knitting...and knitting...and knitting...

                    Comment

                    • FSJ Guy
                      • Mar 20, 2005
                      • 10061

                      #25
                      Even though I have long ago sworn off carbs, this is a GREAT writeup!

                      GREAT pictures! (I know how hard it is to get good closeup photos. Nice job.)

                      I think the interior dome light is a nice touch.

                      I hope the Mods STICKY this.
                      Ethan Brady
                      1987 Grand Wagoneer, slightly longer than stock.

                      www.bigscaryjeep.com

                      Don't mess with me. I once killed a living hinge.

                      Comment

                      • Wayne
                        350 Buick
                        • Feb 16, 2008
                        • 788

                        #26
                        Nice job
                        Better than any manual i've seen.
                        78 Wagoneer 401/T400/bw/44F&R DD 4in lift

                        Comment

                        • trellis8
                          Ristows' Minion
                          • Jan 16, 2007
                          • 840

                          #27
                          Thank you Obi-Wan!
                          1979 Widetrack Cherokee, 1984 Grand Wagoneer, 1985 Grand Wagoneer, 1973 J4000, 1982 Mustang GT, 1999 Chevy C2500 xcab, 2001 Chevy Van, 2000 Ford Expedition, 1989 F250 plow and 1951 Desoto Deluxe

                          Comment

                          Working...
                          X