
 Tweet
Tweet
Here are the steps I took to make a fiberglass fan shroud:
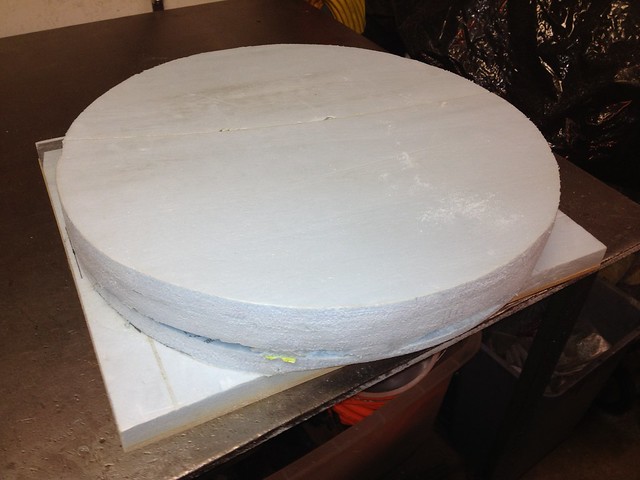
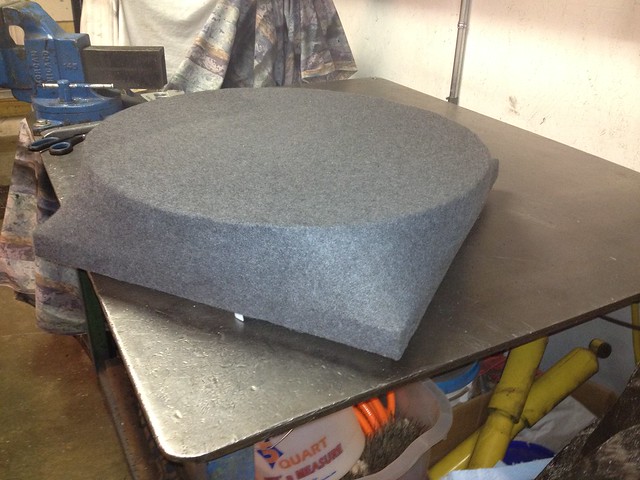
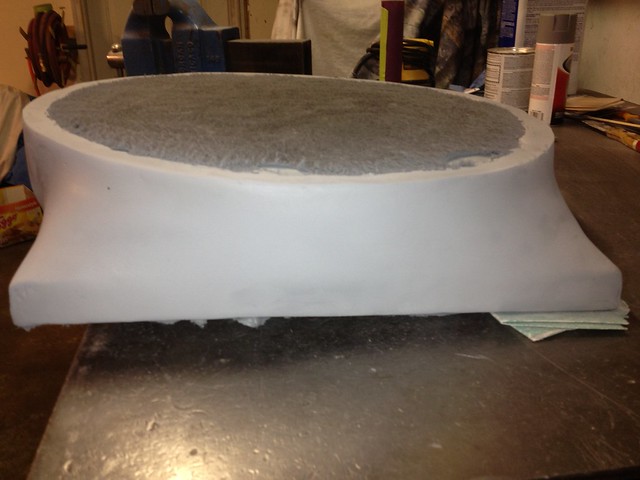
Step 1: Use 1" insulating foam to build the buck (form). The foam layers are hot glued to each other and to a 1/4" mdf backer board.
Step 2: Shape the buck with sandpaper:
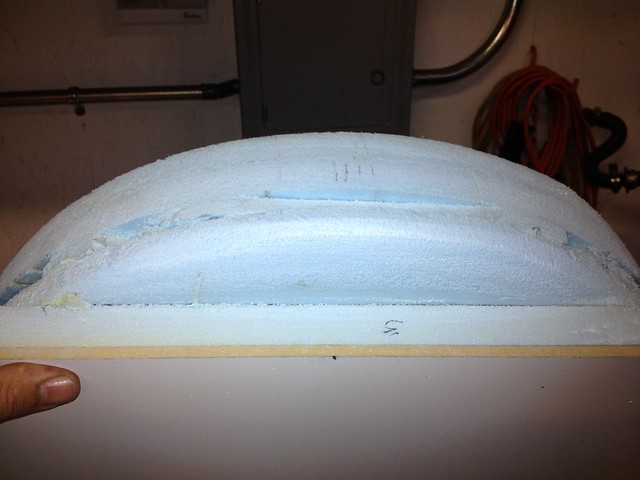
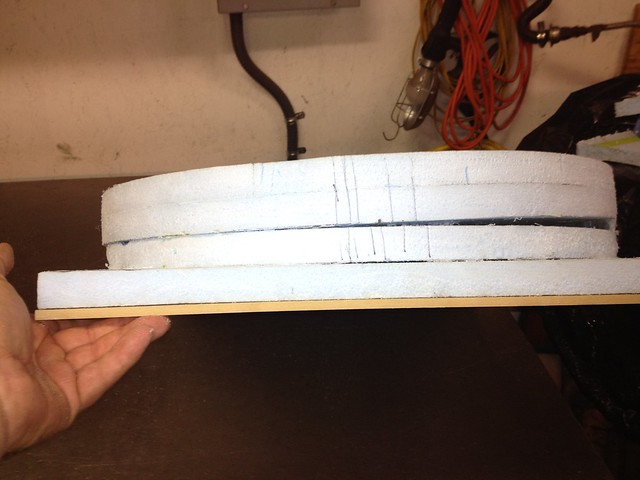
Step 3: Notice the tilt of the foam. A wedge of foam was glued in to account for the tilt of the engine.
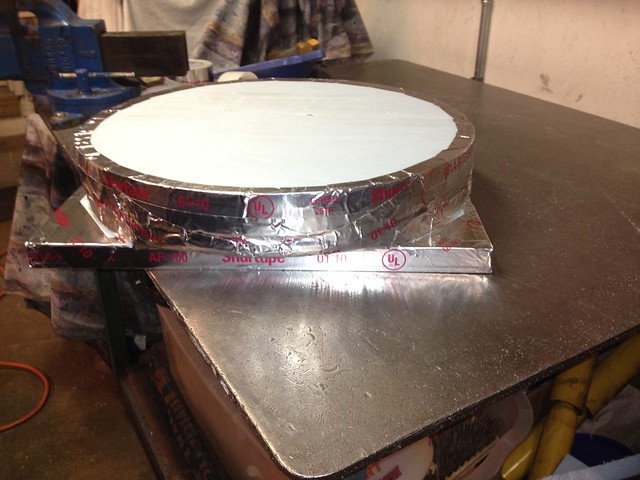
Step 4: Cover the edges with foil tape.
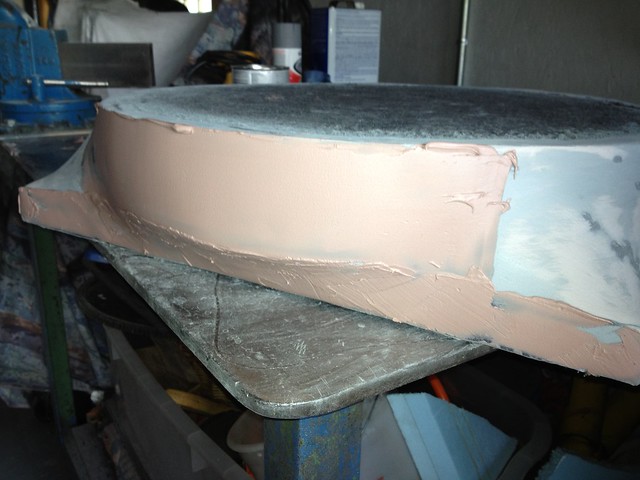
Step 5: Wrap the buck with fleece. Staple fleece to the back of the backer board.
Step 6: Apply two coats of fiberglass resin to the fleece. I used 3M fiberglass resin from Home Depot.
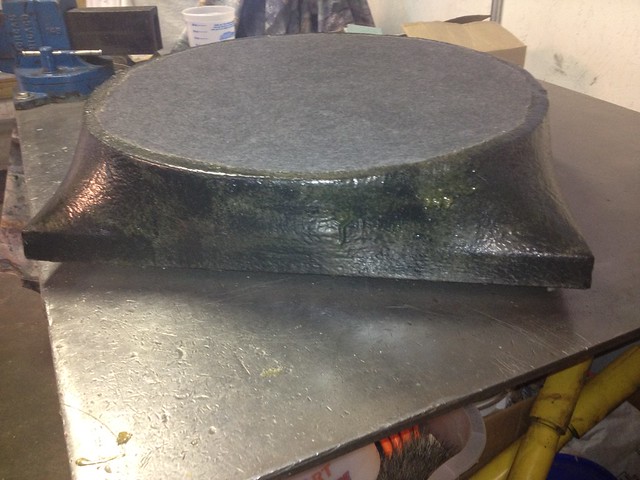
Step 7: Apply three layers of 3M fiberglass mat to form and sand.
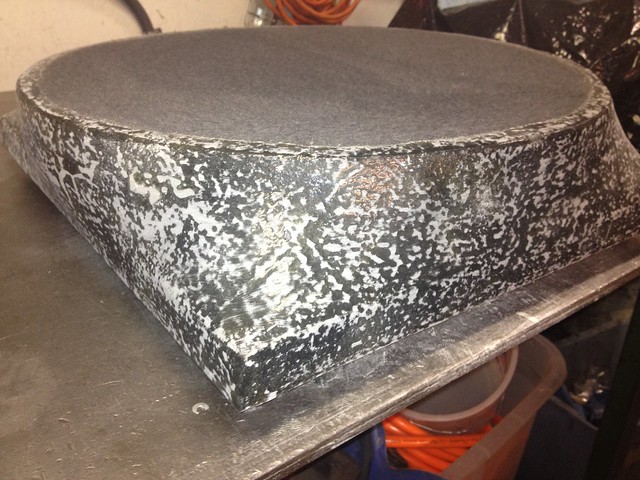
Step 8: Apply a layer of body filler and sand.
Step 9: Apply Rust-oleum sandable primer/filler and sand.
Step 10: Apply more body filler and block sand.
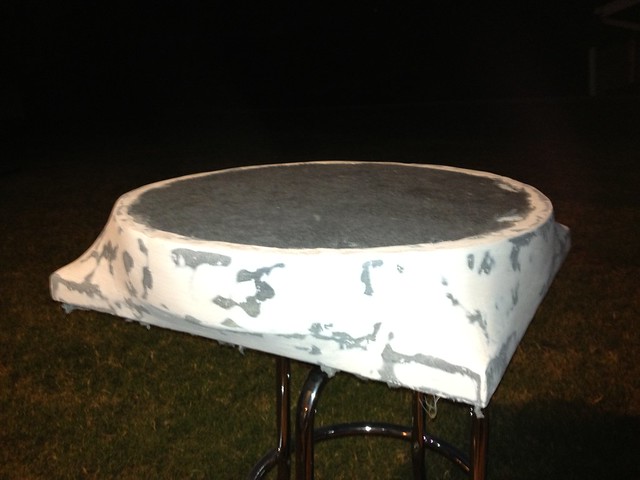
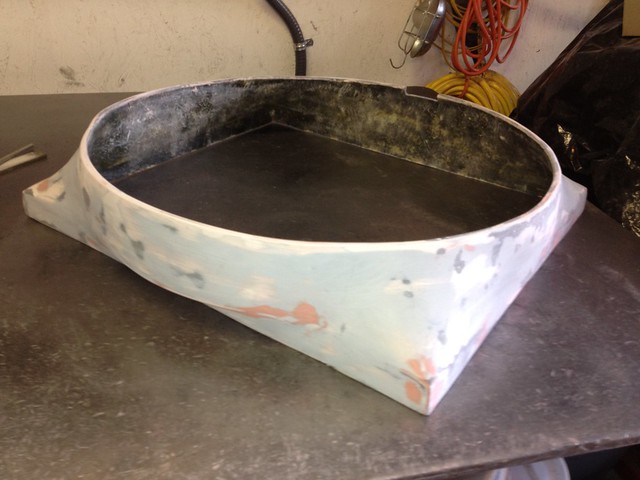
Step 11: Remove shroud from buck, sand, fill, sand, fill, sand, fill, sand.
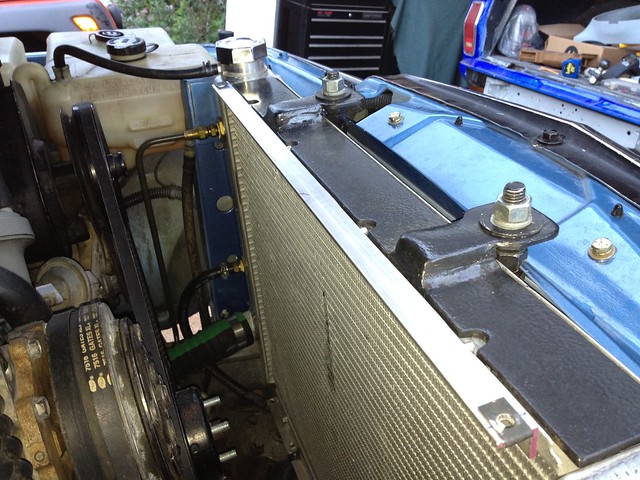
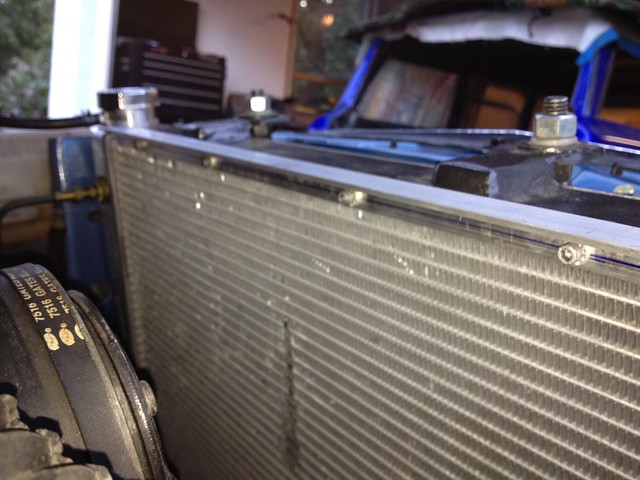
Step 12: Mount brackets to radiator. Notice the shroud mounting tabs on corners.
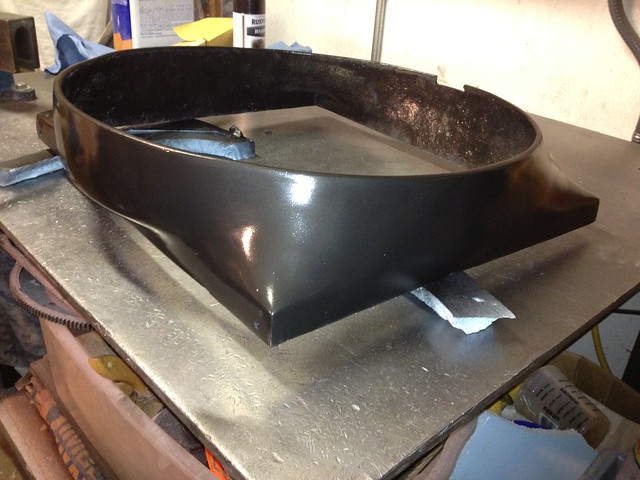
Step 13: Paint shroud with Rust-oleum hammered metal finish.
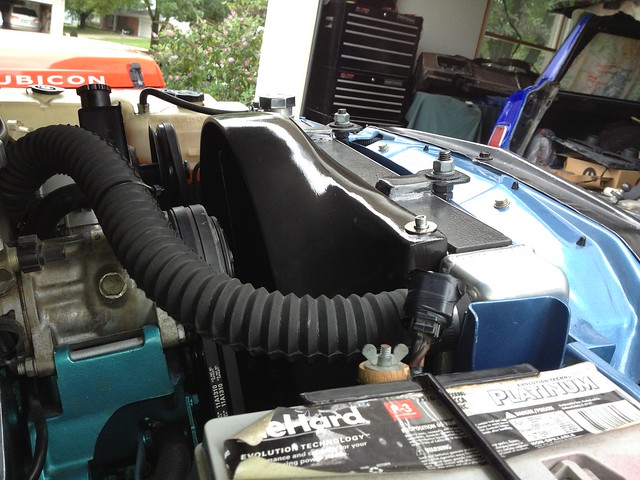
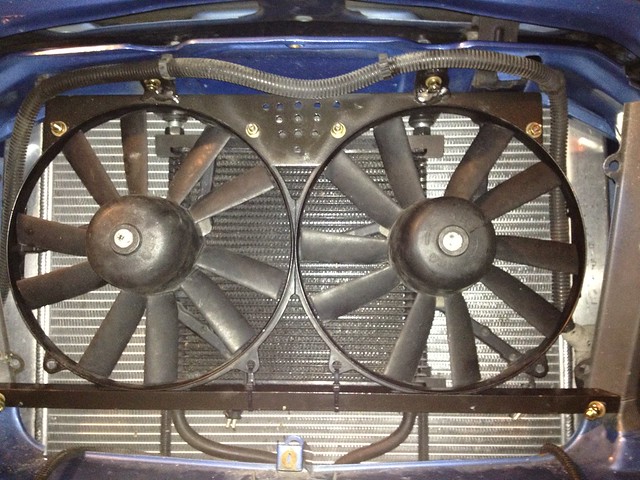
Step 14: Mount shroud to radiator.
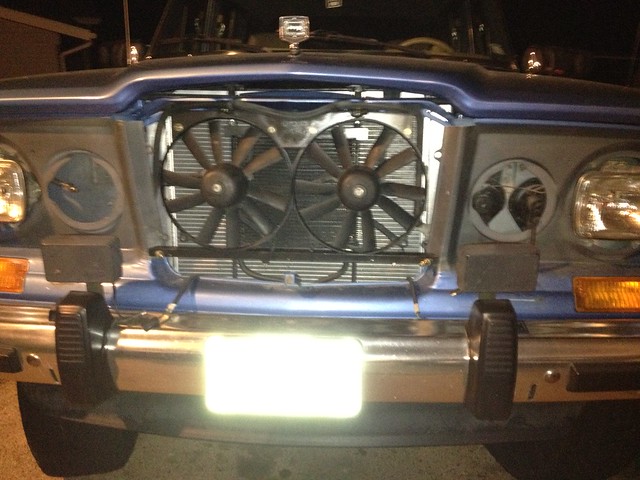
Step 15: Optional towing option - Mount junkyard Mercedes pusher fan to front of radiator.
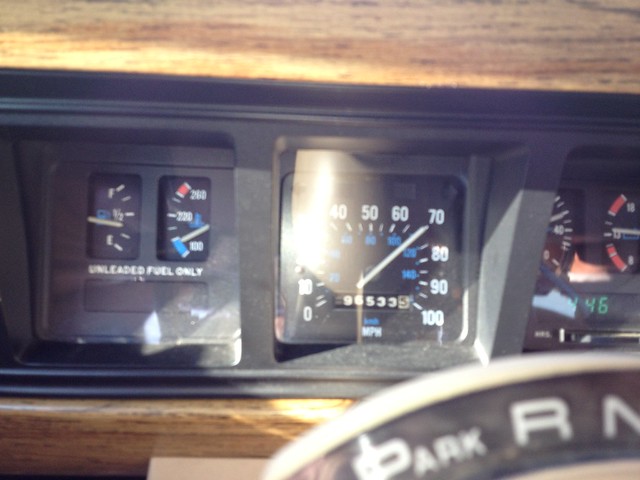
Step 16: Enjoy the highway cooling that can only be obtained with a mechanical fan. Previous running temps with the Ford Taurus fan were 210 degrees. Also note I'm running a .040 over 401. You know the ones that always run hot if you bore them anything over .020.
Step 1: Use 1" insulating foam to build the buck (form). The foam layers are hot glued to each other and to a 1/4" mdf backer board.
Step 2: Shape the buck with sandpaper:
Step 3: Notice the tilt of the foam. A wedge of foam was glued in to account for the tilt of the engine.
Step 4: Cover the edges with foil tape.
Step 5: Wrap the buck with fleece. Staple fleece to the back of the backer board.
Step 6: Apply two coats of fiberglass resin to the fleece. I used 3M fiberglass resin from Home Depot.
Step 7: Apply three layers of 3M fiberglass mat to form and sand.
Step 8: Apply a layer of body filler and sand.
Step 9: Apply Rust-oleum sandable primer/filler and sand.
Step 10: Apply more body filler and block sand.
Step 11: Remove shroud from buck, sand, fill, sand, fill, sand, fill, sand.
Step 12: Mount brackets to radiator. Notice the shroud mounting tabs on corners.
Step 13: Paint shroud with Rust-oleum hammered metal finish.
Step 14: Mount shroud to radiator.
Step 15: Optional towing option - Mount junkyard Mercedes pusher fan to front of radiator.
Step 16: Enjoy the highway cooling that can only be obtained with a mechanical fan. Previous running temps with the Ford Taurus fan were 210 degrees. Also note I'm running a .040 over 401. You know the ones that always run hot if you bore them anything over .020.


Comment