
 Tweet
Tweet
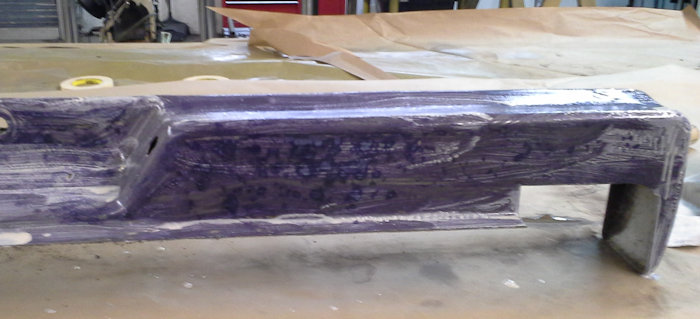
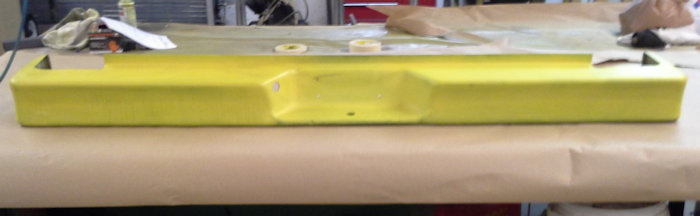
The finished bumper will be WAY to nice to install after its finished. I suggest you send it to me for safe keeping. 


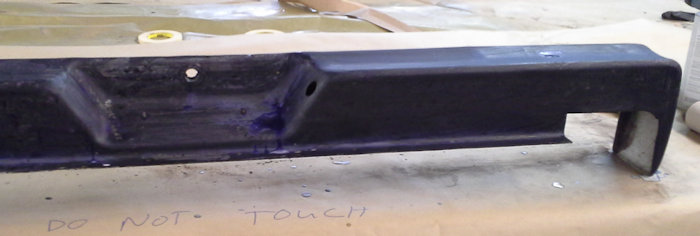

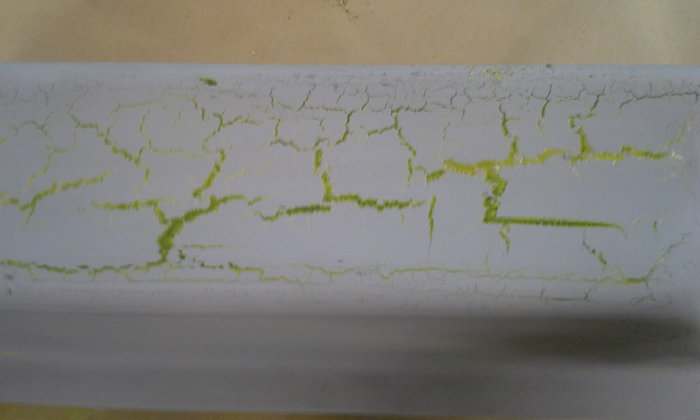
 actually the yellow primer never set up properly and was still tacky if you scratched the surface.
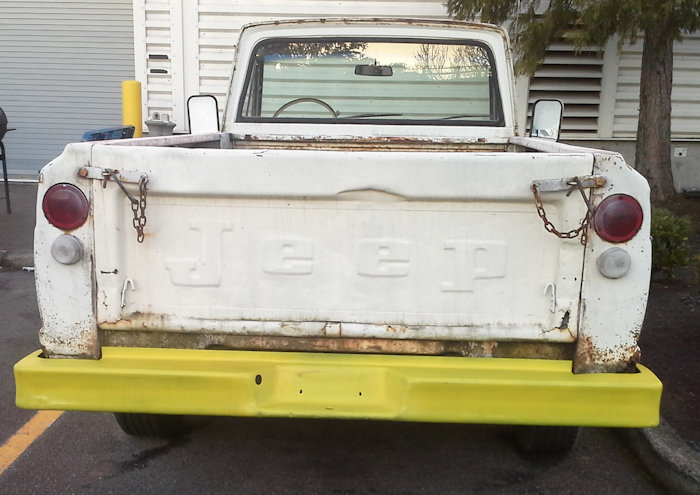
 Since it was my Friday and this thing has been in the shop for over 2 weeks, and people were tired of smelling paint, I figured I'd take it home and let it cure for a couple weeks before I wet sand it and fix those issues.
")
 I quickly opened the box to check things out and discovered that the gasket they sent with the 2 barrel EFI is for a 4 barrel
  Seem like a pretty dumb mistake but fortunately I had already purchased the correct gasket since they are cheap and I was concerned about the base Fitech used. The reason for this is because of the adapter on the early manifolds you can't use a 2150 carb with the gasket it comes with or you get vacuum leaks. The correct carb base gasket is thick and wider than the 2150 gasket and will cover the area that would otherwise cause the vacuum leak.


Comment