
 Tweet
Tweet
I did these repairs a couple of months ago myself ( )
)
I thought I should get them on the net for any one who
might have similar problems and maybe starting to
consider doing unspeakable terrible jeep things....
First off, The Problem...
My 83 Wagon had a problem with the top two check valves on the fuel tank, for what ever reason they were not sealing the tank and were allowing fuel (When Full) and fuel vapors to escape..
So if your jeep is leaking fuel after a fill up these rubber grommets are definitely something of interest.
BJ's Off Road Sells new Grommets, very inexpensive and excellent quality. here is a Link
Alright Let's start. First off to make this easy your going to have to remove your fuel tank, Yes I know it sounds intimidating but it's a going to make this much easier.
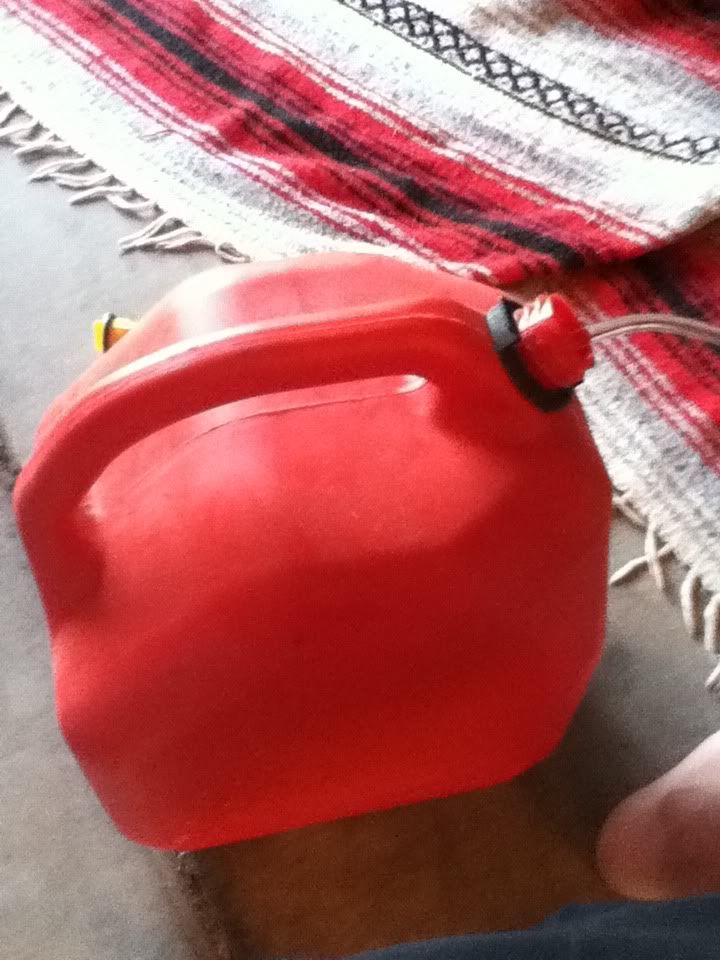
First things first, Drain the tank the less fuel the better, though you won't be able to drain it all, you should do your best to drain it as empty as possible. Remember one gallon of gas can weigh over 6-lbs now multiply that by 20 and that could be 120-lbs
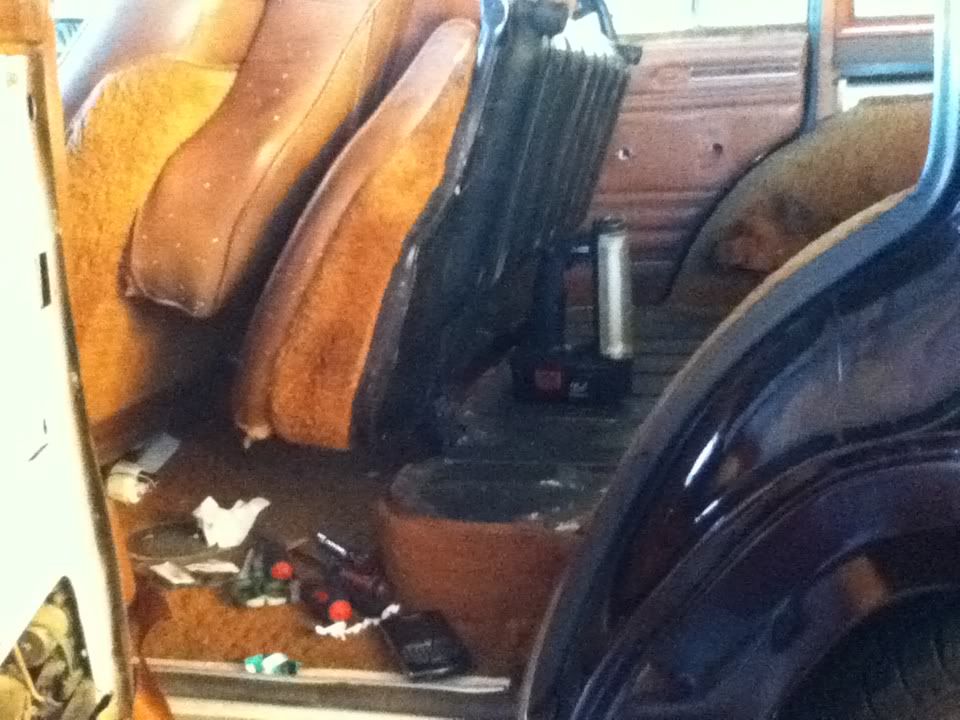
To get to the fuel level sending unit lift up the rear seat and carpet remove the cardboard insulation and unscrew the panel to reveal the unit.
Now if your forgetful like me, label each hose you disconnect with masking tape and mark it accordingly.
Below is a photo of the Access Hole
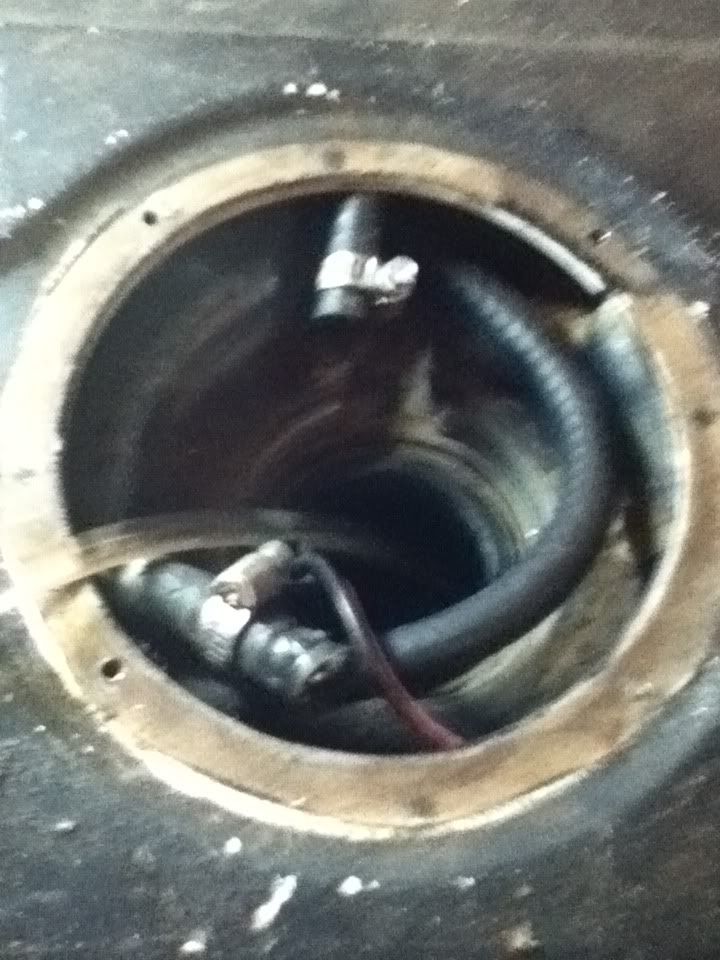
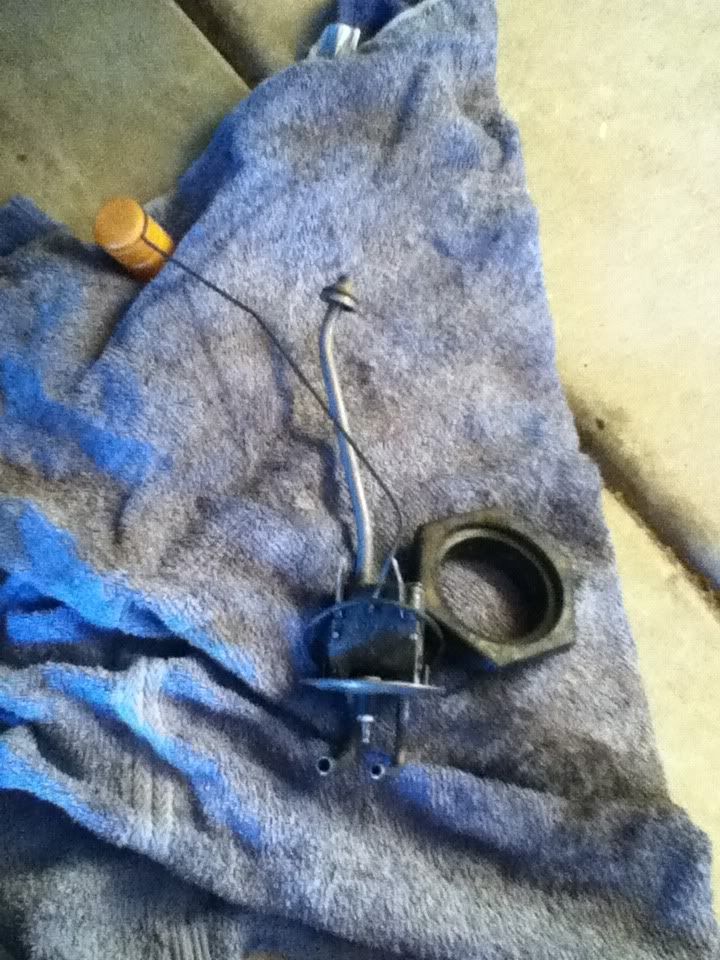
The sending Unit is held down by a large plastic locking nut that can be unscrewed and removed allowing for the removal of the sending unit. Be careful not to drop the rubber ring under the nut in the tank...Cause that would suck...
.
After the tank is drained you can now begin removal of the fuel tank.
First, disconnect the drive shaft to the rear axle there are four bolts that hold it together be ready to use some Liquid Wrench and plenty of it take your time with all bolts during this procedure. there's nothing more frustrating then a snapped bolt, Trust me I know...
-------------------------------------------------------------------------------------------------------------------------------------------------------------
• After the Drive shaft is down set it out to the side away from the tank.
• Go ahead and remove the filler neck hoses from the tank.
• Be carefully to much force could crack the tank around the filler neck nipples.
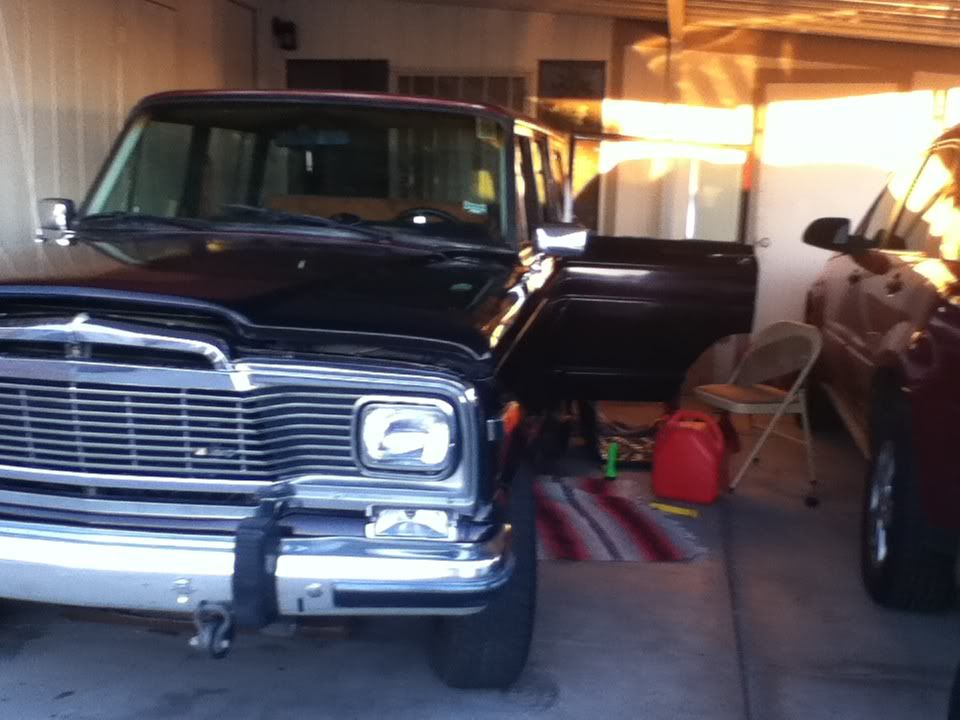
• Now your gonna wanna prop the car up on some stands, pretty high if your jeeps at stock height, you'll need clearance for the tank to slide out.
• Next gently secure a floor jack with some 2x4's against the bottom of the tank so it doesn't fall to the ground and destroy everything within a 20 mile radius.
Haha just kidding...OR AM I?
• Begin removing the two bolts at the rear passenger side of the tank, you may have noticed them when removing the drive shaft.
• Last couple of bolts now are along the Driver side of the car along the Chassis rail remove all bolts to free the tank.
• Once this is done you can now lower the tank it has to come out at an angle since it's molded into the rail of the chassis. the front check valve line
should have enough slack to drop to the floor and then be disconnected from the valve the rear valve should be disconnected before lowering the tank
-------------------------------------------------------------------------------------------------------------------------------------------------------------
It's out...
Now for the grommets, There are two of them one up front and one in back.
Above is the back of the tank below is the front of the tank.
With the tank out the check valves should be removed from their Grommets and replaced with new ones I sealed my new ones with liquid gasket to be extra sure
Now putting these suckers back in is a royal pain in the @$$ so if you liquid gasket them let them Dry first.
(WARNING BE EXTREMELY CAREFUL; IT IS VERY EASY TO LOOSE THESE GUYS IN THE TANK AND EVEN BREAK THEM WHEN USING FORCE TO INSTALL)
If you can practice putting them in with the old Gourmets before the new ones then that would be best.
I had to use a flat head to help persuade mine into position.
.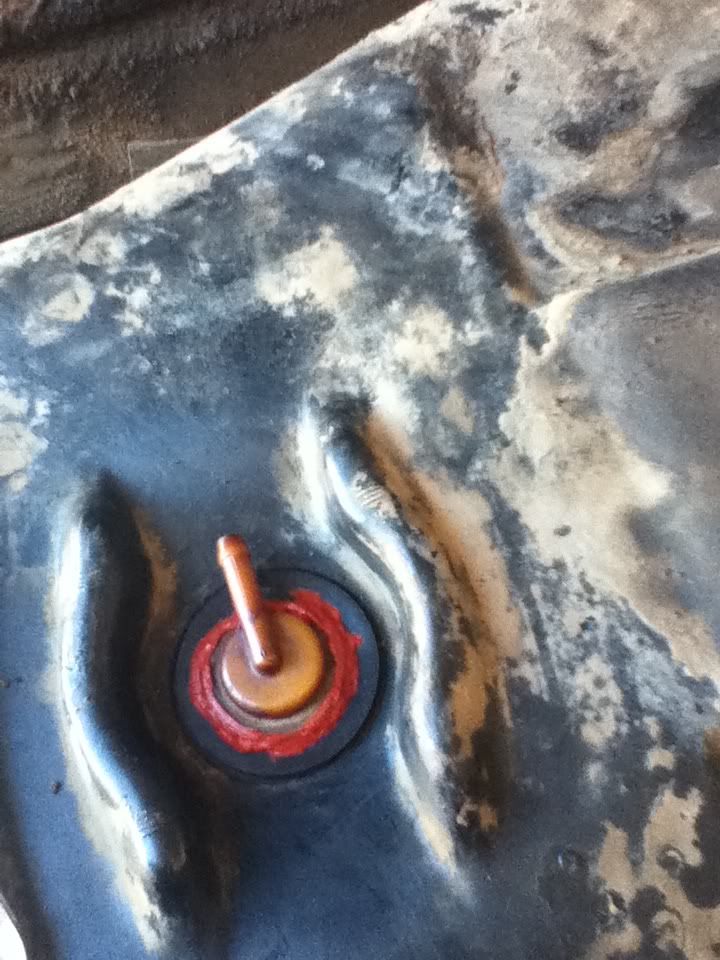
Front

Rear
-------------------------------------------------------------------------------------------------------------------------------------------------------------
After that the real fun begins putting it back in!
Installation is reverse of removal enjoy and I hope this helps!
) I thought I should get them on the net for any one who
might have similar problems and maybe starting to
consider doing unspeakable terrible jeep things....
First off, The Problem...
My 83 Wagon had a problem with the top two check valves on the fuel tank, for what ever reason they were not sealing the tank and were allowing fuel (When Full) and fuel vapors to escape..
So if your jeep is leaking fuel after a fill up these rubber grommets are definitely something of interest.
BJ's Off Road Sells new Grommets, very inexpensive and excellent quality. here is a Link

Alright Let's start. First off to make this easy your going to have to remove your fuel tank, Yes I know it sounds intimidating but it's a going to make this much easier.
First things first, Drain the tank the less fuel the better, though you won't be able to drain it all, you should do your best to drain it as empty as possible. Remember one gallon of gas can weigh over 6-lbs now multiply that by 20 and that could be 120-lbs
To get to the fuel level sending unit lift up the rear seat and carpet remove the cardboard insulation and unscrew the panel to reveal the unit.
Now if your forgetful like me, label each hose you disconnect with masking tape and mark it accordingly.
Below is a photo of the Access Hole
The sending Unit is held down by a large plastic locking nut that can be unscrewed and removed allowing for the removal of the sending unit. Be careful not to drop the rubber ring under the nut in the tank...Cause that would suck...
.
After the tank is drained you can now begin removal of the fuel tank.
First, disconnect the drive shaft to the rear axle there are four bolts that hold it together be ready to use some Liquid Wrench and plenty of it take your time with all bolts during this procedure. there's nothing more frustrating then a snapped bolt, Trust me I know...
-------------------------------------------------------------------------------------------------------------------------------------------------------------
• After the Drive shaft is down set it out to the side away from the tank.
• Go ahead and remove the filler neck hoses from the tank.
• Be carefully to much force could crack the tank around the filler neck nipples.
• Now your gonna wanna prop the car up on some stands, pretty high if your jeeps at stock height, you'll need clearance for the tank to slide out.
• Next gently secure a floor jack with some 2x4's against the bottom of the tank so it doesn't fall to the ground and destroy everything within a 20 mile radius.
Haha just kidding...OR AM I?
• Begin removing the two bolts at the rear passenger side of the tank, you may have noticed them when removing the drive shaft.
• Last couple of bolts now are along the Driver side of the car along the Chassis rail remove all bolts to free the tank.
• Once this is done you can now lower the tank it has to come out at an angle since it's molded into the rail of the chassis. the front check valve line
should have enough slack to drop to the floor and then be disconnected from the valve the rear valve should be disconnected before lowering the tank
-------------------------------------------------------------------------------------------------------------------------------------------------------------
It's out...
Now for the grommets, There are two of them one up front and one in back.
Above is the back of the tank below is the front of the tank.
With the tank out the check valves should be removed from their Grommets and replaced with new ones I sealed my new ones with liquid gasket to be extra sure
Now putting these suckers back in is a royal pain in the @$$ so if you liquid gasket them let them Dry first.
(WARNING BE EXTREMELY CAREFUL; IT IS VERY EASY TO LOOSE THESE GUYS IN THE TANK AND EVEN BREAK THEM WHEN USING FORCE TO INSTALL)
If you can practice putting them in with the old Gourmets before the new ones then that would be best.
I had to use a flat head to help persuade mine into position.
.
Front
Rear
-------------------------------------------------------------------------------------------------------------------------------------------------------------
After that the real fun begins putting it back in!
Installation is reverse of removal enjoy and I hope this helps!


 "The Jeffrey"


 . (Well, actually a die grinder.) Had to make up a door to go with it of course.

Comment